Yes, you can run shaders on a low-end PC. You just need the right ones. The best Minecraft shaders for low-end PCs keep your FPS high while still making the game look noticeably better.
In this guide, you’ll find the top shader packs that run well on budget systems, from nearly any GPU to integrated graphics. We’ll also cover how to install them, which Minecraft version works best on weak hardware, and answers to the most common questions.
Best Minecraft Shaders for Low-End PCs
1. BSL Shaders
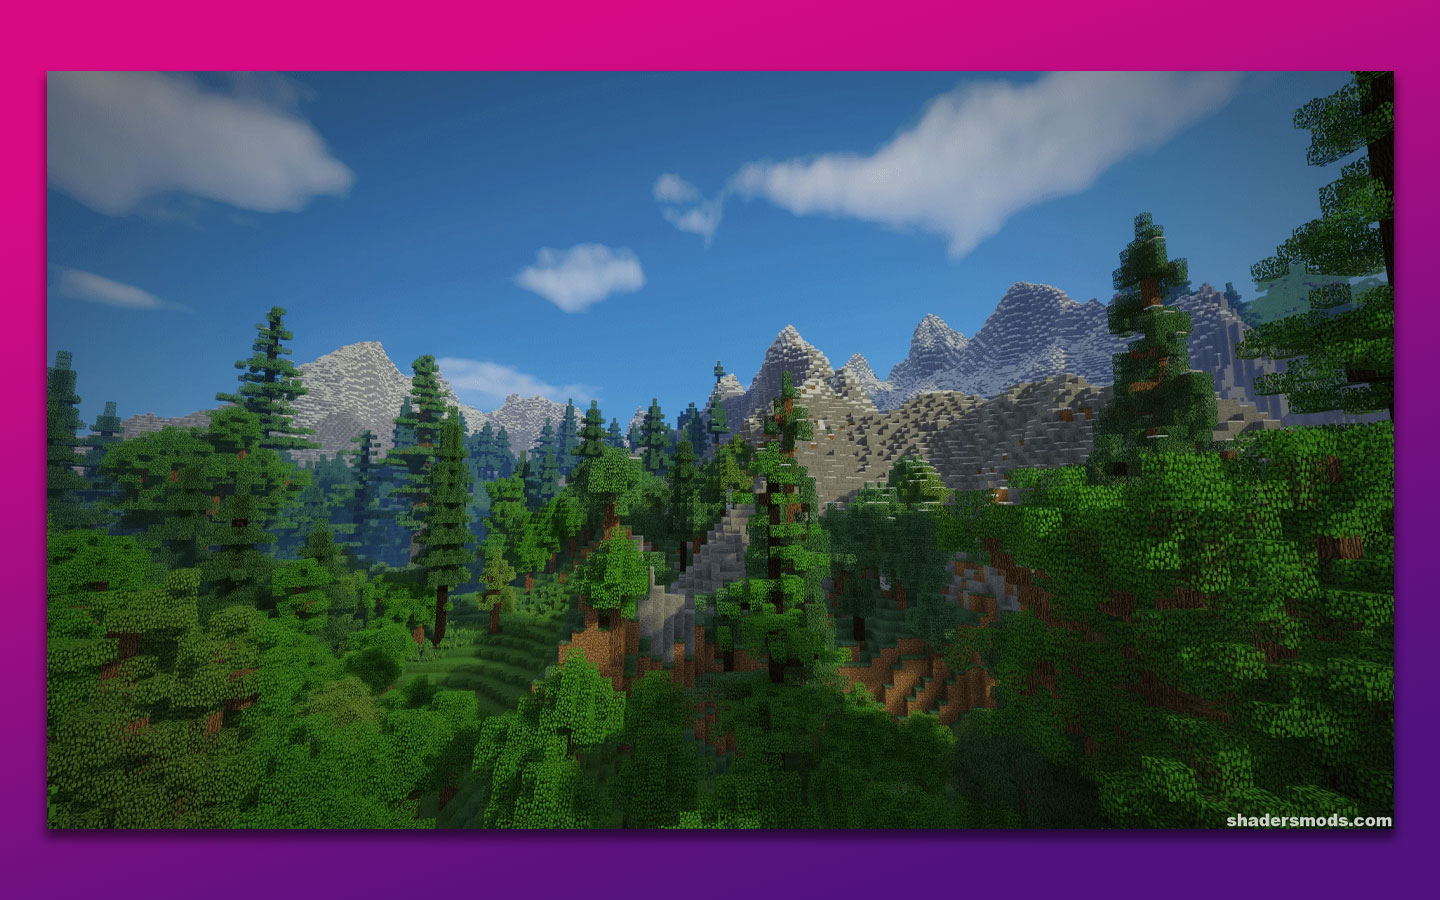
BSL Shaders is the most recommended low-end shader in the Minecraft community. It looks stunning out of the box, and the real advantage is how customizable it is. You can disable depth of field, bloom, and motion blur in the settings to push your FPS up significantly.
It works with both OptiFine and Iris. On a mid-range GPU like a GTX 1050, you can expect 60+ FPS with tweaked settings. BSL covers volumetric light, waving foliage, reflections, and smooth shadows without tanking performance. If you only try one shader, start here.
2. Complementary Reimagined
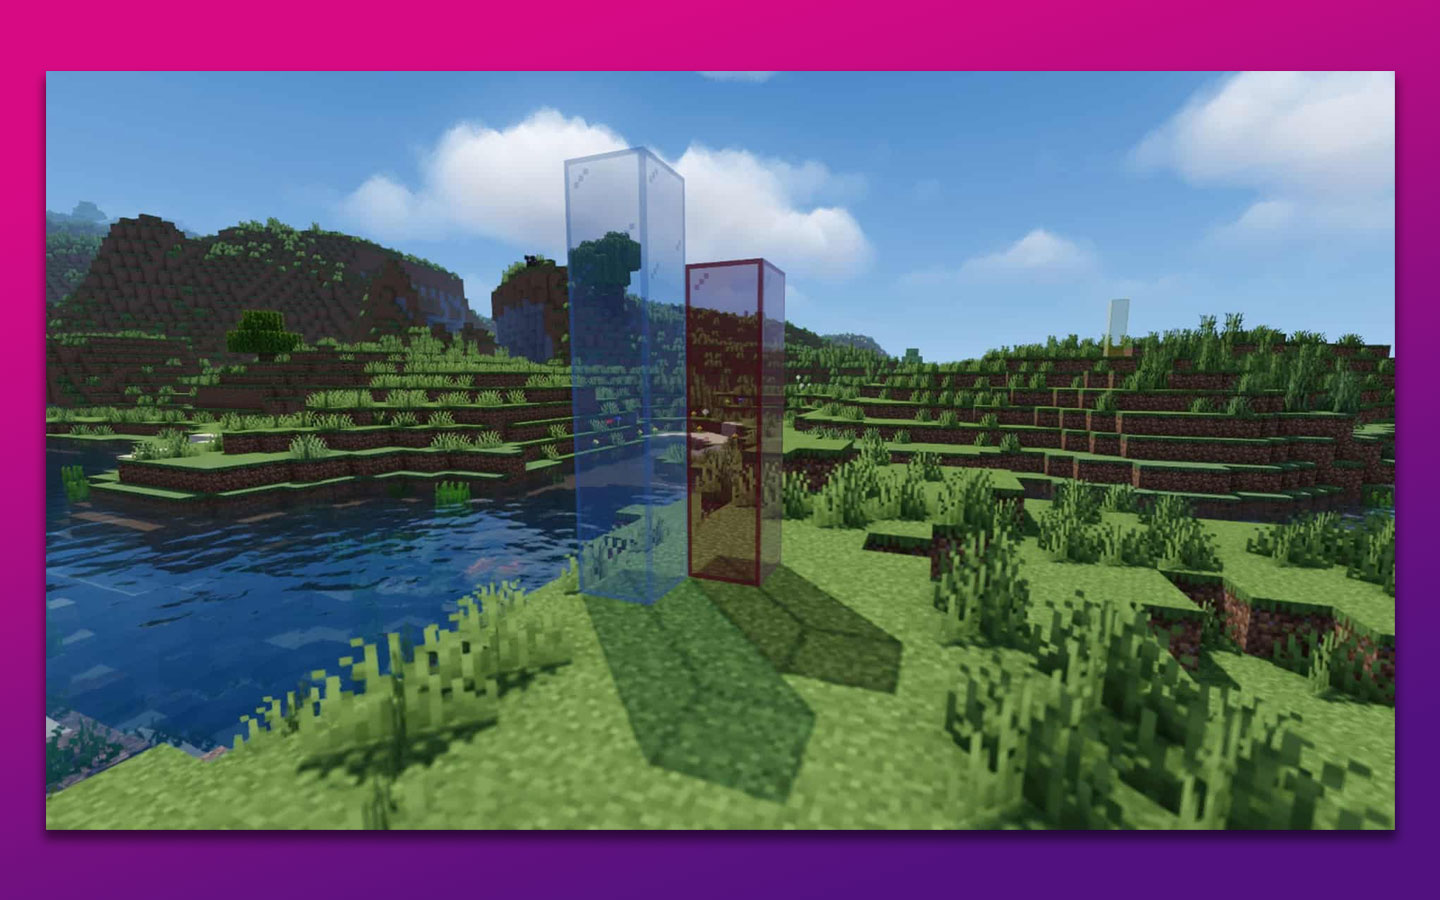
Complementary Reimagined is built on BSL but tuned for better performance and a more natural look. It’s widely considered the best-looking shader you can run on a low-end PC without heavy tweaking.
It has a Smart Shadows system that adapts to scene complexity, which keeps FPS stable. Colors look vivid but not overdone, the sky looks real, and the lighting doesn’t flicker in dark areas the way some shaders do. It’s compatible with Iris, so it pairs well with Sodium for extra performance gains.
3. Sildur’s Vibrant Shaders (Lite)
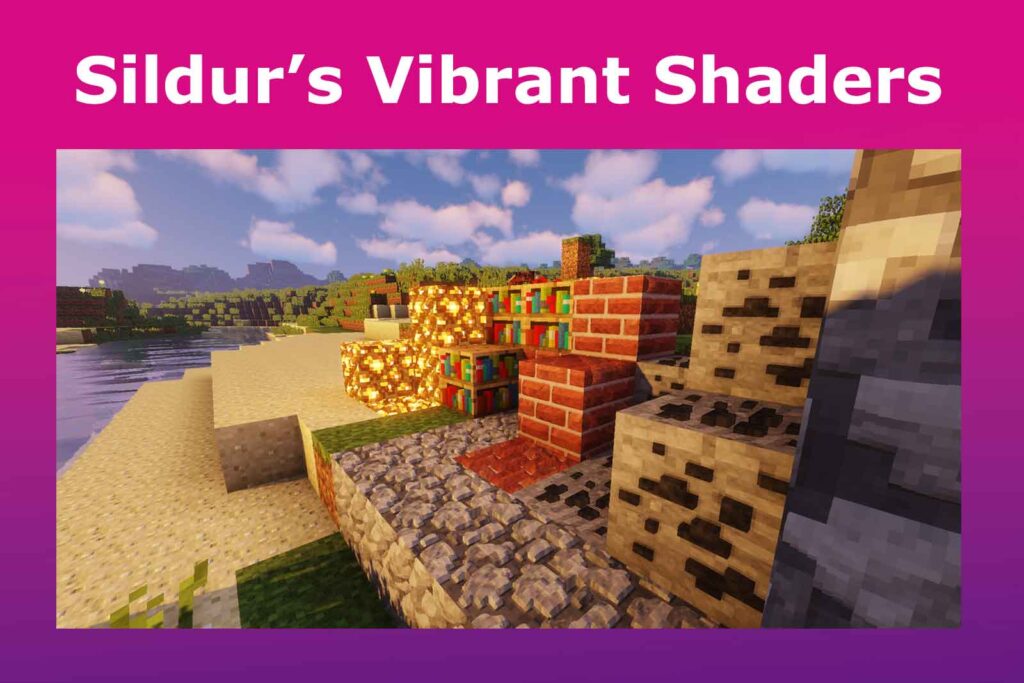
Sildur’s Vibrant Shaders Lite is the low-end tier of a very popular shader family. It gives Minecraft a bright, colorful look with bloom effects and waving foliage, but runs light enough to work on integrated graphics.
It’s highly customizable: you can scale back effects individually if your PC needs it. If you want something that looks dramatically different from vanilla Minecraft without much FPS cost, Sildur’s Lite is a safe pick.
4. Super Duper Vanilla
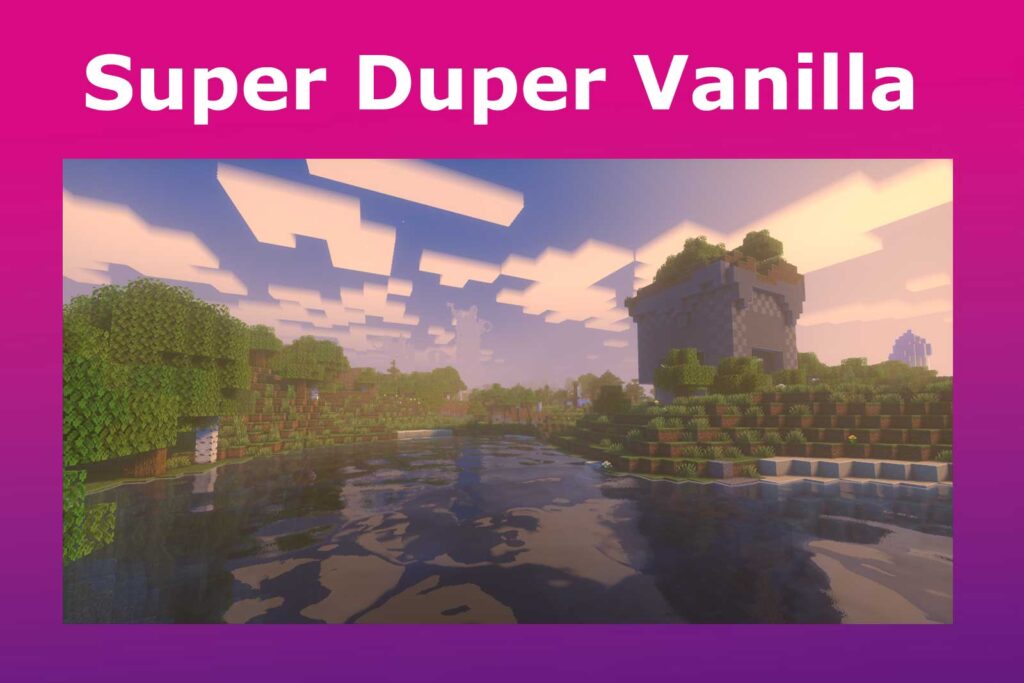
Super Duper Vanilla keeps the classic Minecraft look while adding subtle improvements: softer shadows, better sky gradients, and slightly more realistic lighting. Nothing flashy, just cleaner.
It’s one of the lightest shaders available, which makes it a good fit if your PC struggles even with basic visual mods. The minimal FPS impact is what sets it apart. You get a real upgrade without the risk of your game becoming unplayable.
5. YoFPS Shader
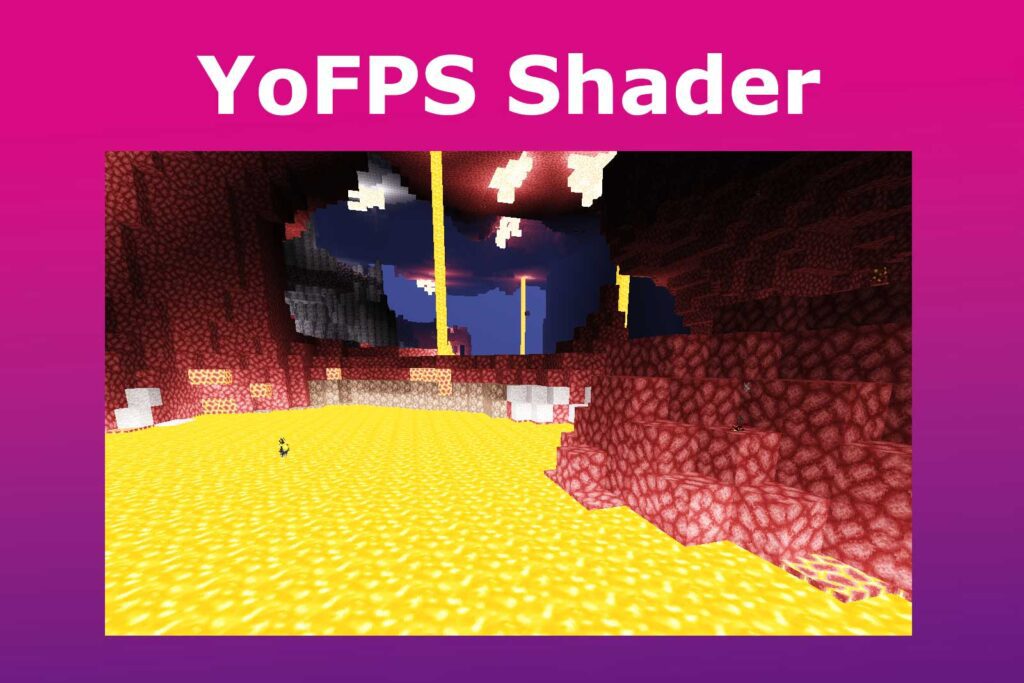
YoFPS is a lightweight edit of Chocapic13 shaders, built specifically for ultra-low-end hardware. The name is pretty literal: the goal is to keep your FPS up. It skips heavy effects but still adds dynamic lighting and basic shadows that make vanilla look dated by comparison.
If your PC is at or below minimum Minecraft specs, YoFPS is one of the few shaders you can run without grinding to a halt. Perfect if you need shaders but can’t afford to lose frames.
6. Chocapic13’s Lite Shaders
Chocapic13 offers multiple presets, and the Lite version is built for weak hardware. It adds new water textures, soft lighting effects, and makes distant objects appear clearer. It won’t cause frame drops, even on older integrated graphics setups.
You can adjust shader settings manually to squeeze out more performance if needed. It’s been around for years and still holds up as one of the most reliable lightweight options.
7. MakeUp Ultra Fast Shaders
MakeUp Ultra Fast lives up to its name. It adds reflections, ambient occlusion, and motion blur, but packages them in a way that’s optimized for budget hardware. You pick which effects you want, so you’re not stuck running features your GPU can’t handle.
The per-area settings are a nice touch: you can make caves darker and more atmospheric without affecting outdoor performance. Great for players who like to fine-tune their experience.
8. Lagless Shaders
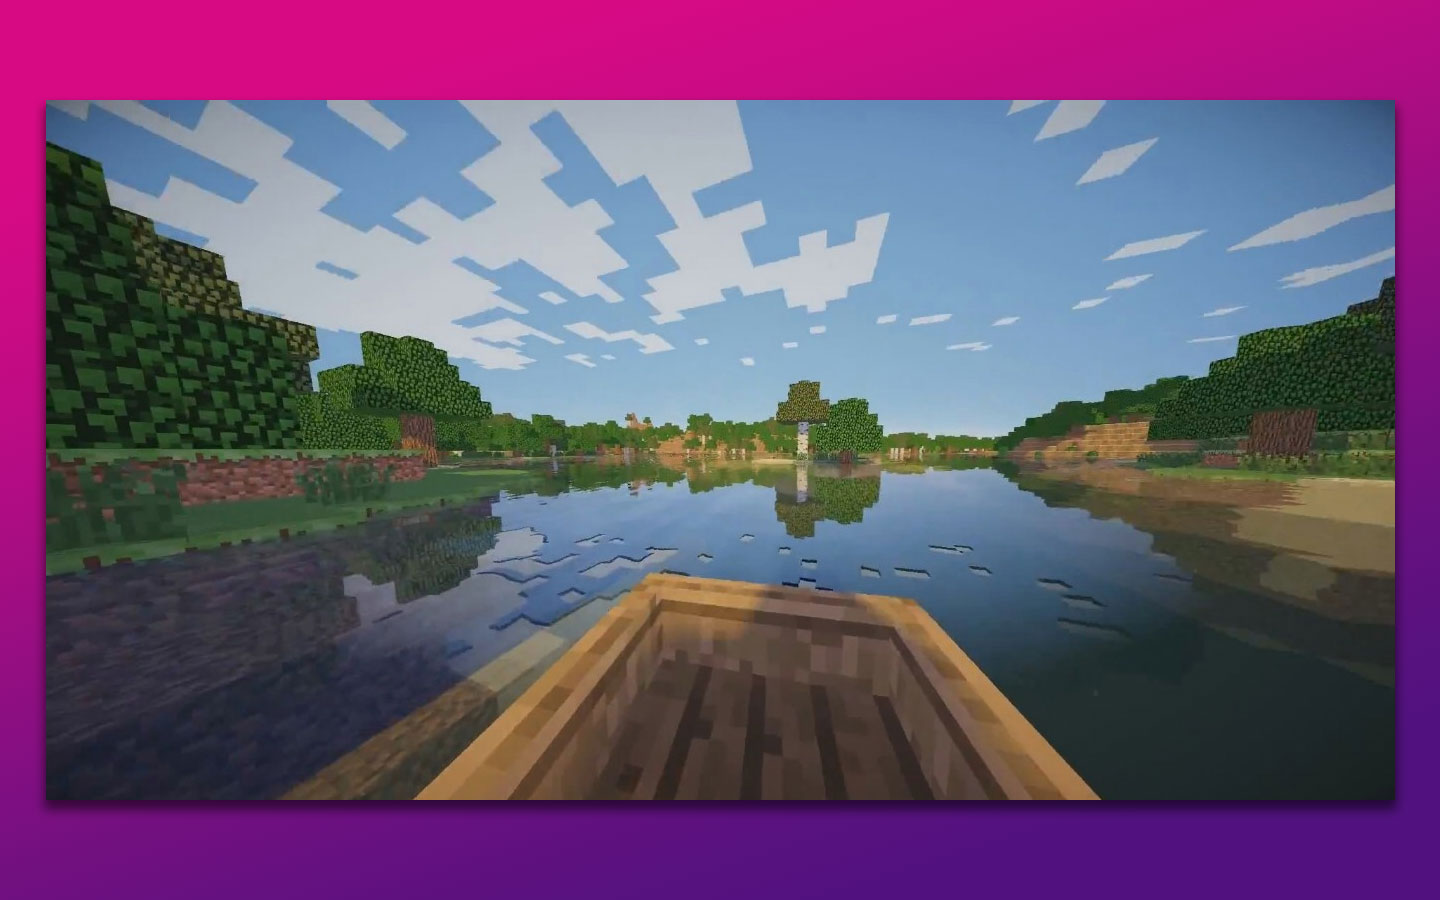
Lagless Shaders takes a smarter approach to lighting by focusing on block-level brightness instead of rendering complex global lighting calculations. The result is a smooth, stable framerate even in combat-heavy or dark exploration scenarios.
The water effects are genuinely good for how light the shader is: ripples, waves, and reflections all show up. A solid option if FPS stability is your top priority over visual flair.
9. Potato Shaders
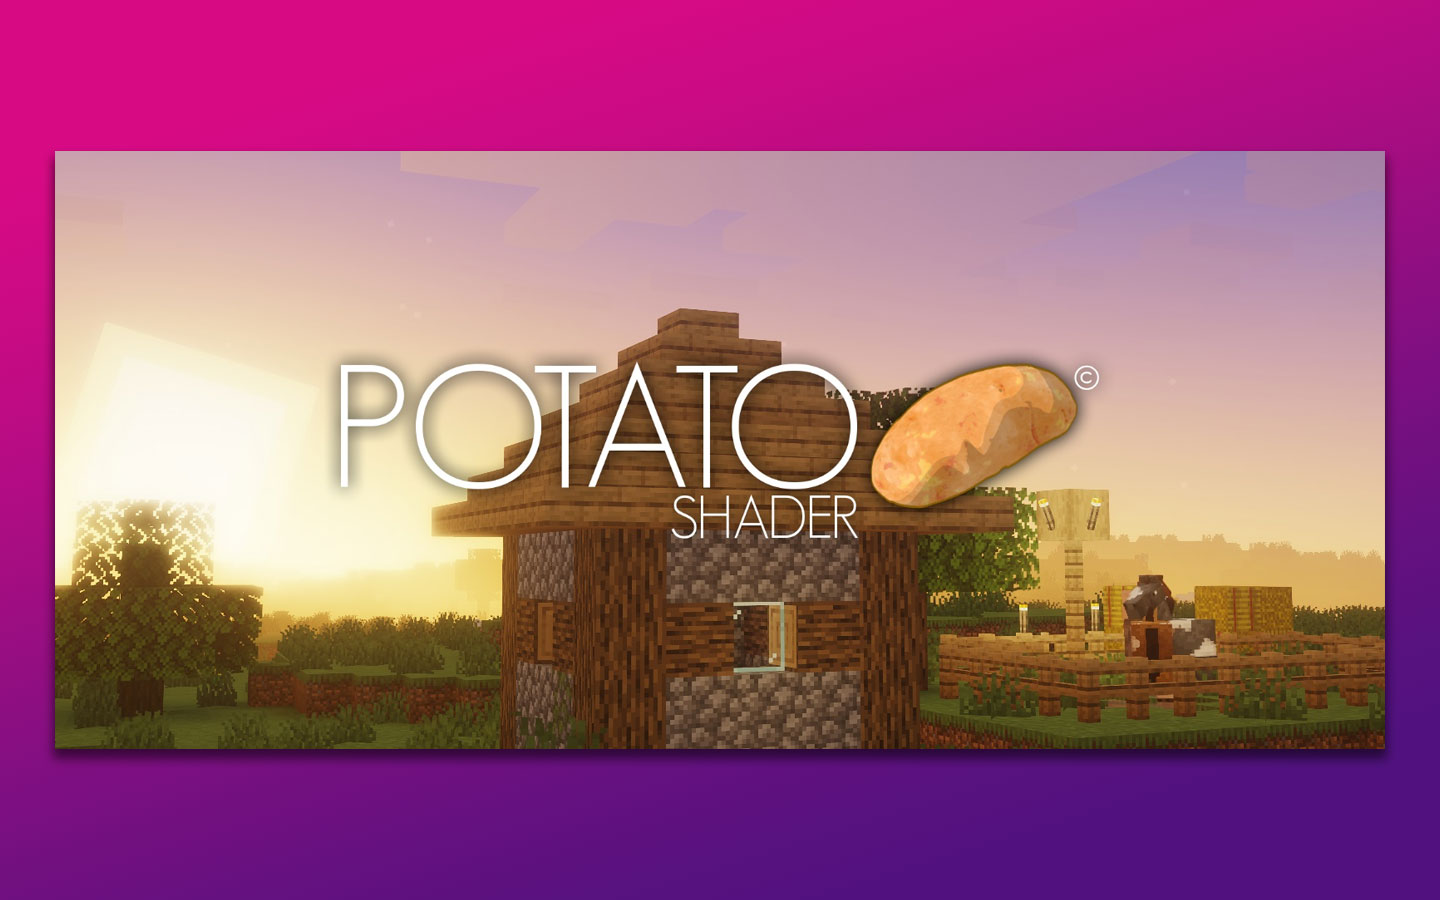
Potato Shaders is exactly what it sounds like: a shader pack made for “potato PCs.” It adds smooth textures, reflective blocks, transparent water, and improved animations without the heavy GPU cost.
Day/night lighting balance is well-handled, and ancient cities look appropriately dark and ominous. You can customize effects to taste. It’s one of the better options if your PC is genuinely struggling with vanilla Minecraft performance.
10. Wisdom Shaders
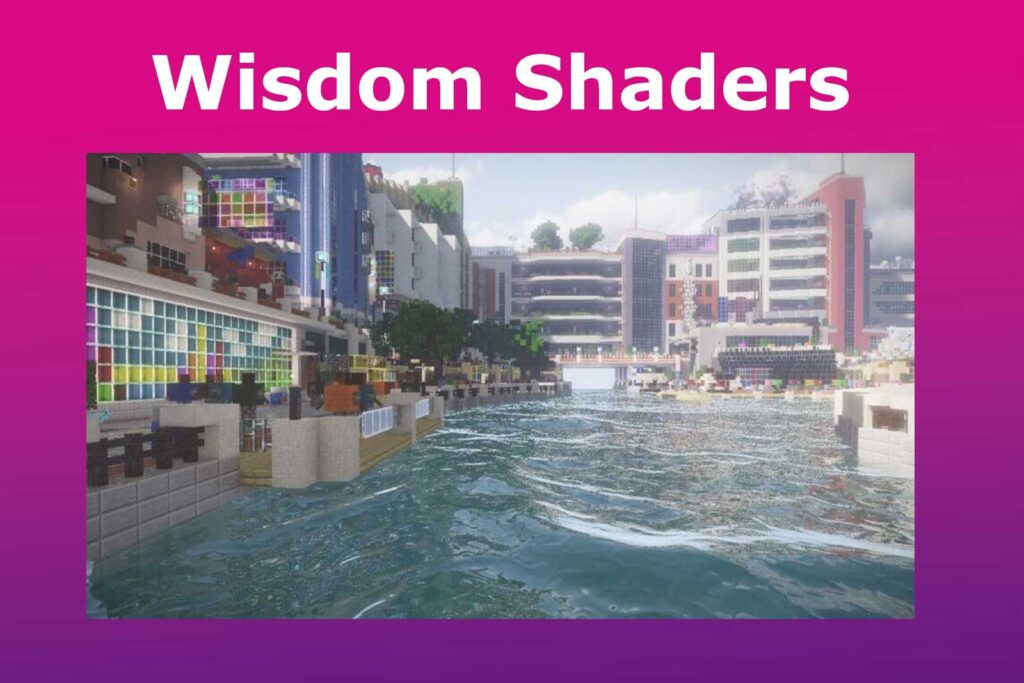
Wisdom Shaders gives you a clean, refined look without pushing your system hard. It features smooth dynamic lighting, soft shadows, and good atmospheric visuals that work on older GPUs.
It’s a good fit for survival and exploration modes where you want clarity over spectacle. The balance between visual quality and performance is solid, especially on hardware that’s a few years old.
How to Install Shaders on a Low-End PC
You need either OptiFine or Iris (with Sodium) to run shaders in Minecraft. Iris + Sodium is the faster option and what most players use now.
Using Iris + Sodium (recommended for low-end PCs):
- Download and install Fabric Loader for your Minecraft version.
- Download Iris Shaders and Sodium from Modrinth and drop them into your mods folder.
- Launch Minecraft with the Fabric profile.
- Go to Options → Video Settings → Shader Packs.
- Click “Open Shader Pack Folder” and paste your downloaded shader (.zip file) there.
- Select it from the list and click Apply.
Using OptiFine:
- Download OptiFine for your Minecraft version.
- Double-click the .jar file to install it.
- Launch Minecraft and select the OptiFine profile.
- Go to Options → Video Settings → Shaders → Shaders Folder.
- Paste your downloaded shader .zip into that folder.
- Select it and click Done.
5 Tips for Better Performance with Shaders on a Low-End PC
- Lower your render distance. Going from 12 to 8 chunks can give you a significant FPS boost without affecting the shader visuals much.
- Disable expensive shader effects. Turn off depth of field, motion blur, and bloom first. These are the most GPU-intensive settings in most shader packs.
- Use Sodium + Iris instead of OptiFine. Sodium alone can double your FPS in some scenarios. Combined with Iris for shaders, it’s the best setup for low-end hardware.
- Allocate more RAM. In the Minecraft Launcher, go to your profile’s advanced settings and set JVM arguments to allocate 3-4GB of RAM (e.g.,
-Xmx4G). - Close background programs. Browsers, Discord video, and streaming apps all compete for GPU resources. Close what you don’t need while playing.
Which Minecraft Version Is Best for Low-End PCs?
Minecraft Bedrock runs better on integrated graphics and low-end CPUs. It’s optimized for a wider range of hardware and has cross-platform multiplayer with consoles and mobile. If you have an older laptop without a dedicated GPU, start with Bedrock.
Java Edition is better for modding and shaders. Most shader packs are Java-only. If you want to use the shaders in this list, you need Java Edition. A mid-range GPU (GTX 750 or equivalent) is enough to run most lightweight shaders at 30-60 FPS.
Frequently Asked Questions
Can I run Minecraft shaders on a low-end PC?
Yes. With the right shaders and OptiFine or Iris + Sodium, you can run shaders even on integrated graphics. Stick to lightweight options like YoFPS, Lagless, or Potato Shaders. Avoid heavy packs like SEUS Renewed or Continuum, which need a dedicated GPU with 4GB+ VRAM.
Is 4GB RAM enough for Minecraft shaders?
4GB of system RAM is the bare minimum. Allocate 2-3GB to Minecraft and keep the rest for your OS. With lightweight shaders and Sodium, 4GB is enough to run without crashing. 8GB RAM gives you a much more comfortable experience, especially if you run other programs in the background.
Are Minecraft shaders CPU or GPU heavy?
Shaders are primarily GPU-heavy. They offload lighting, shadow, and reflection calculations to your graphics card. A weak GPU will struggle more than a weak CPU. If your bottleneck is the CPU, Sodium helps significantly. If it’s the GPU, use the lightest shaders in this list and lower your resolution or render distance.
What is the best shader for a very low-end PC?
YoFPS Shader and Lagless Shaders are the lightest options available. If your PC struggles even with these, try running Minecraft with Sodium (no shaders) first, which alone makes a significant difference in performance. Then add the lightest shader on top.


")

