Imagine scrolling down with the mouse-wheel or trackpad and that your page scrolls horizontally instead. Isn’t that cool? In this article we will take a look at how you could use vanilla Javascript to create such an interesting effect.
Creating some scrollable content
To start, we will write some HTML to set in place some content that requires some horizontal scroll.
<main>
<section>
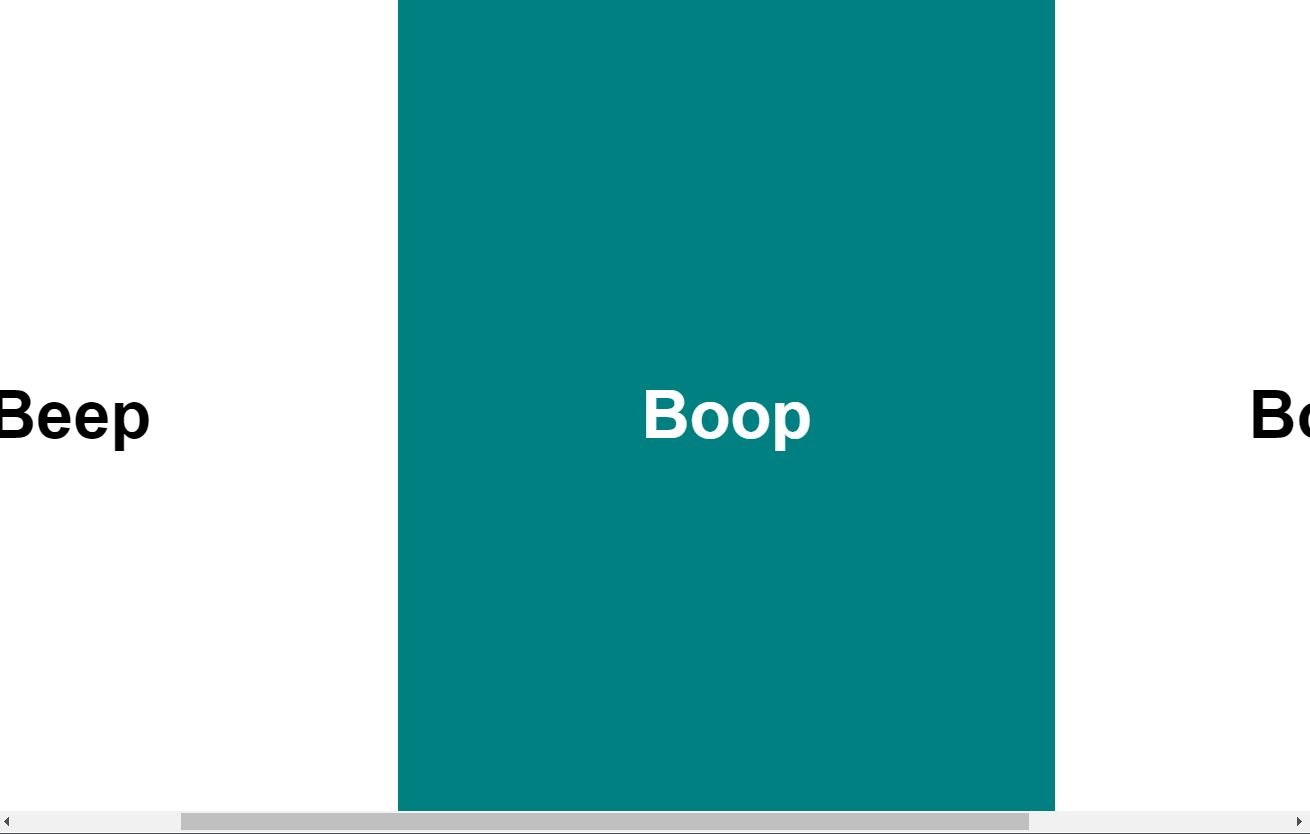
<h1>Beep</h1>
</section>
<section>
<h1>Boop</h1>
</section>
<section>
<h1>Boooom</h1>
</section>
</main>
Code language: HTML, XML (xml)The main element will be the scroll container. It is a going to be the element that a scrollbar is bound to as long as there is content that overflow it. As it is right now, there isn’t enough content to produce an overflow. So let’s fix this.
Making sure the content overflows
We will place each section aligned next to each other so the content overflows horizontally. We are trying to create something like this, where elements are overflowing the container and therefore we can create a horizontal scrollbar for them. You can have as many sections as you want.
For the purpose of this demo we will make the elements full-screen. To do this, we will use viewport units like vh and vw to set the min-width and min-height properties to scale to both the edges of the screen. Then we can center the content using justify-content and align-items.
We use display:flex making the main element the flex container. We will also be hiding the scrollbar for this demo by using overflow-x: hidden. There’s no need for this but we’ll be doing it for our demo. If you decide not to hide it, make sure to change it for overflow-x: scroll.
main {
  overflow-x: hidden; /*or overflow-x:scroll */
  display: flex;
}

h1 {
  margin: 0;
}

section {
  min-width: 50vw;
  min-height: 100vh;
  display: flex;
  justify-content: center;
  align-items: center;
  font-size: 4ch;
}
Code language: CSS (css)
And why not, we will also give each section a different background:
section:nth-child(even) {
  background-color: teal;
  color: white;
}
Code language: CSS (css)
Using the mouse wheel or trackpad to scroll horizontally
Here’s where the fun part comes. Now we will subscribe to the mousewheel event by attaching an event listener to our scrollable element, which in this case is the element with the tag main.
What does this means? It means that now we will be able to gather information through JavaScript about the scrolling event, which is exactly what we need.
const scrollContainer = document.querySelector('main');

scrollContainer.addEventListener('wheel', (evt) => {
  // The magic happens here.
});
Code language: JavaScript (javascript)
We need to know the direction the user is scrolling to and the amount they scrolled. So, how do we do it?
We will be using the deltaY property of the event object we get on the parameter (evt).
The wheel event has 4 properties, and deltaY represents the vertical scroll amount. So we will use exactly that same value to scroll the exact same amount but this time horizontally.
We will be updating the scrollLeft property of the scrollable container (main) so it scrolls it horizontally.
const scrollContainer = document.querySelector("main");

scrollContainer.addEventListener("wheel", (evt) => {
    evt.preventDefault();
    scrollContainer.scrollLeft += evt.deltaY;
});
Code language: JavaScript (javascript)
The deltaY property can be positive ore negative. When it is positive it means the user is scrolling up and when it is negative the user is scrolling down. So, in our case, when they scroll up we want to scroll left and when they scroll down we want to scroll right.
The scrollLeft property works exactly with the same idea in mind. When applied to a scrollable element, a negative value means we will be scrolling the scrollable element to the left and a positive one means we will be doing it on the opposite direction, to the right. So we basically assign the deltaY value to the scrollLeft property and we are ready to go!
Just one note. Do not confuse the wheel event with the mousewheel event, the latter of which has been deprecated.
Take a look at the following codepen, fork it and play around with the code to see if you can build a neat horizontally scrollable layout:
Stick to horizontal scrolling and resume normal scroll when finished
Perhaps you are wondering if you can apply the same technique with content before and after the horizontal scrollable element. So the horizontal scrolling element will stick on the viewport until we finish scrolling horizontally.
The answer is YES, you can. This way, the vertical scroll will seem to pause while we keep on scrolling horizontally. Once we are done scrolling vertical scroll will resume.
The trick is creating a sticky container with the height of the horizontal scrollable width. This will serve as a placeholder. It will stick to the top while the page scrolls the placeholder vertically without the user noticing, as we have a stick element taking the whole viewport.
We will then use that scroll to apply it in our sticky element.
There’s a bit more JavaScript involved here. Here’s the full example:
You like scrolling effects?
Love exploring the different ways you can make users interact with your page? Then you are going to have to try out fullPage, it is one of those libraries that comes with a whole box of neat tricks and ways to implement commonly implemented scrolling effects.
Whether it’s snap scrolling both horizontally or vertically, neatly triggering animations or conditionally changing styles it’s got you covered on all fronts.
With cross-browser compatibility (all the way back to IE11), superb documentation, and well-tested code it comes with support for your favorite front-end frameworks like React, Vue, or Angular and popular WordPress web builders like Gutenberg or Elementor.


