There are always some boring steps until we can actually start using a framework.
Moreover working with Windows and IIS makes things more difficult/tedious yet. I always find myself having to google these kind of things and this time I decided to keep a record of the steps I followed. This way I won’t have to face the same problems in future installations in other machines. Also, hopefully this can help someone else in the same situation!
These are the steps I followed to install Laravel 4 framework to work under my Windows 7 machine with IIS7:
-
Download the last version of PHP Non Thread Safe for windows.
-
Place the
phpfolder insideC:/ -
Rename
php.ini-development(orphp.productionif you are on production) tophp.ini -
Open
php.iniand:- set
fastcgi.impersonate = 1 - set
cgi.fix_pathinfo=1 - set
cgi.force_redirect = 0 - Uncomment
extension_dir = "ext" - Enable openssl in
php.iniby uncommenting:extension=php_openssl.dll
- set
-
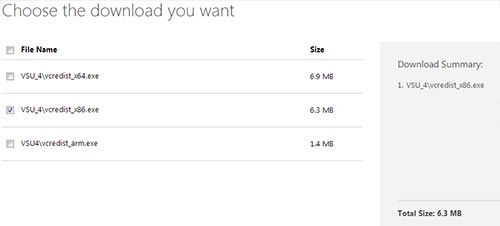
Install the package Visual C++ Redistributable for Visual Studio 2012 (version x86: vcredist_x86.exe)
– Download Laravel [from github](https://github.com/laravel/laravel/archive/master.zip) and extract it into the `wwwroot` folder.
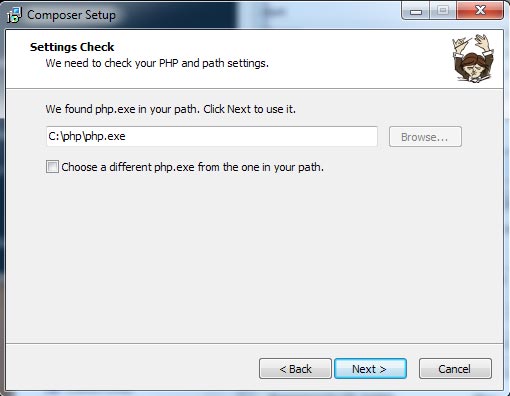
– [Download](https://getcomposer.org/Composer-Setup.exe) and install composer for windows in the same directory as `php.exe` is located:
- Open the console, move to laravel folder and type the command:
composer install
Code language: PHP (php)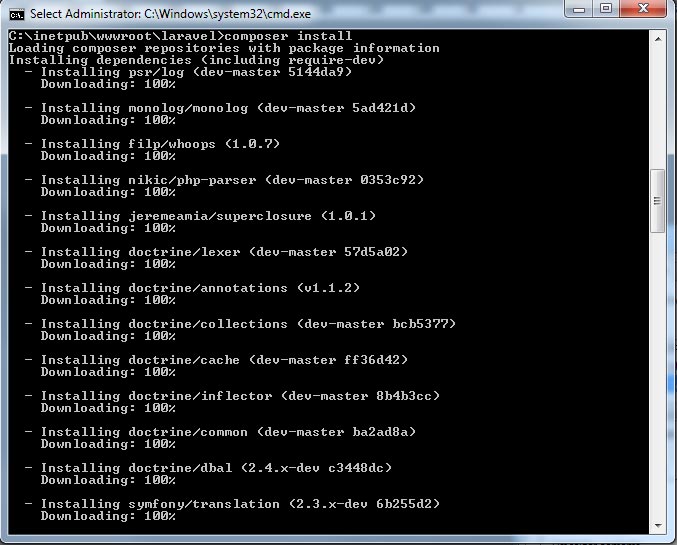
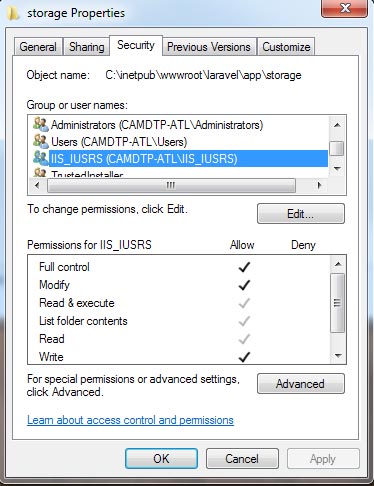
- Add permissions for the ISS user for the
storagefolder:
- Make sure you have installed “URL Rewrite 2.0” for IIS 7, if not, download it.
- Import .htaccess rules located in the “public” folder of laravel into the URL Rewrite module of IIS 7:
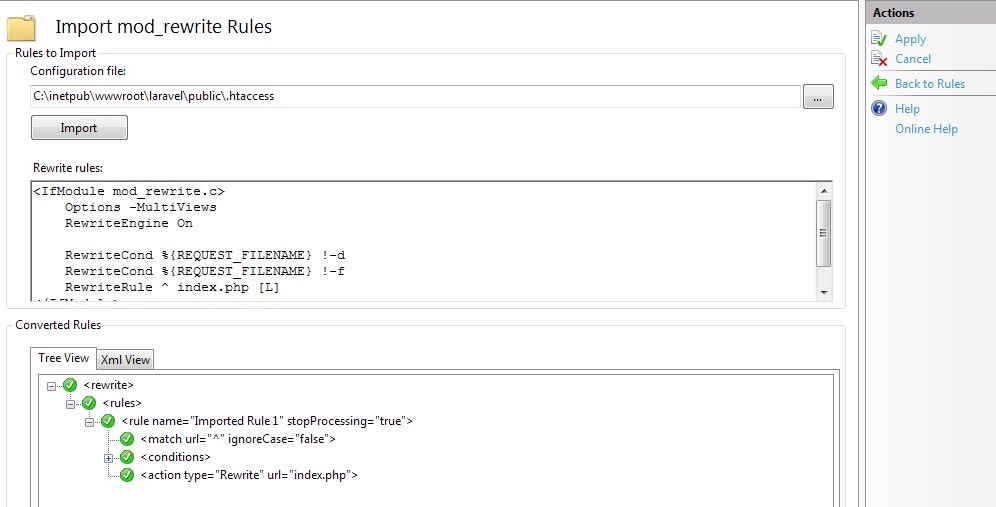
Once applied this will generate a file called web.config inside your laravel main folder.
- Move the created
web.configfile into thepublicfolder.
This is the web.config file which was generated in my case:
<?xml version="1.0" encoding="UTF-8"?>
<configuration>
    <system.webServer>
        <rewrite>
            <rules>
                <rule name="Imported Rule 1" stopProcessing="true">
                    <match url="^" ignoreCase="false" />
                    <conditions logicalGrouping="MatchAll">
                        <add input="{REQUEST_FILENAME}" matchType="IsDirectory" ignoreCase="false" negate="true" />
                        <add input="{REQUEST_FILENAME}" matchType="IsFile" ignoreCase="false" negate="true" />
                    </conditions>
                    <action type="Rewrite" url="index.php" />
                </rule>
            </rules>
        </rewrite>
    </system.webServer>
</configuration>
Code language: HTML, XML (xml)
So that’s it!
After this I was able to start playing with Laravel4 in my windows environment. I hope this can be of help for somebody else.


