With AirDrop, Apple users can wirelessly share photos, videos, and files between their devices, eliminating the need for copying and pasting.
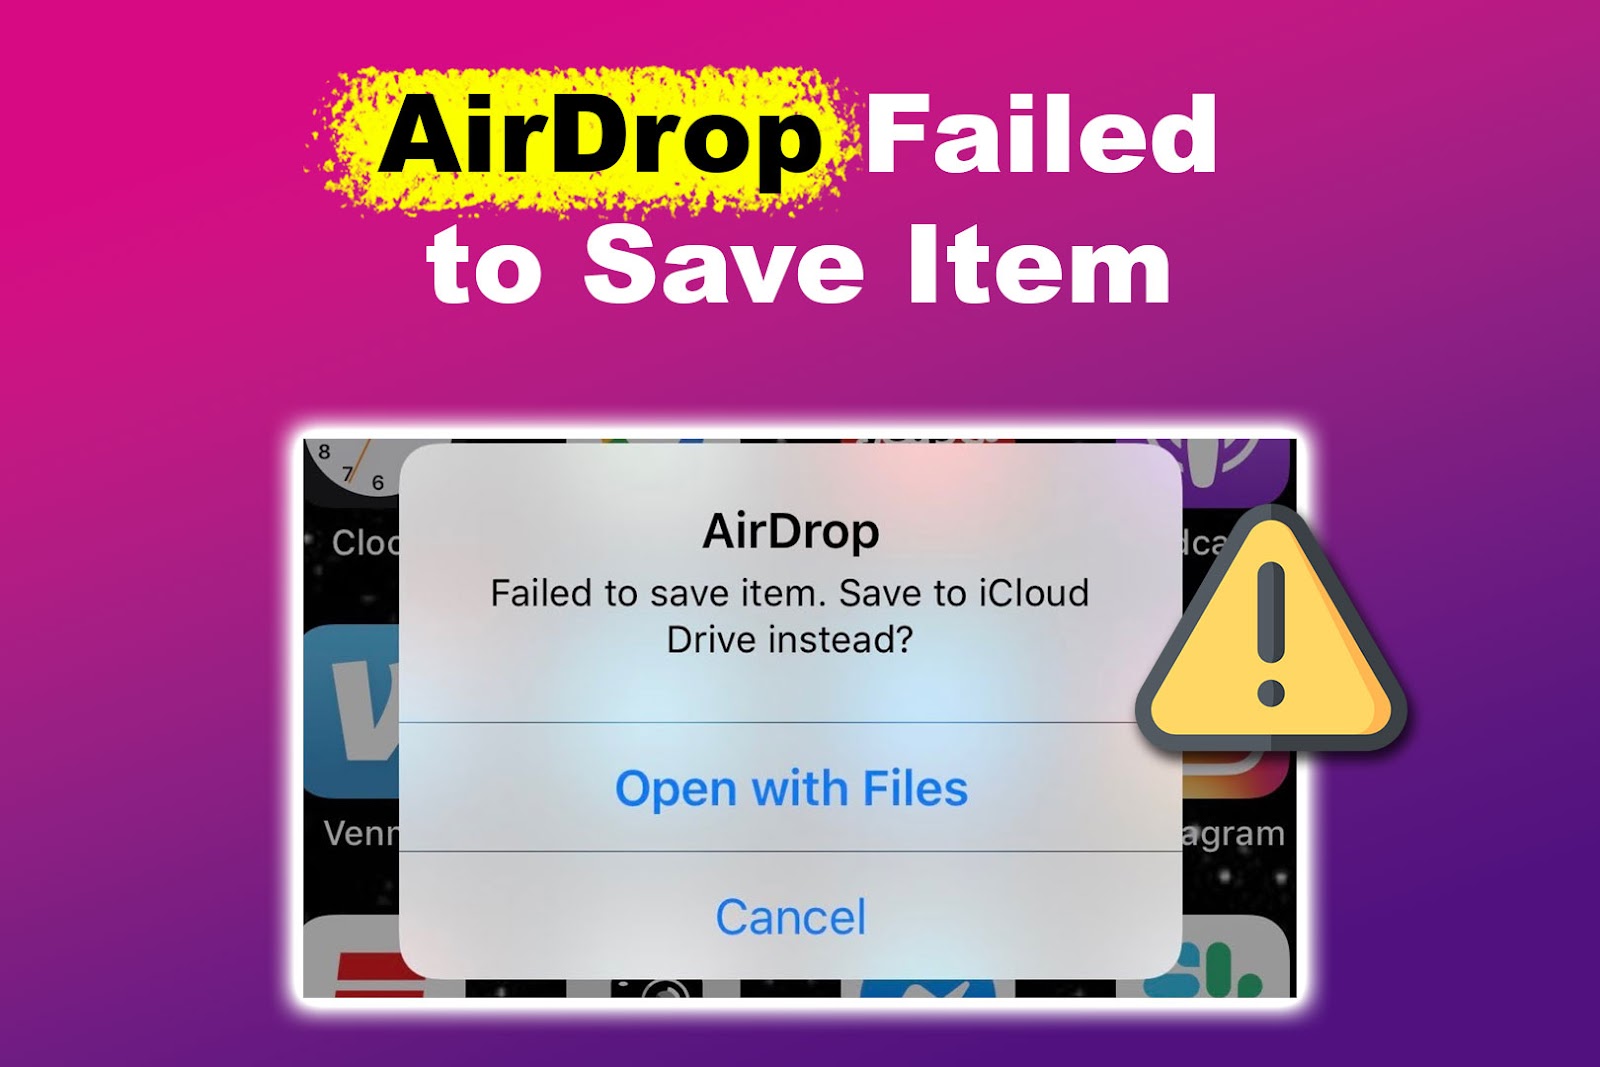
But sometimes, things may not go as planned, and you may encounter issues where Airdrop fails to save an item. If you are an Apple user experiencing this issue and wondering what to do, read on.
This article will explore why AirDrop fails to save items on your iPhone and explain how to use AirDrop correctly.
How to Use AirDrop on Your iPhone
To use AirDrop, ensure that your devices are close to each other and that Bluetooth and Wi-Fi are turned on. Confirm if the recipient’s AirDrop is set to receive from “Contacts Only.” If so, ensure your Apple ID’s email or mobile number is saved in their contacts.
If you’re not in their contacts, ask them to switch their AirDrop receiving setting to “Everyone” so they can receive the file. Also, turn the “Personal Hotspot” on both devices.
Follow these steps to use AirDrop on your iPhone:
Step 1: Go to the App Where You Saved the Item You’ll AirDrop
Step 2: Choose the File or Photo You Want to Share
Step 3: Click the “Share” Button & Select the AirDrop Icon
When you tap the AirDrop icon, the names or devices of persons with Airdrop-enabled devices will appear.
Step 4: Select the Person to Share the File With
Learn more about how to use AirDrop on your iPhone from Apple Support.
Why Is AirDrop Failing to Save Items?
Here is why AirDrop is failing to save an item:
- System Glitches.
If your device’s operating system has outdated software or corrupted files, AirDrop may not save an item. - File Format.
AirDrop doesn’t support certain file formats, such as encrypted or DRM (Digital Rights Management) files. DRM prevents unauthorized copying, distribution, and sharing of copyrighted digital content. - Incompatibility.
AirDrop may also fail to save an item on your iPhone if your devices are incompatible. Only Apple devices with iOS 7 or later support the feature. - Distance.
AirDrop works within a limited range, typically 9 meters (30 feet). If your devices are not close enough, it may not function properly.
5 Ways to Fix the “AirDrop Failed to Save Item” Error on iPhone
These are the five ways to fix the “AirDrop failed to save item” error on your iPhone:
1. Restart Your iPhone
A simple restart can clear temporary glitches and errors affecting your AirDrop’s connectivity. This allows your device to re-establish a connection and fix the issue.
Follow these steps to restart your iPhone:
-
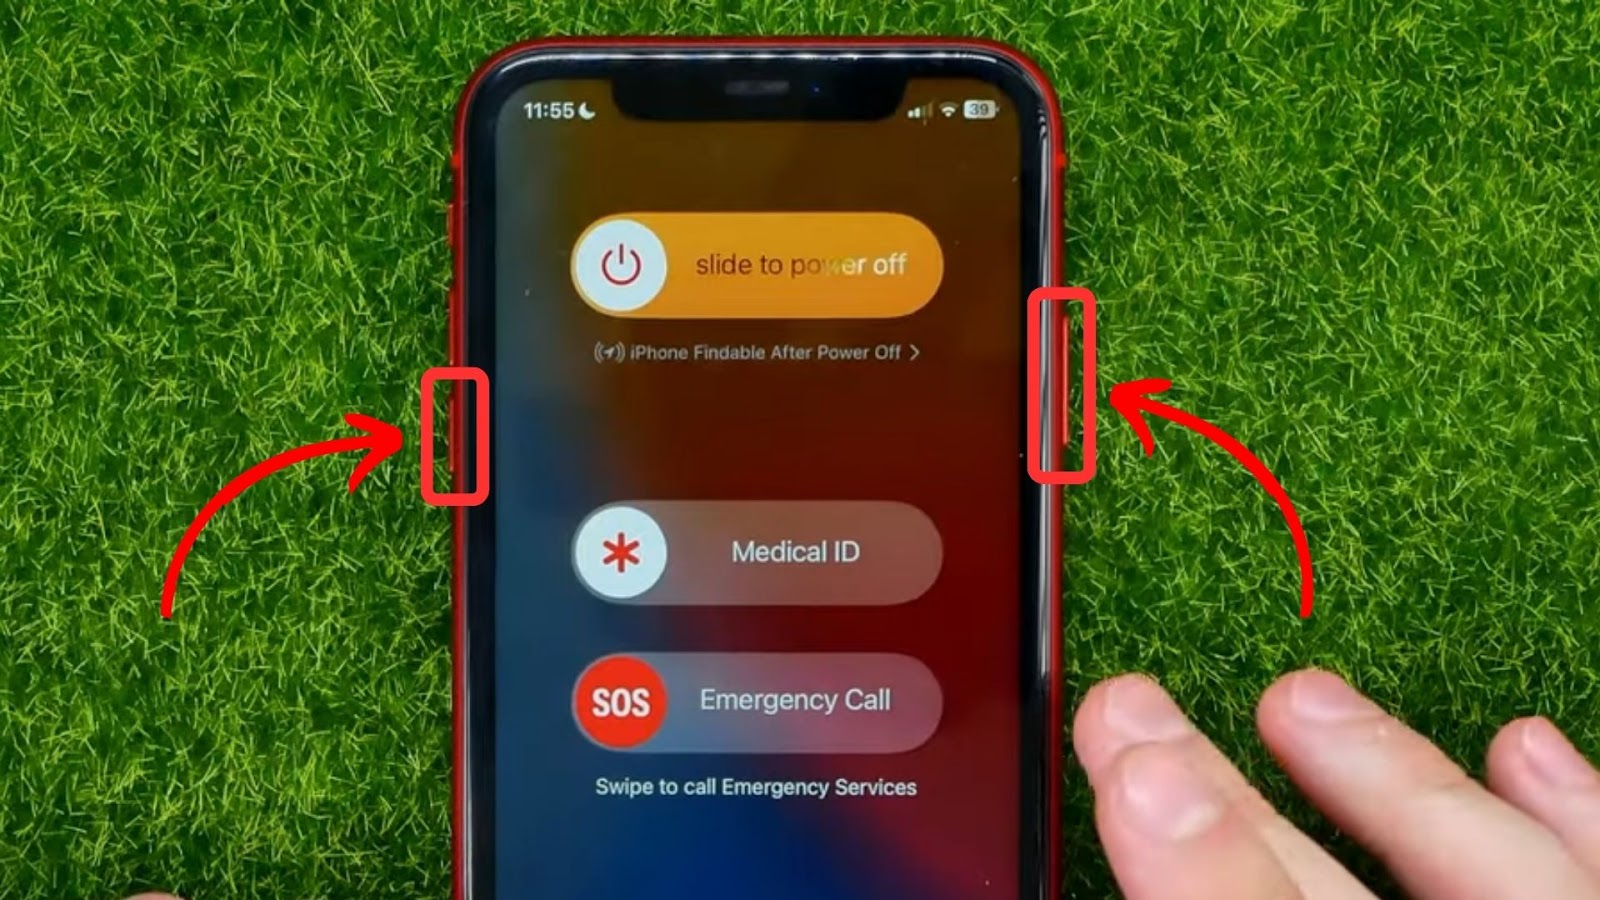
Step 1. Power off your iPhone.
For iPhone X or newer models, press the “Power” and “Volume down” buttons simultaneously.
-
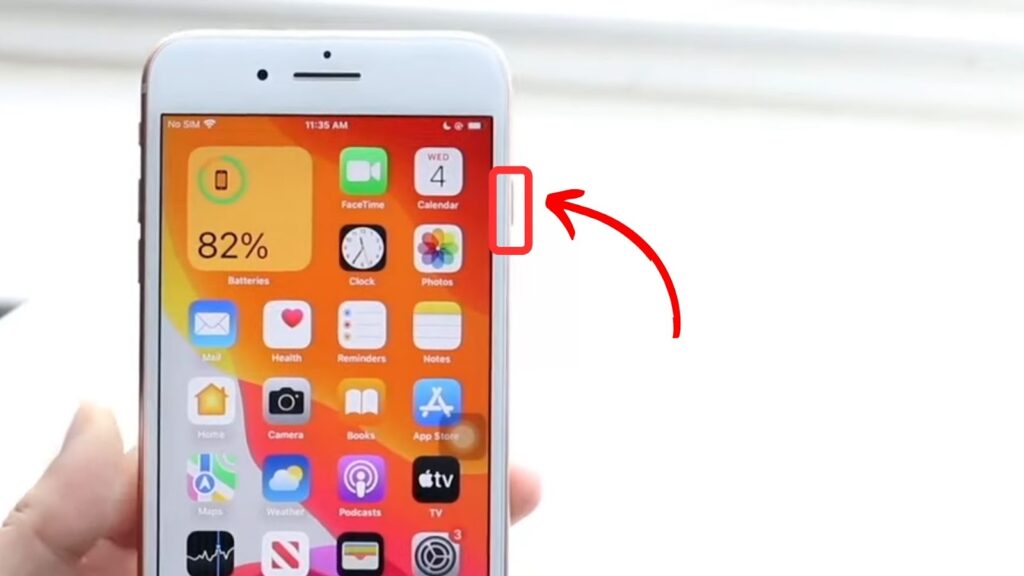
For iPhones 6, 7, 8, or SE:
Hold down the “Power” button until the power off slider appears.
- Step 2. Move the “Slider” to the right to turn it off.
- Step 3. Wait for at least 30 seconds.
- Step 4. Long press the “Power” button to turn your iPhone back on.
Read more on how to restart your iPhone from Apple Support.
2. Verify the Bluetooth and Wi-Fi Settings
AirDrop relies on Bluetooth and Wi-Fi to search and establish a connection between devices. If either is turned off, AirDrop may fail to save an item.
Swipe down your screen to open “Control Center,” and tap on the “Bluetooth and Wi-Fi” icons to turn them on. The Wi-Fi icon will appear blue when you turn it on and white if it is off.
Learn more about how to verify Bluetooth and Wi-Fi Settings from Apple Support.
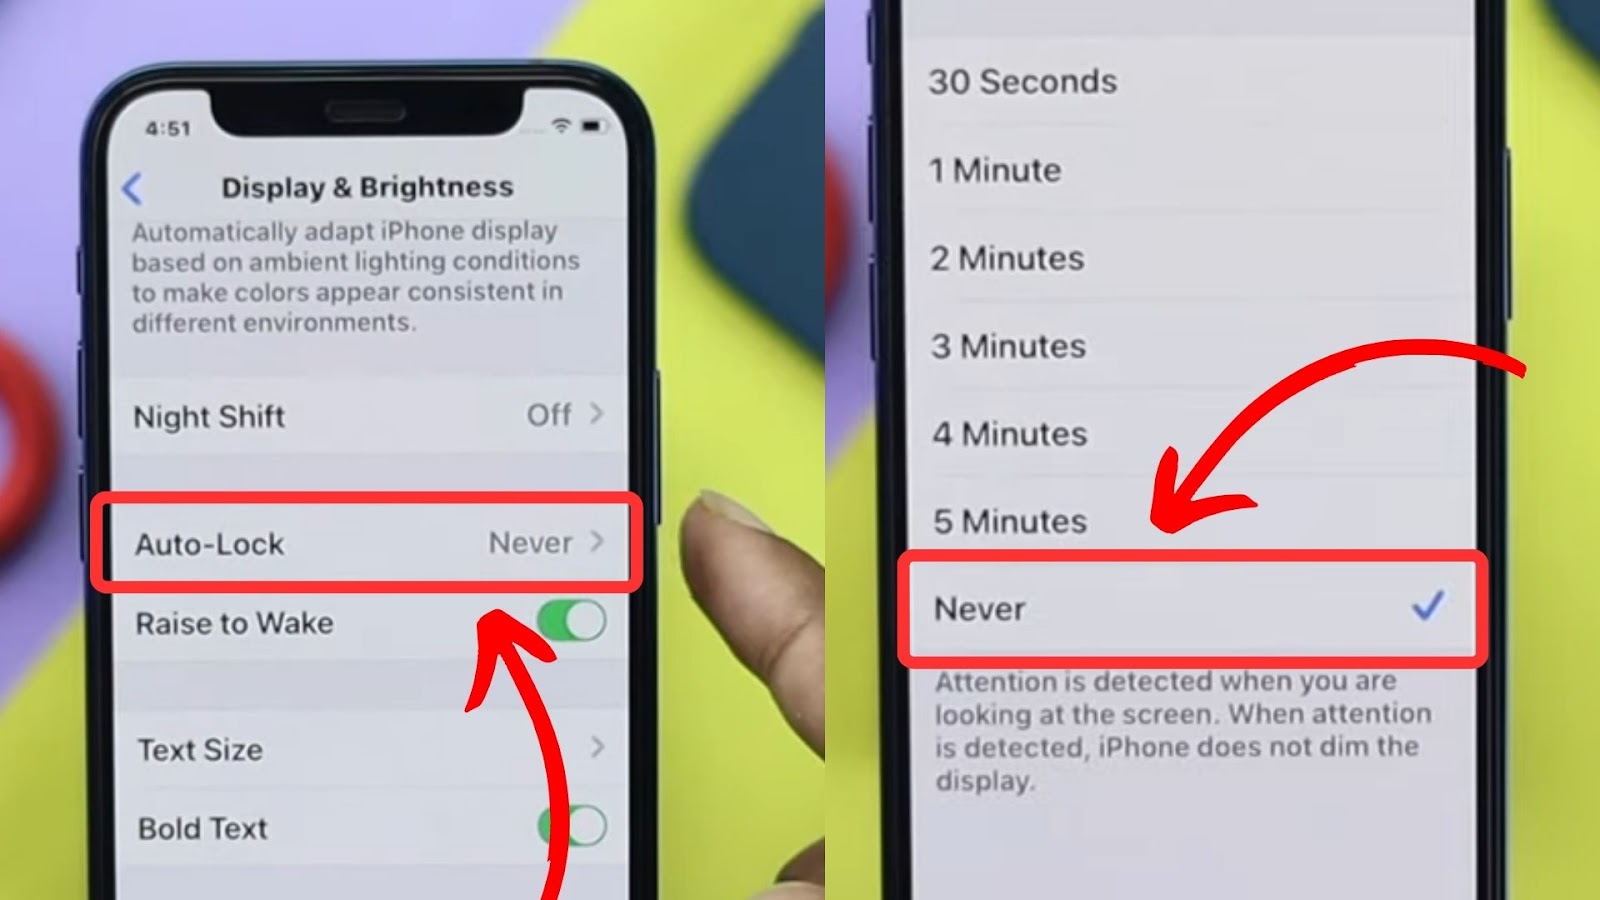
3. Keep the iPhone Screen Awake
When transferring files via AirDrop on your iPhone, it is essential to keep your screen awake to avoid interruptions. Adjust your iPhone’s auto-lock settings to increase the screen time.
Follow these steps to prolong your iPhone screen display:
- Step 1. Tap “Settings” on your iPhone.
- Step 2. Select “Display & Brightness”.
- Step 3. Press “Auto-Lock”.
-
Step 4. Choose “Never”.

Learn more about how to keep the iPhone screen awake longer from Apple Support.
4. Update Your iPhone’s Software
You can also update your iPhone software to fix AirDrop’s failure to save an item. This adds new features and fixes bugs that could be causing the issue on your device.
These are the steps to update your iPhone software:
- Step 1. Navigate to “Settings” on your iPhone.
- Step 2. Click “General > Software Update”.
- Step 3. Tap “Download and install” if there are any software updates.
Discover more about updating your iPhone software from Apple Support.
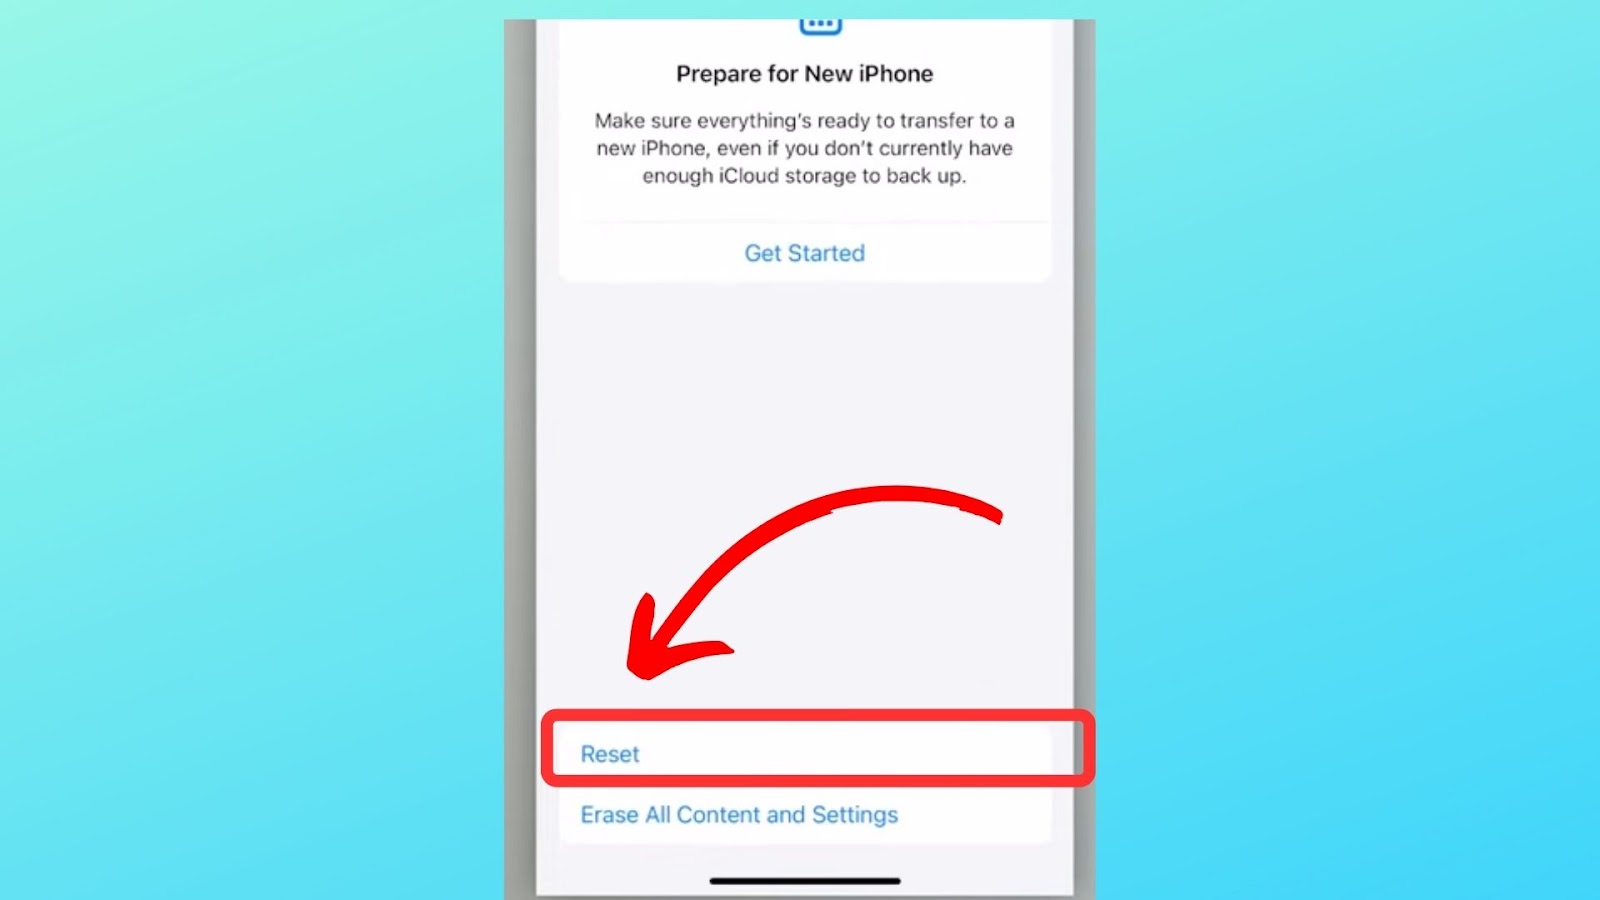
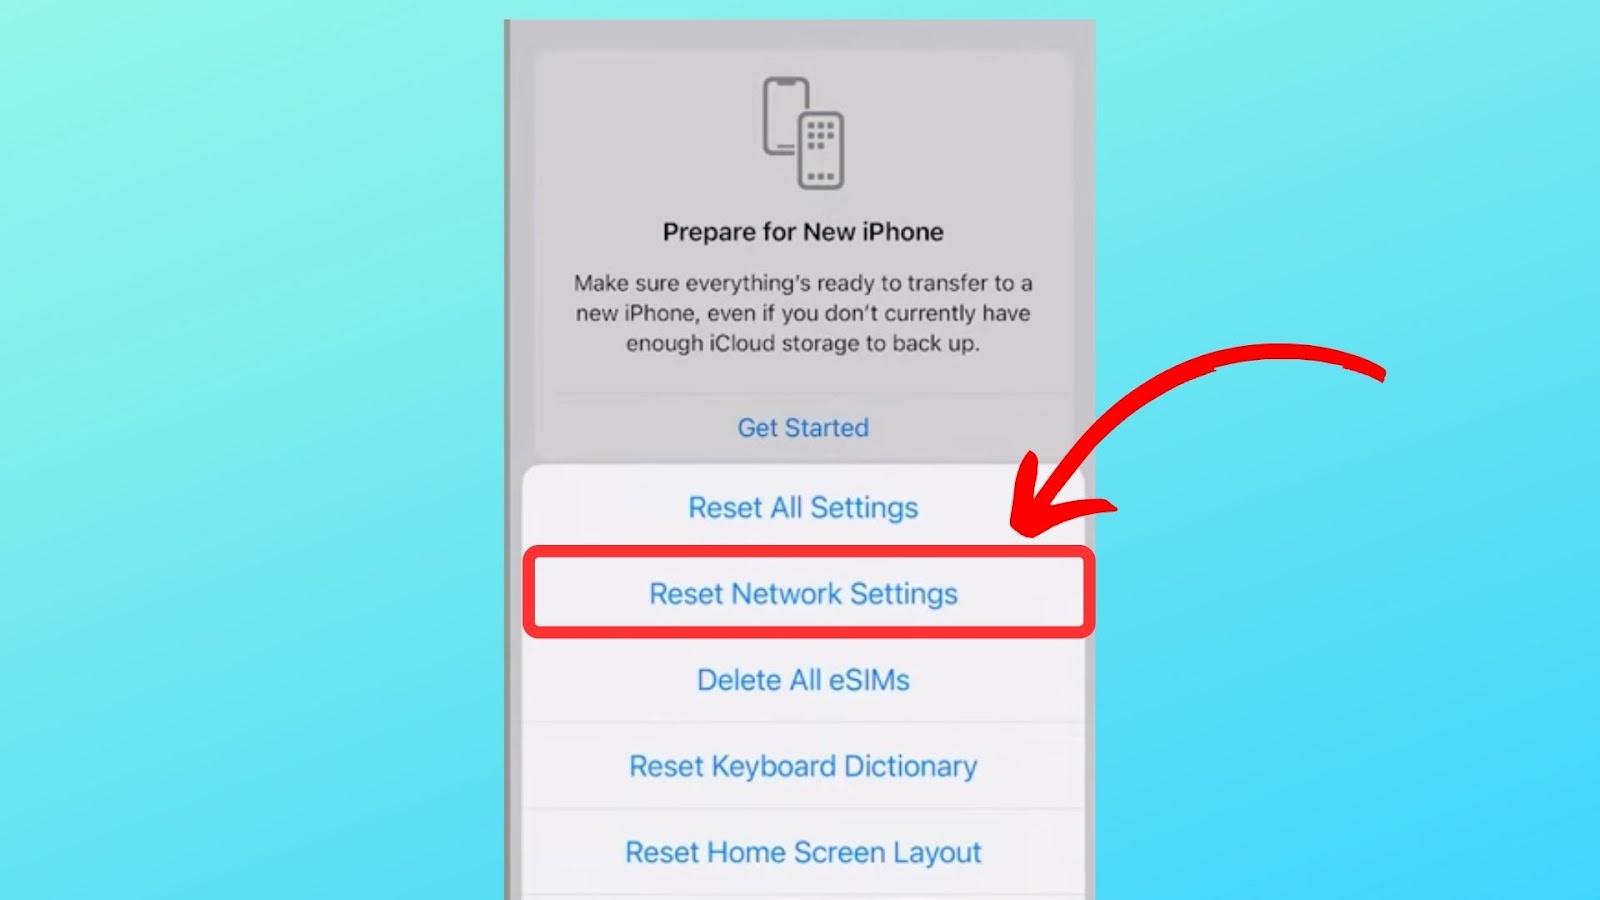
5. Reset Your iPhone’s Network Settings
If your AirDropped photos are still not showing up after trying all the above, reset your network settings. This erases your saved Wi-Fi passwords, VPN and APN settings, and cellular settings, which can help resolve the issue.
Here are the steps to reset your iPhone network settings:
- Step 1. Go to “Settings > General”.
- Step 2. Tap “Transfer or Reset iPhone” from the drop-down menu.
-
Step 3. Press “Reset”.

-
Step 4. Choose “Reset Network settings”.

- Step 5. Enter your passcode to complete the process.
Learn more about how to reset your iPhone’s network Settings from Apple Support.
AirDrop may also fail if the recipient iPhone has insufficient storage. Find out how to clear the app cache on an iPhone to increase its storage.
Where Are AirDropped Files Saved?
AirDropped files are saved to the app that matches the file type. For example, keynote files are saved in the Keynotes app, while contacts files are saved in the Contacts app. Likewise, pictures will be saved in the Photos app.
If you have trouble finding the file, resend it and check if your device has enough space to receive downloads.
How Many Photos Can You AirDrop at Once
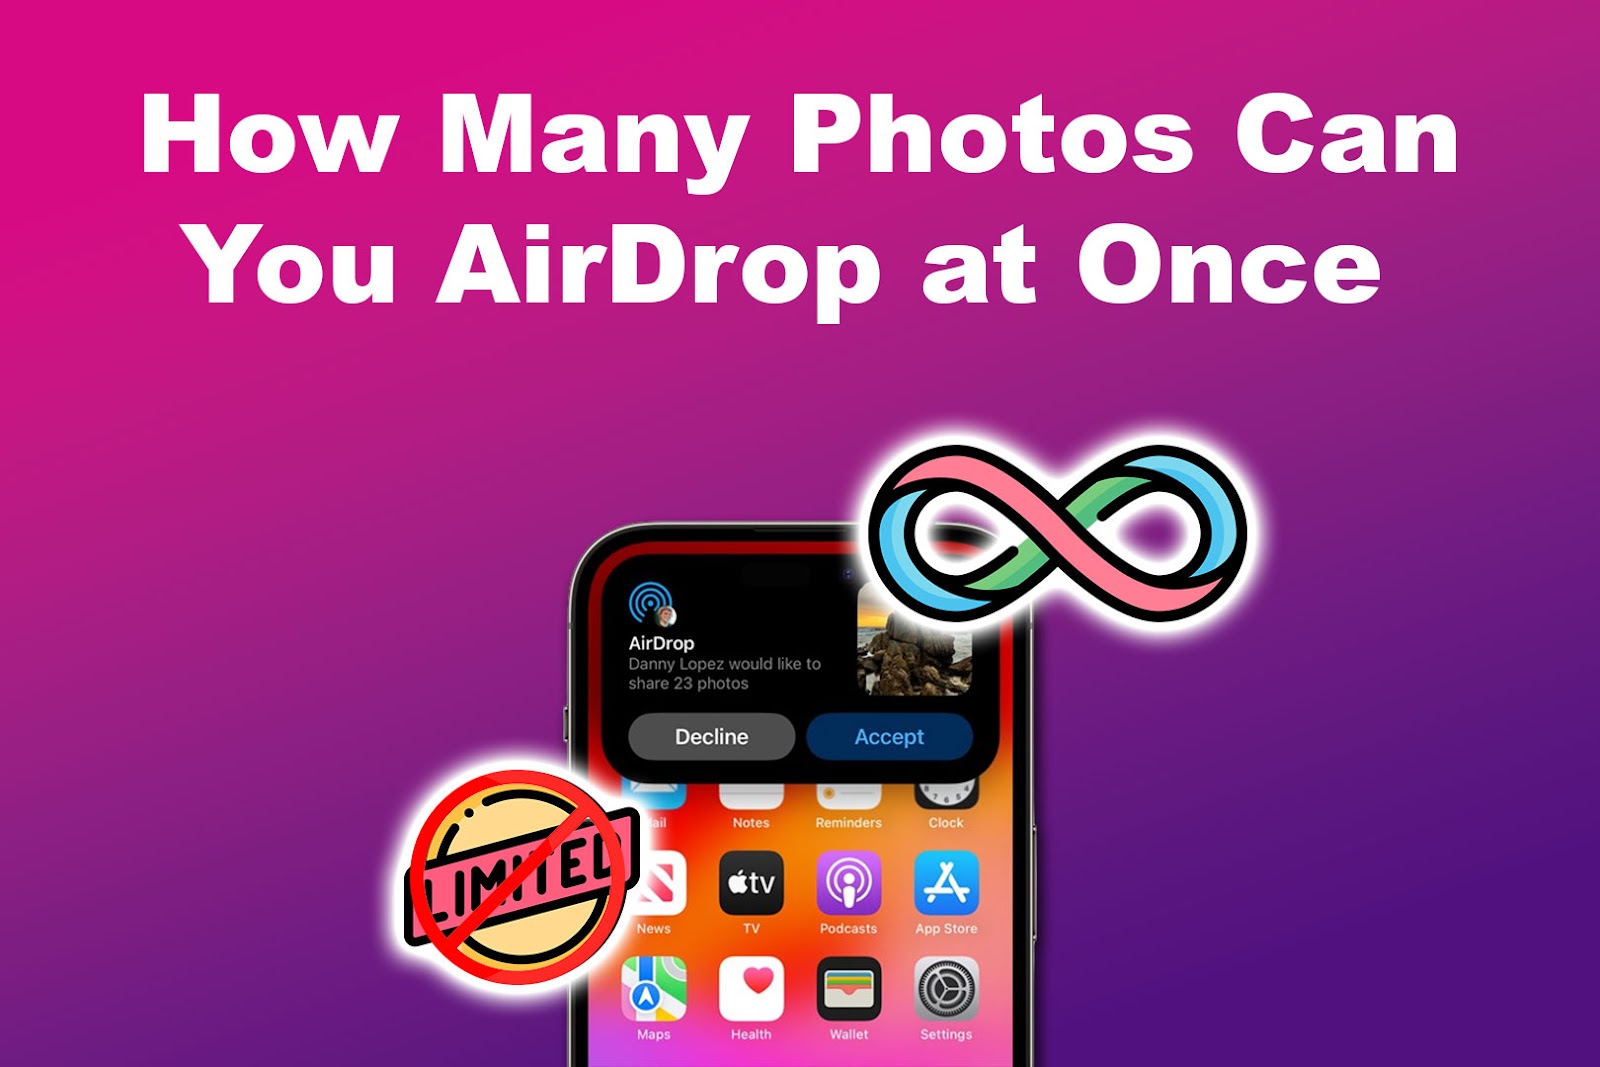
There is no limit to the number of photos you can AirDrop at once. However, you will face issues if the connection between your devices is slow or there is insufficient space on your iPhone to receive files.
Transferring larger files might take longer, especially if your RAM or processing power is low. Additionally, any interruptions from other devices might result in transmission failure.
Does AirDropping Reduce Image Quality?
No, AirDropping does not reduce image quality. However, if the file is compressed before being sent, it may lose some quality. Compression removes data from certain files to decrease size, which may affect the image resolution.
Likewise, if you share an image with an older device using an outdated operating system, the quality may be adjusted to fit their display capabilities. For example, if you take a 4K resolution video and send it to a device with a 1080p display, the image quality will be reduced.
![9+ Proven Best Photo Management Software [Mac & Windows] photo management software share](https://alvarotrigo.com/blog/wp-content/uploads/2023/08/photo-management-software-share-300x150.png)

![19 Best Architect Software for Mac 2024 [Free and Paid] architect software mac share](https://alvarotrigo.com/blog/wp-content/uploads/2023/08/architect-software-mac-share-300x150.png)
![21 Mac Software for Project Management [Ranked & Reviewed] mac software project management share](https://alvarotrigo.com/blog/wp-content/uploads/2023/08/mac-software-project-management-share-300x150.png)
![15 Best Presentation Software for Mac [Reviewed & Ranked] presentation software mac share](https://alvarotrigo.com/blog/wp-content/uploads/2023/08/presentation-software-mac-share-300x150.png)
![15 Top Karaoke Software for Mac [Reviewed] karaoke software mac share](https://alvarotrigo.com/blog/wp-content/uploads/2023/08/karaoke-software-mac-share-300x150.png)