If you need to create a new website from scratch or re-design a new one, then wireframing is the technique that will help you do it.
Wireframing a website is especially useful when dealing with clients that will need to review it and provide some quick feedback. But it will also help you to speed up the design process and allow you to change things much quicker before building the final product.
In this article, we’ll cover how to wireframe a website from scratch.
There are 5 basic steps involved in wireframing a website:
- Collecting your tools for wireframing
- Narrowing down your target audience.
- Identifying the user flows
- Creating the first draft of your wireframe
- Testing the wireframe
How To Wireframe A Website
Let’s take a closer look at each of the steps:
Step 1: Collect the Tools for Wireframing
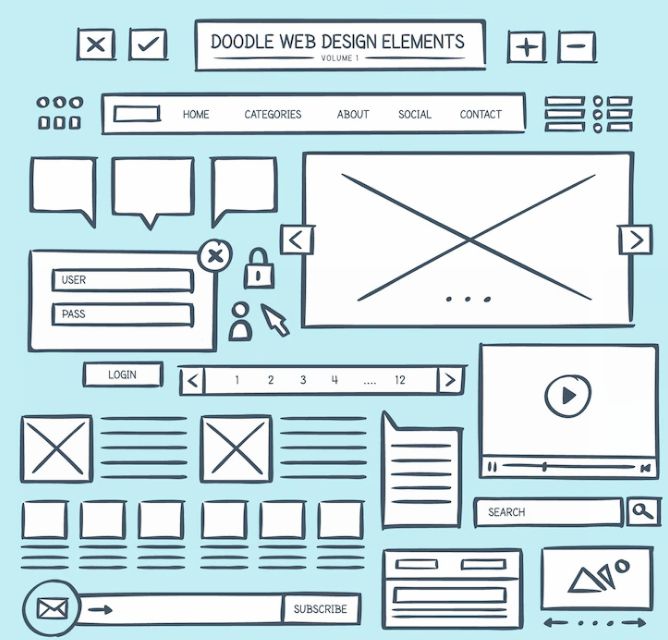
The tools you will need to wireframe a website will depend largely on whether your end goal is a digital wireframe or a hand-drawn one. As you can imagine, a hand-drawn wireframe is like any other sketch. All you will need is something to draw with (such as a pen or pencil) and something to write on (some form of paper)
Many designers tend to prefer these hand-drawn wireframes to get a handle on their ideas and then convert them to a digitalized one after they like what they have hand-drawn.
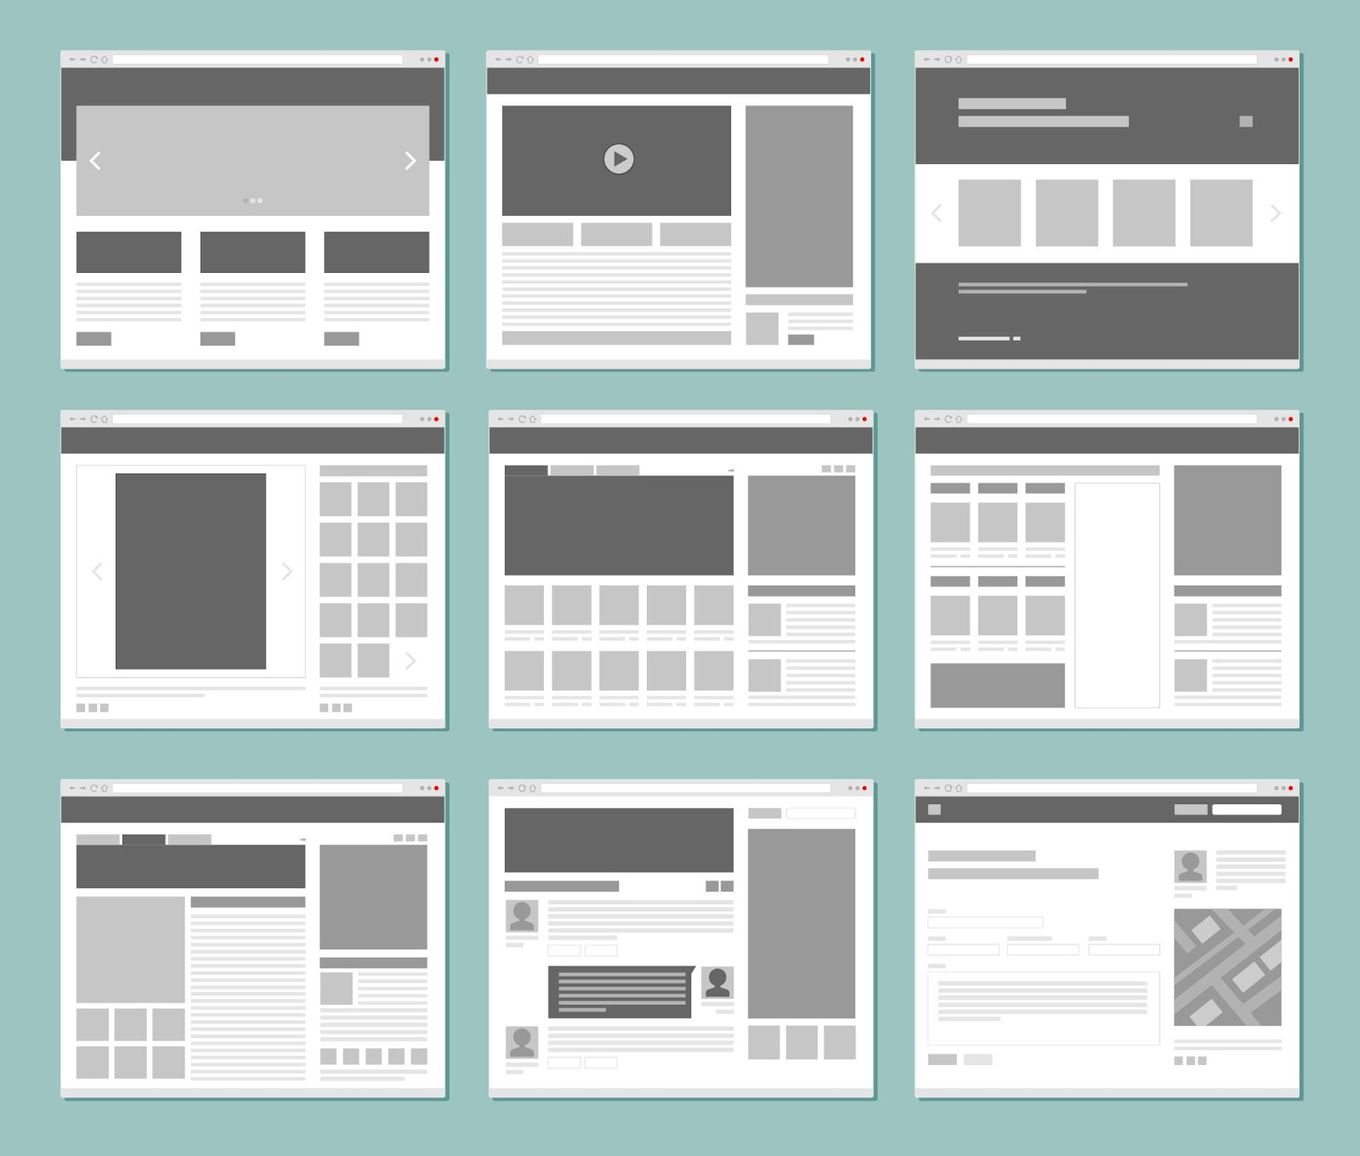
On the other hand, should you decide to create a digital wireframe from scratch, you can utilize your choice of many free and paid software such as Wirify, Wireframe.cc, Figma, Adobe XD and many others. Alternatively, you could opt to use one of the many website wireframe examples or templates available online as a starting point to transform into what you need.
Step 2: Narrow Down Your Target Audience Through Research
The second step on how to create a wireframe: understanding who your audience will be will greatly assist you in determining the features and elements needed in the wireframe of your website. Different user groups will interact and relate to the features used in a different way than others would. So, defining this factor is vital to the success of your wireframe.
Creatin user personas can aid in this step of your wireframe creation process. A user persona is essentially a character sketch. It tells you who your ideal customer is while taking into perspective their psychographic and demographic data. This helps you to narrow down what their main goal will be and the potential barriers they may face trying to achieve that goal.
Step 3: Identify The User Flows Needed To Complete Your Desired Goal
In this step, you will create what’s known as a user flow. This is a simple diagram visualizing the path your user persona would take to complete a task on your website. It takes into account all the steps they would need to pass over from the starting point (generally accessing your website) to completing your desired goal.
To gain a better understanding of what a user flow is, check out some user flow examples or learn What is a Wireflow in UX Design? where we explore an in-depth analysis of wireflows.
To get this step on how to wireframe a website completed successfully, you will need to consider the key tasks your website user will need to achieve to ensure your site remains effective and user-friendly. The goal is to keep the user’s overall experience in mind. Ask yourself questions to help you figure out:
- The Initial Problem. Ask yourself what issues should the website be solving for the user.
- The Desired Goal. What is the end result or outcome you would like the website to achieve for the user?
- The Best Features To Support The Desired Goal. Will adding features such as links, videos, buttons or additional menus lead the user to the goal quicker?
- The Order In Which The User Should See Specific Information. Controlling the order in which a user receives information from your website could be beneficial in user conversions. Showing them what the website could offer them, for example, would generally be better received than leading with the cost of the product.
- The Call to Action Prompt Positioning. Ask yourself where would be the best place to add your CTA prompt for the user to not only take notice but also interact with your button or link?
Understanding the responses to these questions could make or break your wireframe in the next step.
Step 4: Create The First Draft of Your Wireframe
Next, it’s finally time to create the first draft of your wireframe. Your goal here is to go in with the user’s experience in mind, focusing on how each interaction or feature will influence their journey to the website’s goal. You won’t be designing. So, no fancy fonts, precise colors, or even images. What you want is a blueprint sort.
Need to re-design a website? Check out this website redesign project plan
That being said, if there are specific features or design elements that would be vital to your user’s experience or interactions with your site then the positioning of those may be noted in your wireframe using placeholders.
You may also choose to include your main navigation menu, important buttons or links, your call to action, and any vital information that would be in the footer of the website.
Remember to keep all the data you collected previously regarding your target audience, their goal, and potential barriers in mind as you create the actual wireframe.
Step 5: Test Your Design
Now that you’ve created the first draft of your wireframe, it’s time to put it to the test. Testing your wireframe before moving into the design process will highlight any unforeseen barriers or inconsistencies that may be present in the proposed design or flow.
This would be the best time to collaborate with other team members or gain feedback from your client as they would have a clear vision of how a user would travel through their website to their ultimate goal.
Make a note of any issues or necessary improvements highlighted then adjust the wireframe as needed before heading back to create the final draft of the wireframe.
What Should Be Included In A Website Wireframe?
Now that you know how to create a wireframe for a website, let’s see what a wireframe should include:
- A Company Logo or Name. Though the actual logo would not typically be present, the wireframe would include placeholders showing the projected positioning of the logo or company name.
- Navigation Bar. The position of the main navigation bar would be represented in the wireframe unless it is for a landing page. Even single-page websites would have anchor pages which would require some form of user movement between sections. The navigation bar would also clearly display the desired method to return to the home page screen or top of the age (in the case of a single-page website).
- The Blueprint/Layout of The Website. The bulk of your website wireframe will display the overall positioning of all the elements of the website as the user would see them. This would include placeholders for images, buttons, videos, etc. You essentially want to capture the essence of the website in an outline or blueprint.
- Call to Action (CTA). The final element of your wireframe is the CTA. As discussed above, this is the main desired action or goal you want the customer to reach. Again, this won’t be the actual CTA, simply a placeholder in the position in which the user will find it.
If you need inspiration for this, make sure to check our list of great wireframe examples.
Balsamiq Wireframes
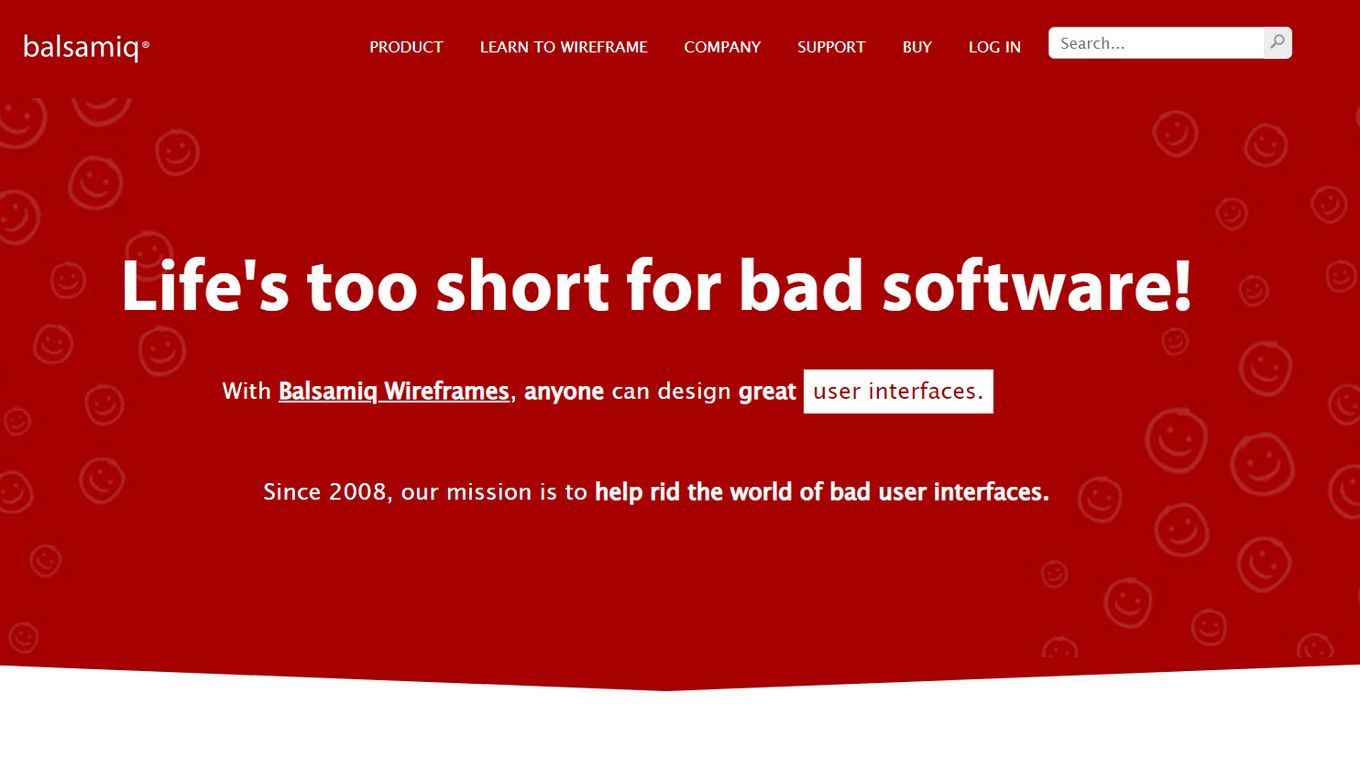
Balsamiq Wireframes is a user interface tool to create wireframes for websites. It can be used to create a sketch or mockup for a website or application.
This is important in:
- Providing a mockup that helps in understanding the application or website
- Facilitating discussion between the developers and coders
- Getting feedback from stakeholders
- Getting approval to start development
Balsamiq Wireframes for Desktop
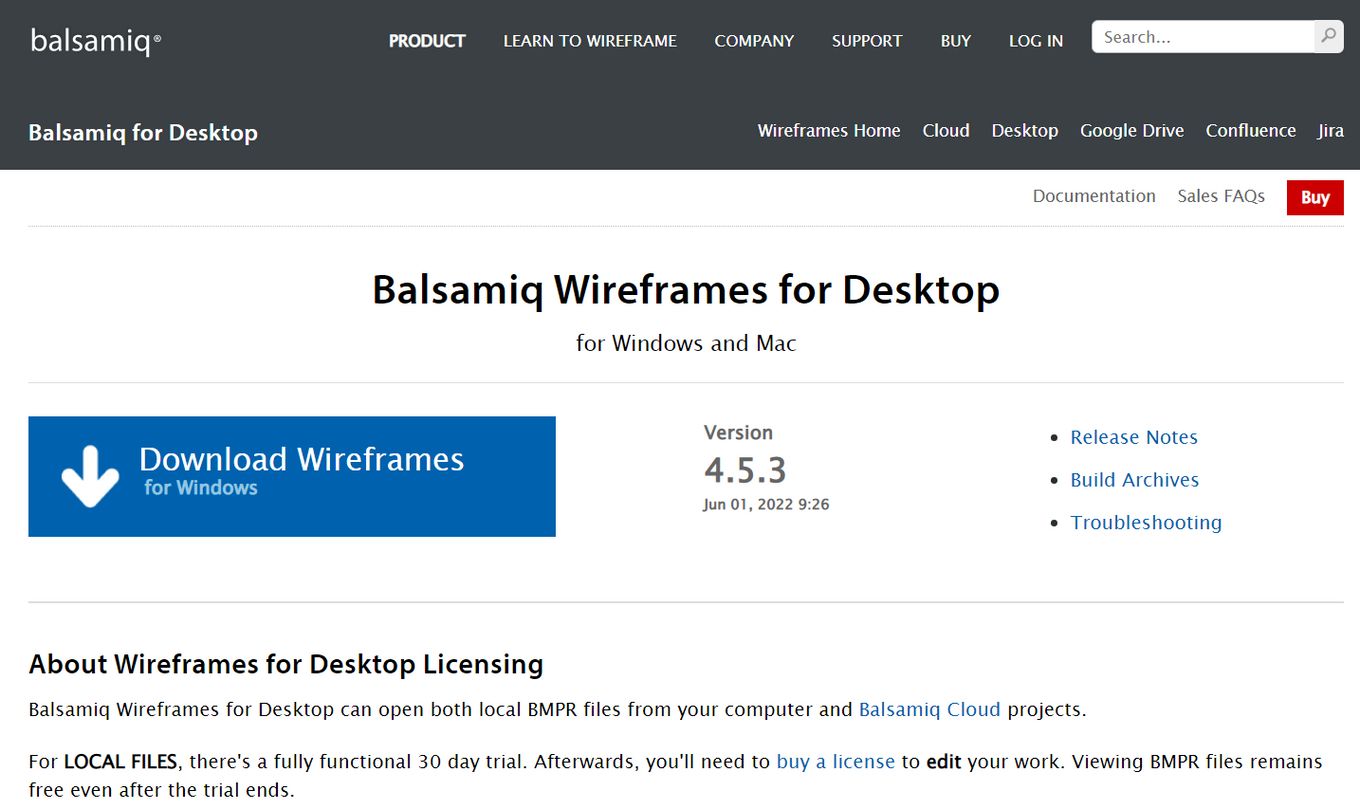
There are new features that have been incorporated but the app remains easy to use. They include:
- Smooth and Fast. The app runs smoothly and fast, which helps in maintaining efficiency for the users.
- Full-screen Mode. The full-screen mode makes it easier for presentations. It is also customizable and better for user testing.
- Review Section. A review and comment section that enables you to leave comments for your developers and collaborators to work on or contribute to
- Integration. Integration with Wireframes to Go that enables you to directly access more tools from the editor
- Cloud Storage. Through the app, you can log into Balsamiq Cloud and access all the projects you have saved on the cloud with ease.
Balsamiq Cloud
Balsamiq Cloud is a web-based user interface design tool to create a wireframe. It can be used to access the content saved in your cloud. You can join or invite other collaborators to work on a project.
Balsamiq cloud can facilitate real-life collaboration and has a comment section where one can communicate with other creators.
With a range of features, Balsamiq wireframes are easy to use and improve the efficacy of teams. It has various tools that are helpful to any developer.
Additionally, the support team is very hands-on and you can get help should you need it by contacting them. Several tutorials offer guidance on how to use the app.
If you struggle to concentrate, there is background music that can help you focus more on your task and even time yourself. The team also incorporated various recipes that may be fun to try.
To access the recipes, go to the Help menu and select What Should I Make for Dinner?. While there might be new features Balsamiq wireframes remain user-friendly and just as familiar as it was before the updates.


