The thumbnail is to an image what a synopsis is to a story. Did you know that those array of pictures that Google returns in the Search Engine Results Page (SERP), relating to your search are called thumbnails? Well, now you know.
The purpose of this article is not just to understand what is a thumbnail, but to also show you how to create eye-catching website thumbnails.
What Is A Thumbnail?
A thumbnail is a miniature version or a reduced-sized model representing a larger image or video. A thumbnail, which is a compact depiction of a larger image or video, got its name from the human thumbnail, in reference to its size.
Originally, the word “thumbnail” referred to actual small-sized drawings or images that were about the size of a human thumbnail. However, it is now commonly used to refer to digital images that are shown on screens.
Check out more on website terminology if you want to learn more terms used on websites.
What Is A Website Thumbnail Image?
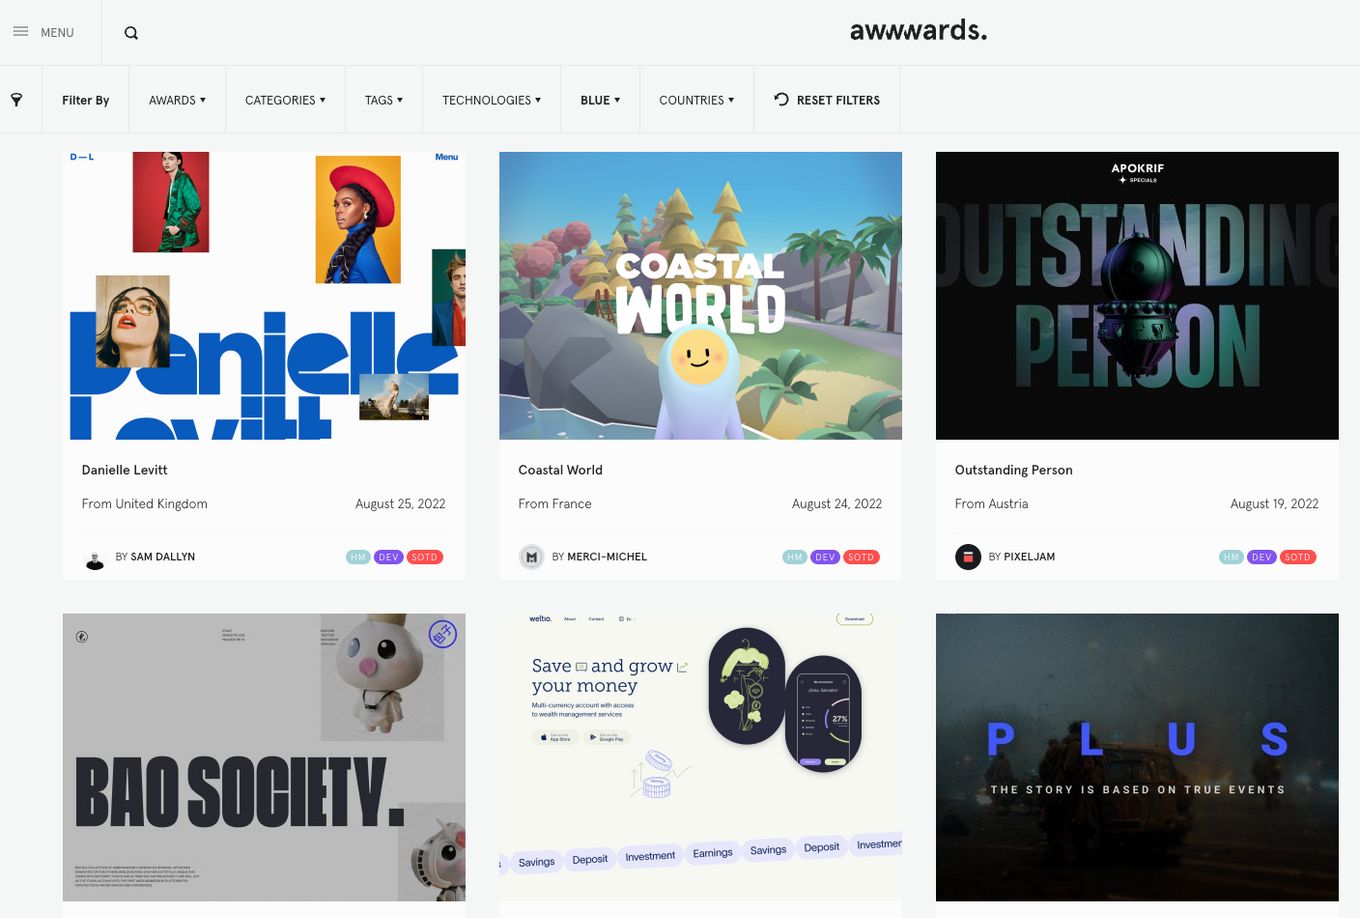
Website thumbnail images are small graphical representations that accompany websites. A thumbnail for a website is often an icon-sized version of a picture from the associated website.
What Is A Thumbnail Sketch?
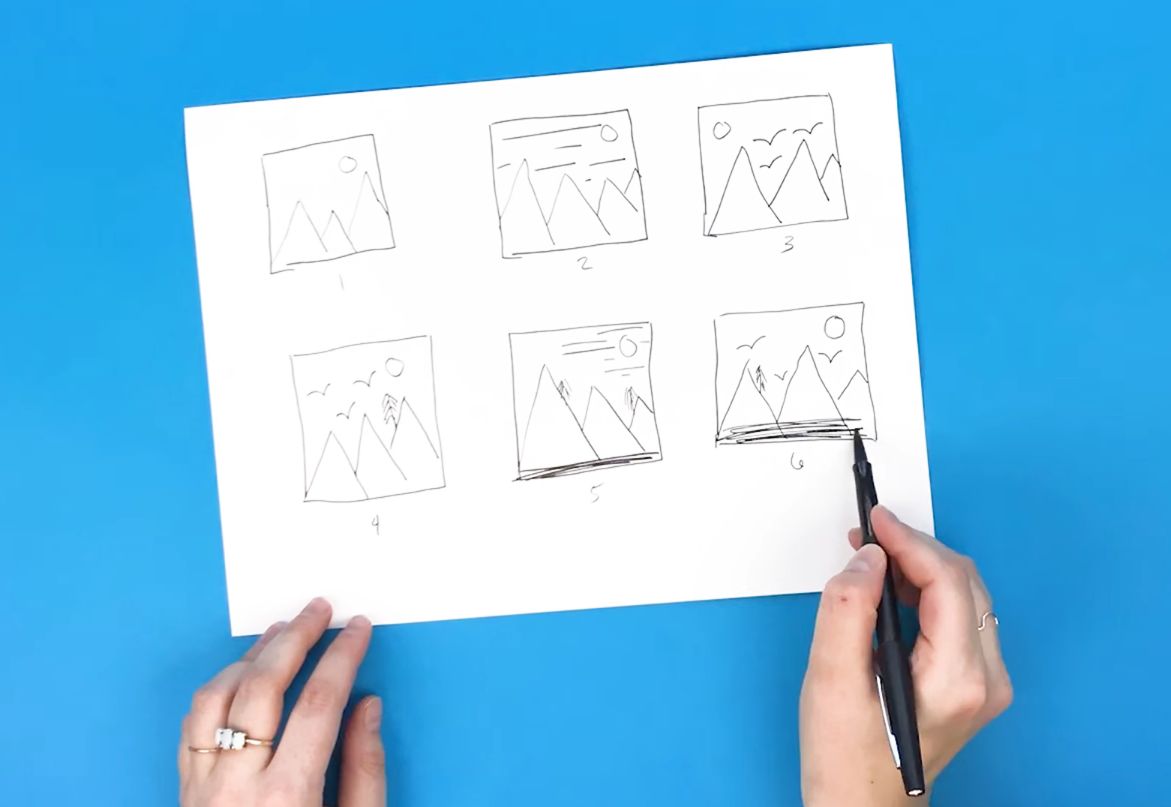
A Thumbnail sketch is essentially the miniature rough draft of an image idea. Thumbnail sketches are similar to first drafts in novels. i.e., it is the initial concept of what the finished design of an image idea would be.
The focus of a story writer when writing the first draft for a story idea is to get the basic idea on paper to be fleshed out later. Similarly, the focus of a web designer when drawing a thumbnail sketch is to capture the basic ideas of the image—for details to be added later.
What Is the Difference Between Thumbnail and Image?
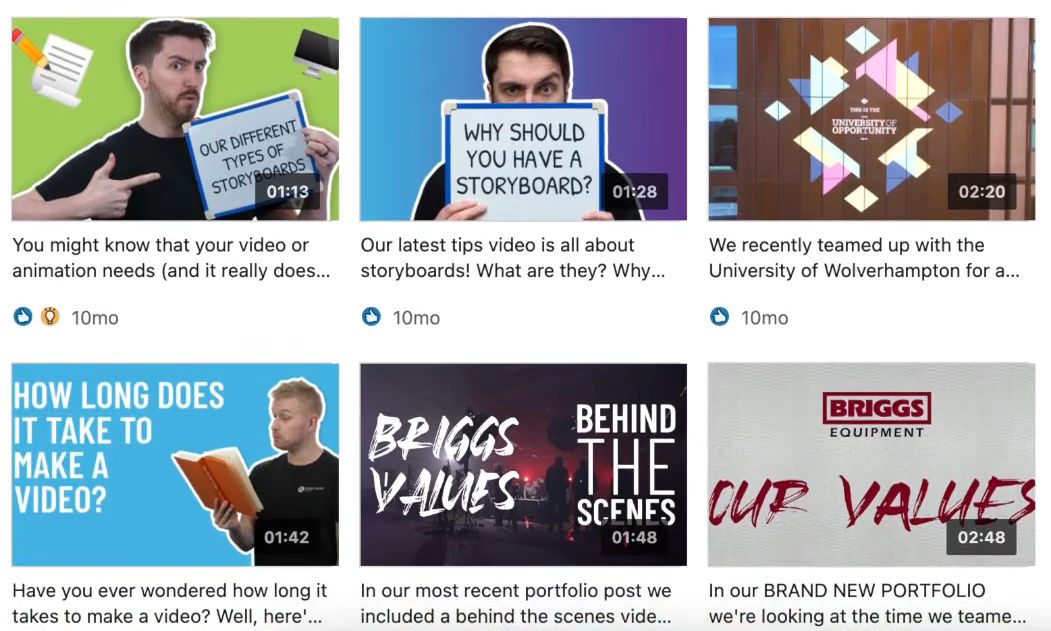
Thumbnails are smaller versions of the final image and they tend to be of a lower quality than the final image. They serve as a preview of the final image or video and they might contain some clickbait text if they are in a website.
Why Do You Use A Web Thumbnail?
Website designers use a web thumbnail for the following reasons:
To Boost Visibility
Using a thumbnail can greatly boost the visibility and enhance the success of a website by increasing the click-through rate(CTR) and post-click engagement of a website.
When using a search engine or a social media platform, the thumbnail is what you first see because thumbnails serve as a link to the rest of a website’s content.
To Improve Loading Time
One of the major benefits of thumbnails is their reduced file size. As a result of the reduced file size of a thumbnail, as compared to its original image, a website will have a faster loading time, especially if the website images are first displayed as thumbnails.
To Reduce Bandwidth And Downloading Time
Thumbnails, thanks to their size, enhance data transfer rate and download time, unlike high-resolution images that can create a network bandwidth hog.
As a result of reduced bandwidths, websites can supply visitors with a lot of content without increasing the page’s loading time.
To Optimize Search Engine
Thumbnails can be used to optimize some SEO metrics such as CTR, impressions, organic clicks, SEO leads, and so on. A good thumbnail should create interest which should translate to organic clicks, engagements, and ultimately, leads.
To Provide User-Friendliness Websites
Webs thumbnails are device compliant and easy to navigate and instead of visitors being forced to scroll through embedded photos or videos, thumbnails let website visitors choose what they want to view.
How Do You Create A Website Thumbnail?
Now that you know what is a thumbnail, I am sure you want to create one.
There are several styles and ways of creating website thumbnails and the nature of your website or brand will inform your choice of style in creating thumbnails.
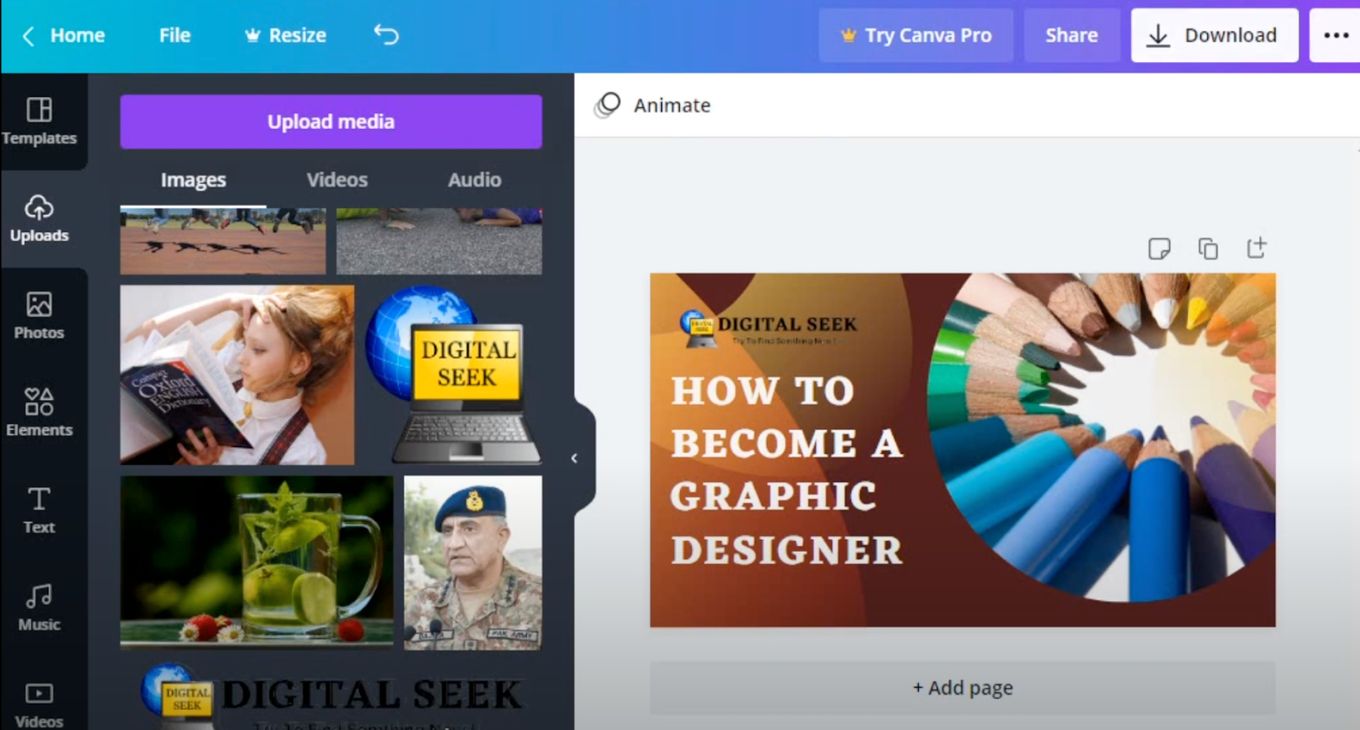
However, to create eye-catching web thumbnails using Canva, follow the step-by-step explanation below:
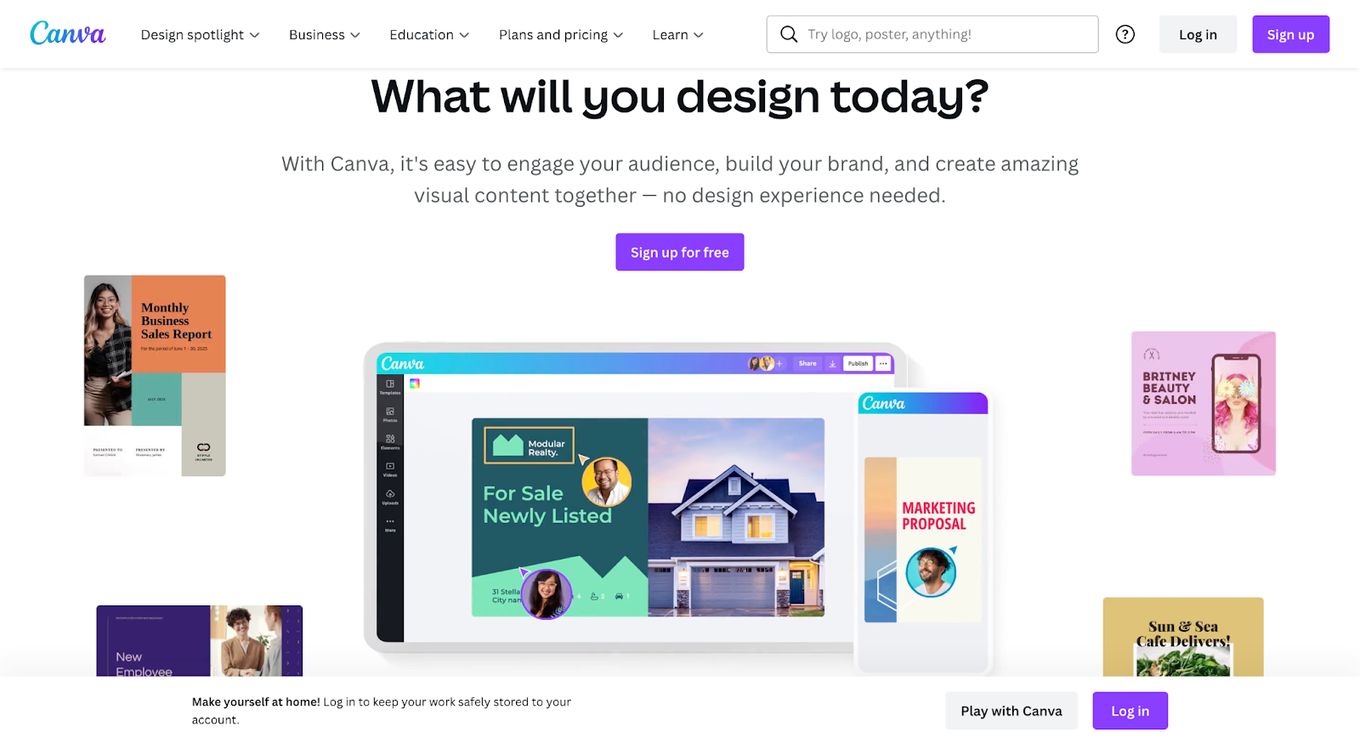
Step 1: Open Canva
Go to canva.com and sign up or log in if you already have an account with Canva.
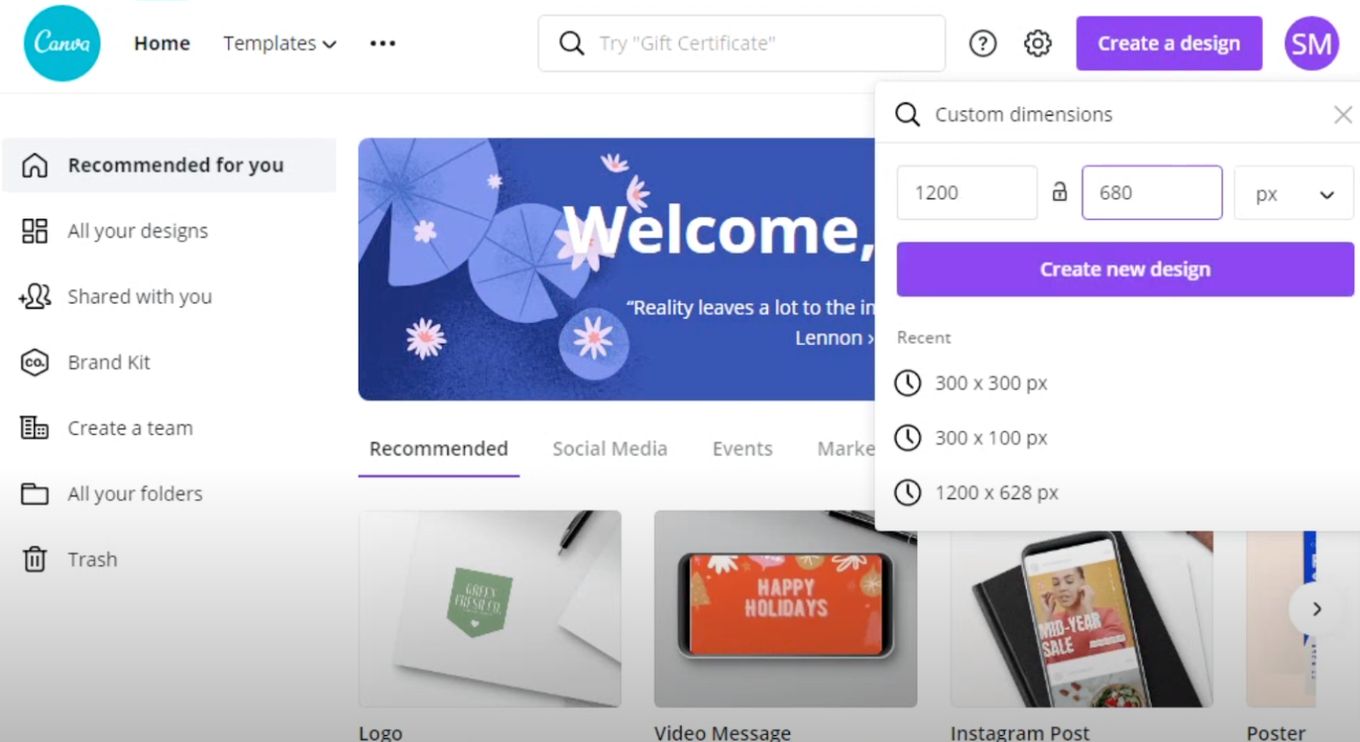
Step 2: Go to Custom Size
After signing in or logging in, go to “Custom size” at the top right corner of the page to configure the custom dimensions you want.
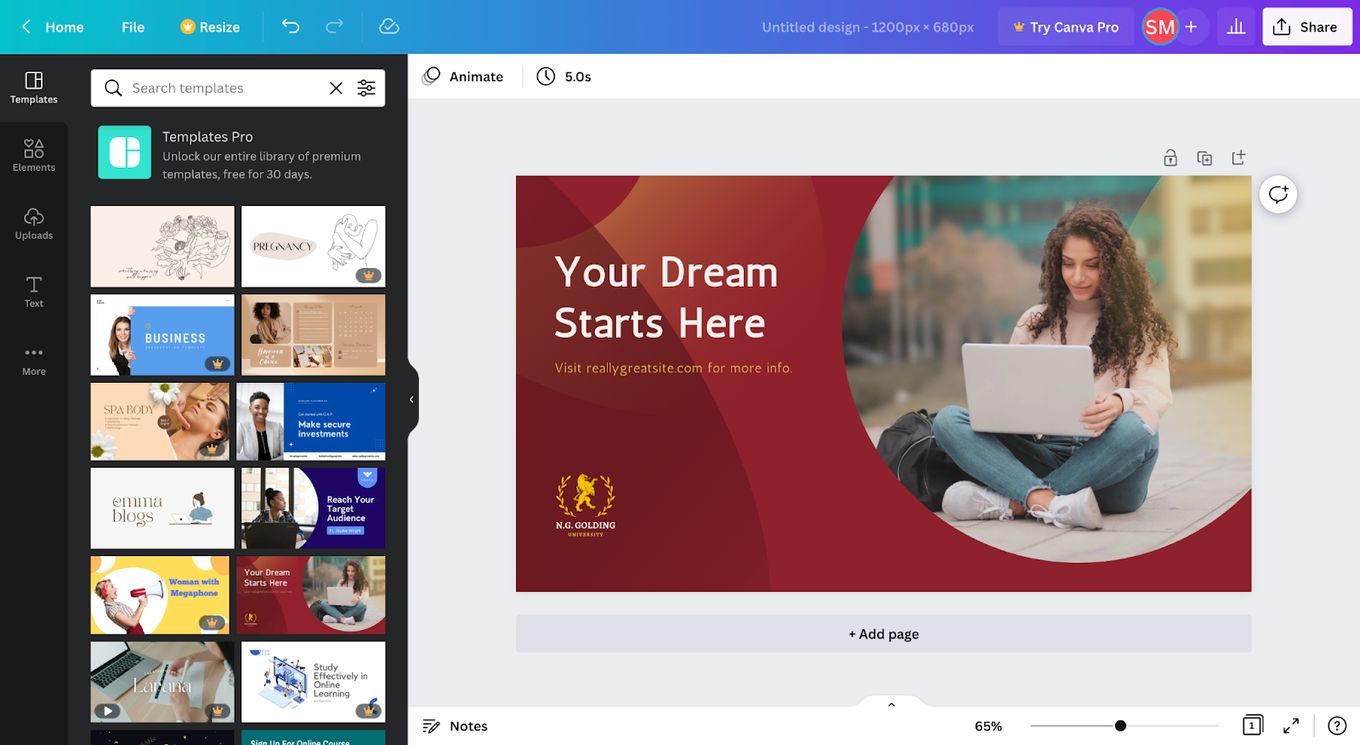
Step 3: Select a Template
After selecting the custom dimensions you want, Canva will open a new window in your browser and you will see layout templates on the left side panel of the new window.
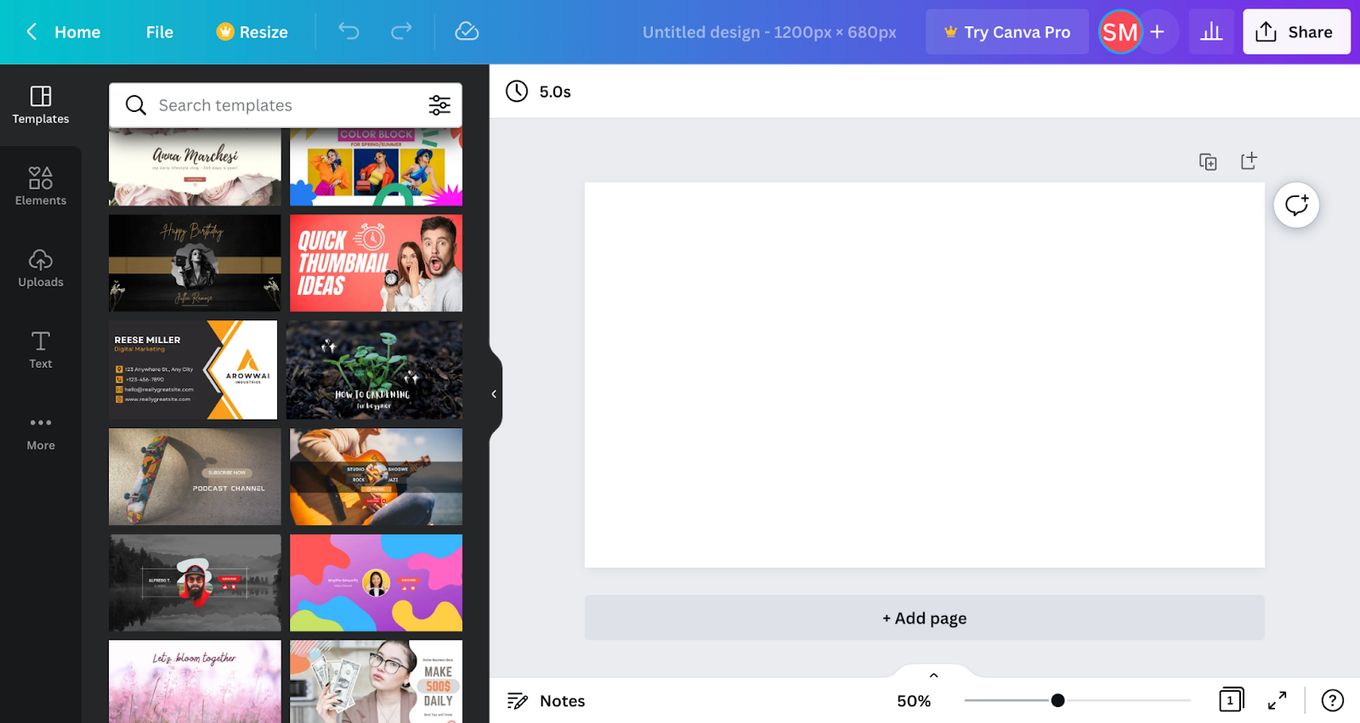
On the new window, the first tab you land on is the “Templates” section and this section boasts hundreds of both free and paid templates.
Step 4: Customize Your Design
Once you have selected a template that looks promising, you can begin customizing it to suit your needs.
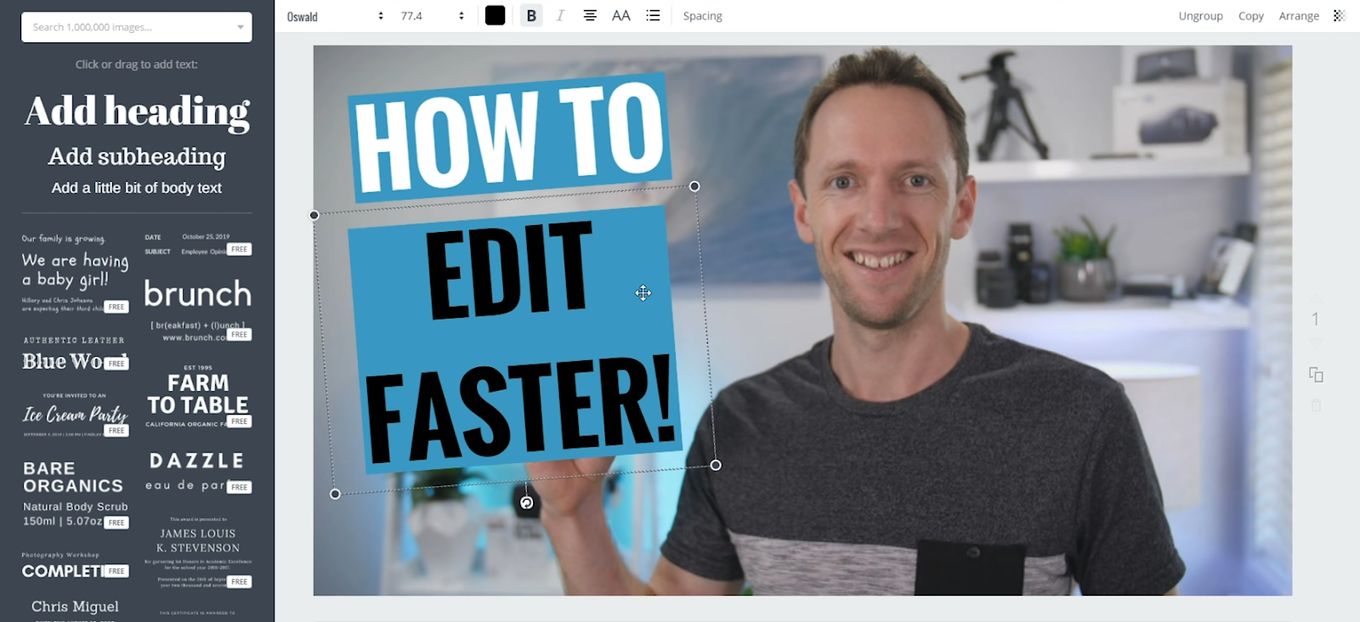
Step 5: Edit The Text
You can change the text already in the layout to add your title and/or sub-title that would accurately describe your website in a thumbnail.
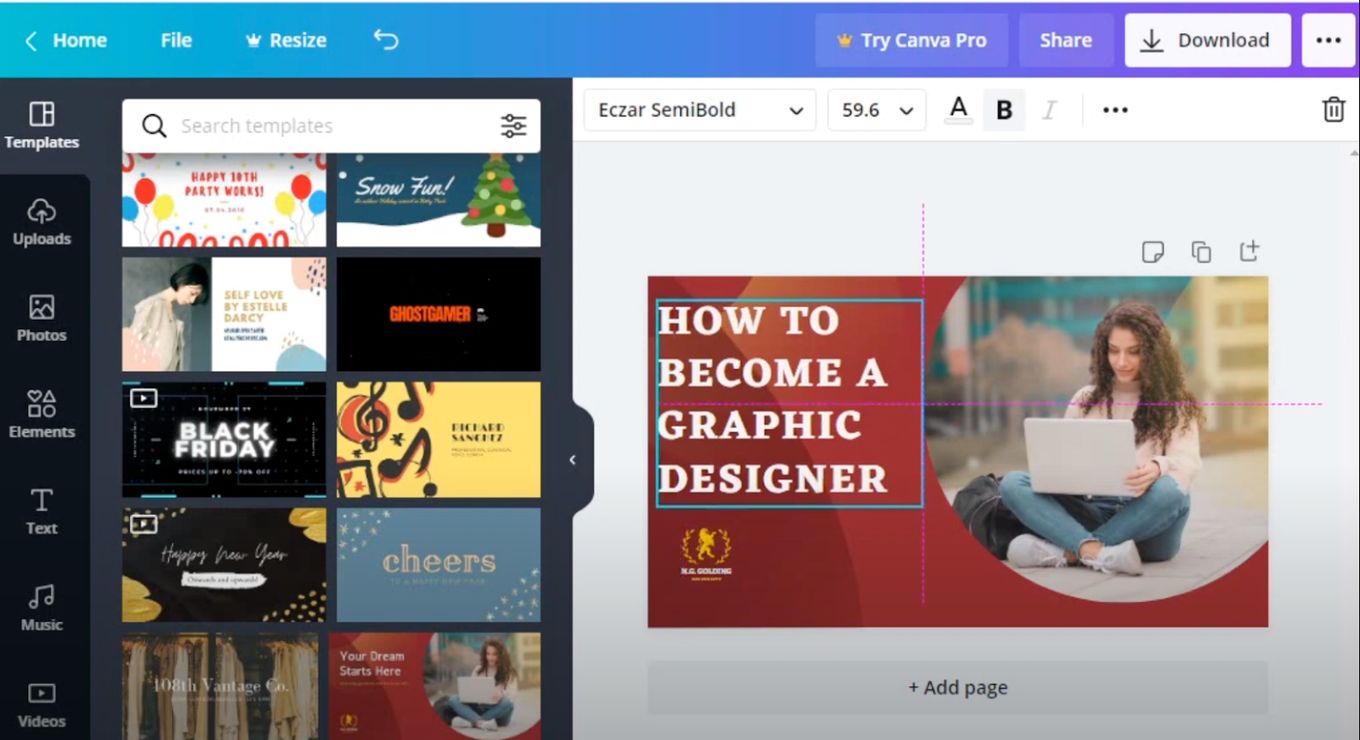
You can change and customize the text by tweaking the font type, font color, font style, size, alignment, etc. Because thumbnails are not very large, you need to keep your texts pithy and big so as to catch a viewer’s attention.
Step 6: Custom Icons
Give your image a personalized touch by adding custom icons.
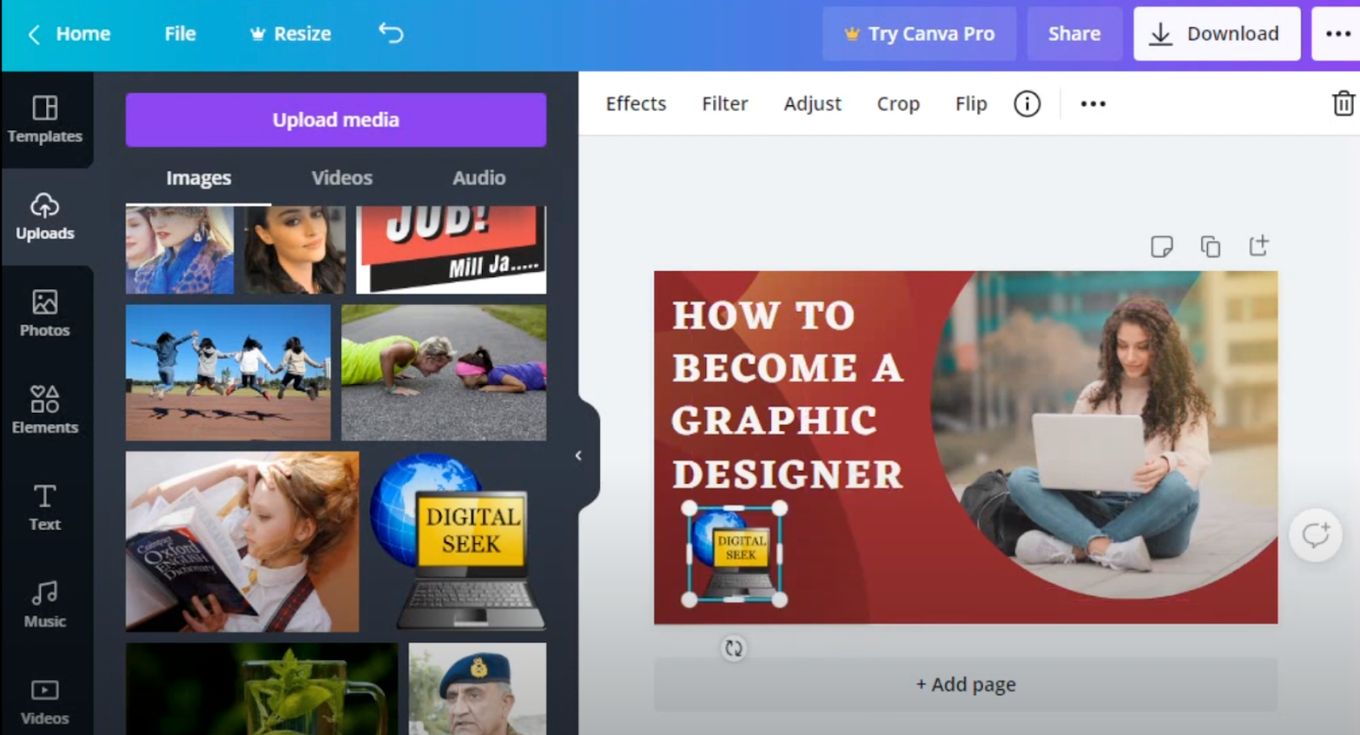
One of the eye-catching elements that can be on your thumbnail image is an icon. First, remove any icon on the template that does not align with the image you are creating.
You can either choose one of the many icons on Canva or upload an icon from your desktop. To select an icon from canvas, go to the “Elements” tab. You can customize your icon by changing the color, resizing it, etc.
Steps 7: Add an Image
Find a picture related to your topic or design and add it to the thumbnail you are creating.
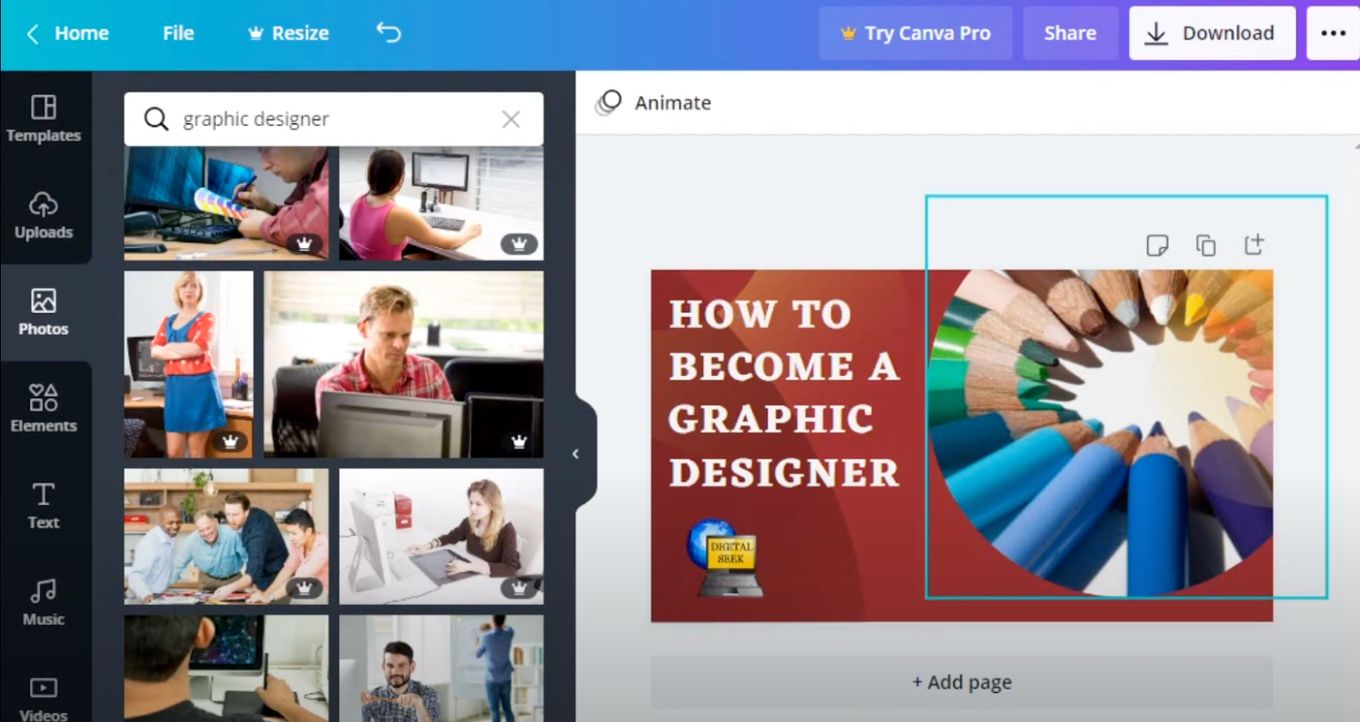
You can upload an image if you have one that accurately and interestingly represents your website. You can also use one of the different images available on Canva. Edit the image by increasing or decreasing its brightness, contrast, saturation, etc.
You can further edit the image using the flip tool or the cropping tool.
Step 8: Add Touches Of Color
The thumbnail should include colors that are consistent with your brand.
However, it is important to consider how the thumbnail will look on a screen as well. It is therefore advisable to use contrasting colors.
It is difficult for a design to stand out if there is too much of one color and your design will not “pop” if there are too many similar shades.
Step 9: Download Your Thumbnail
Once you are done designing, your web thumbnail is ready.

So you can go ahead and download it using your preferred file format. The file formats include JPG, PNG, PDF standard, PDF print, SVG, and GIF.
Note: Some of these file formats may not be available to you, depending on your Canva plan. Nonetheless, you can rest assured that you’ll be able to download your image.
How To Change A Website Thumbnail In WordPress?
To change your web thumbnail in WordPress, here are the steps you need to follow:
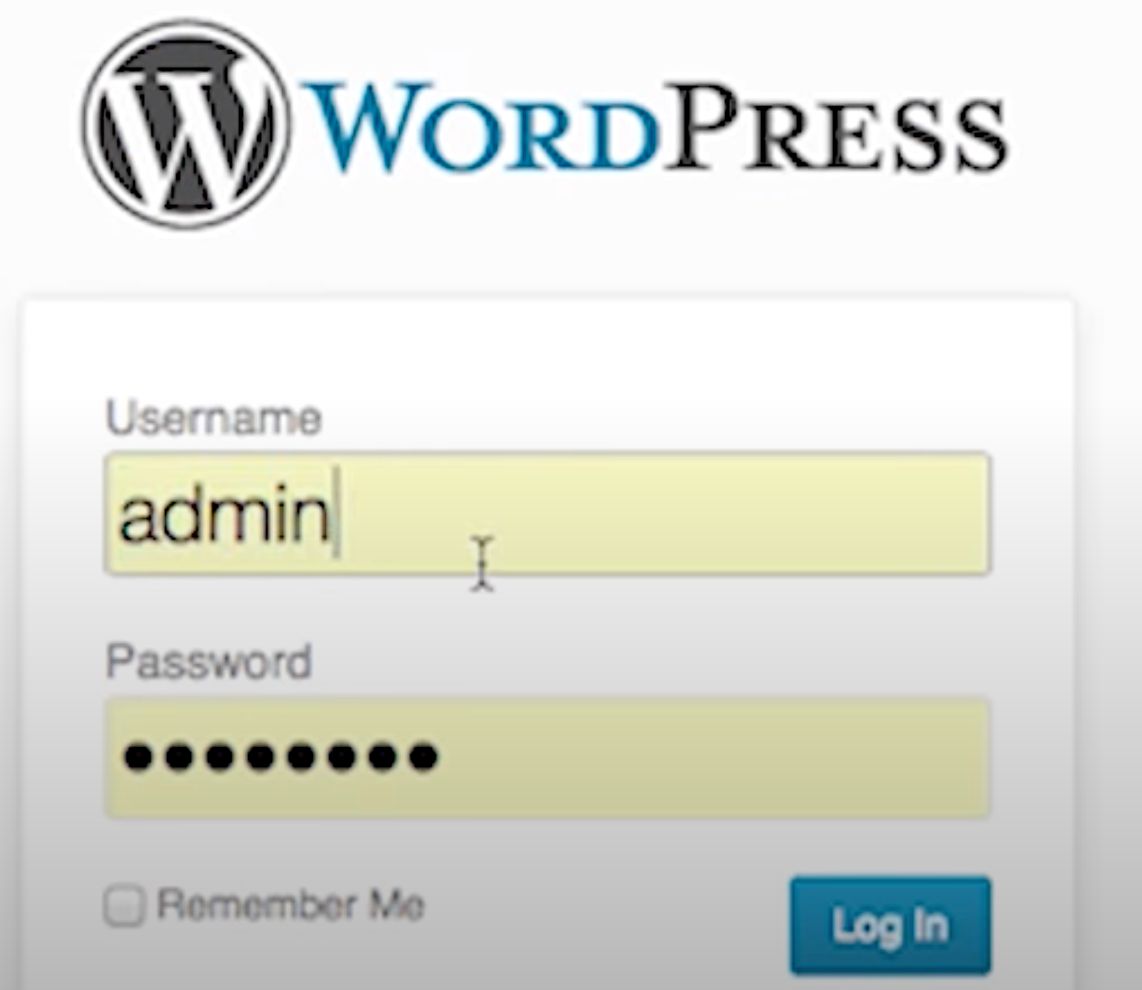
Step 1: Sign in To Your WordPress Administration Page
Step 2: Click On The “Plugins” Menu
Go to the bottom of your administrative menu page and hover over the Plugins menu.
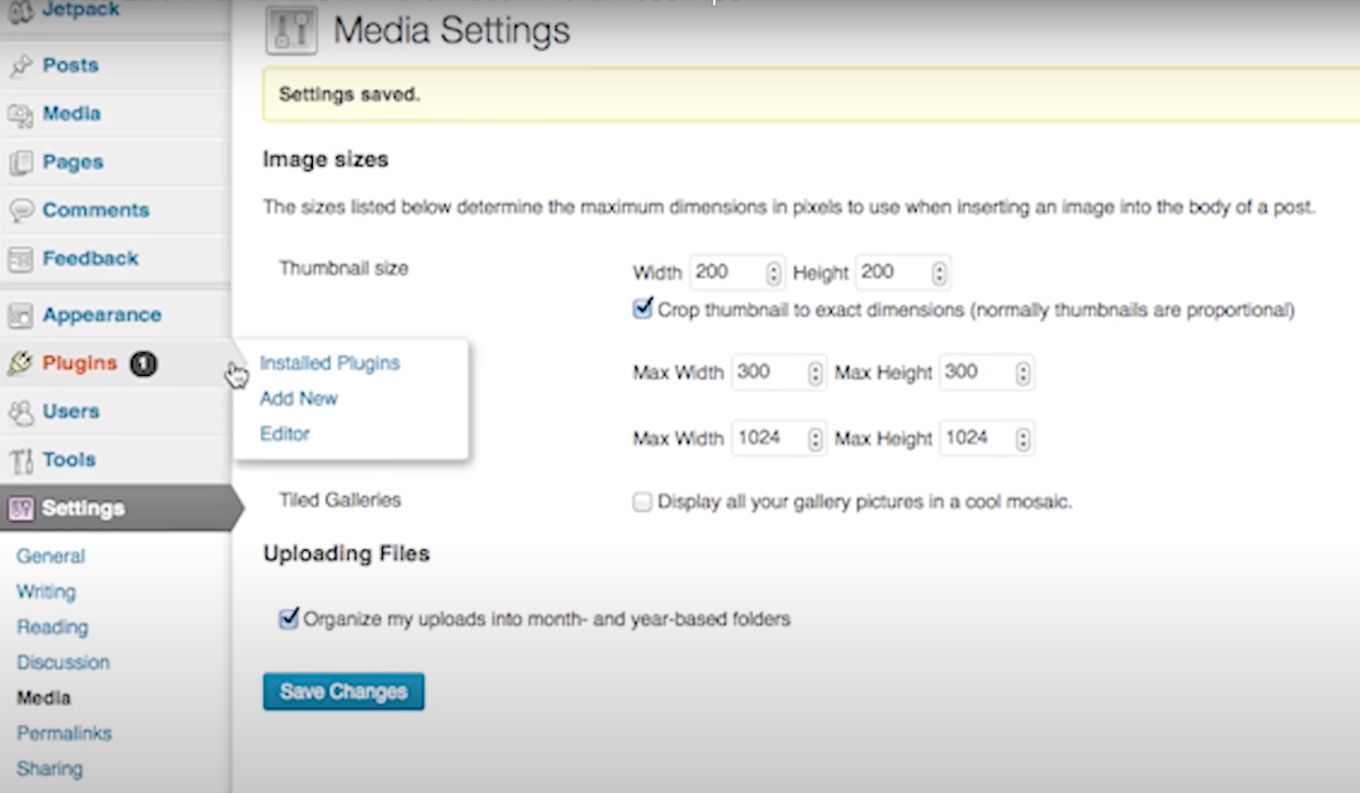
Step 3: Select The “Add New” Option
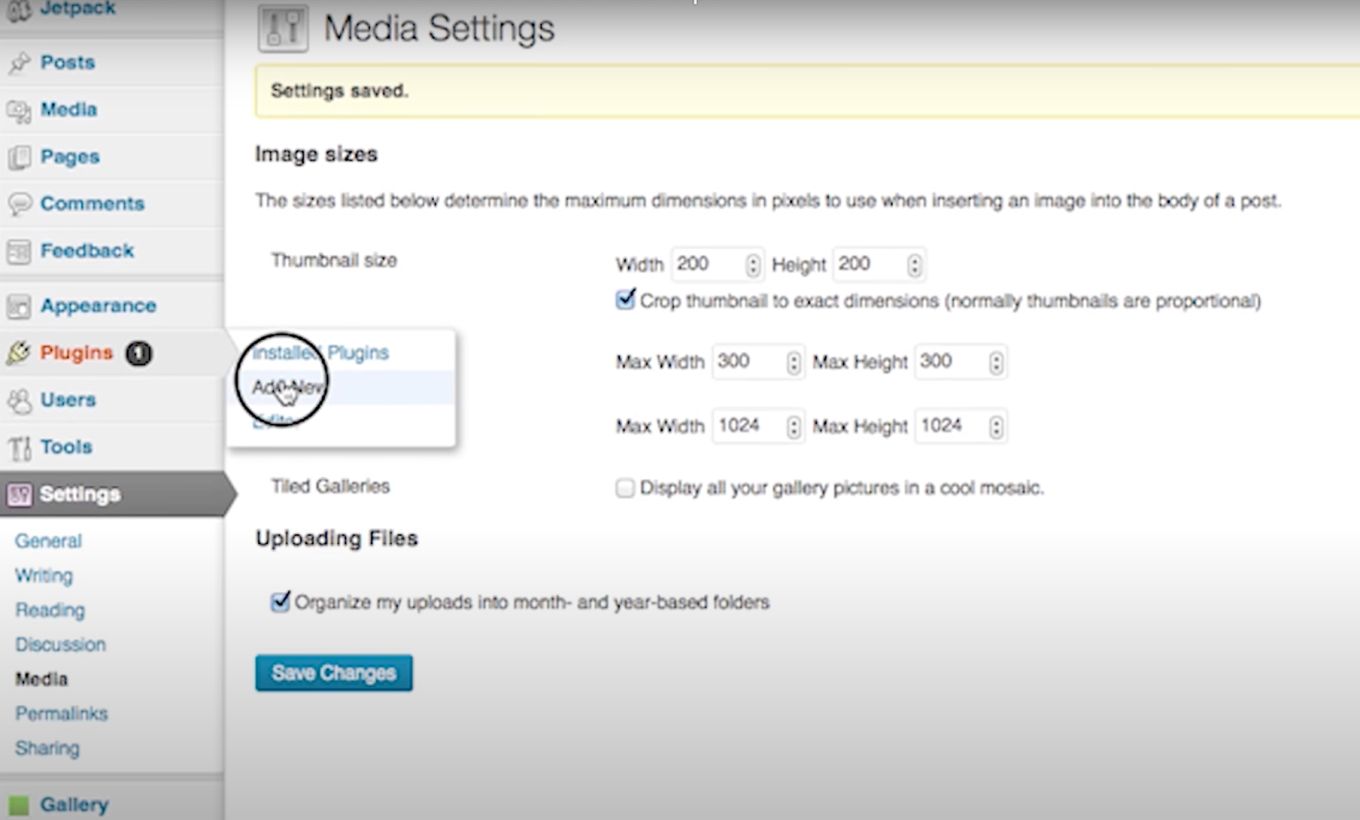
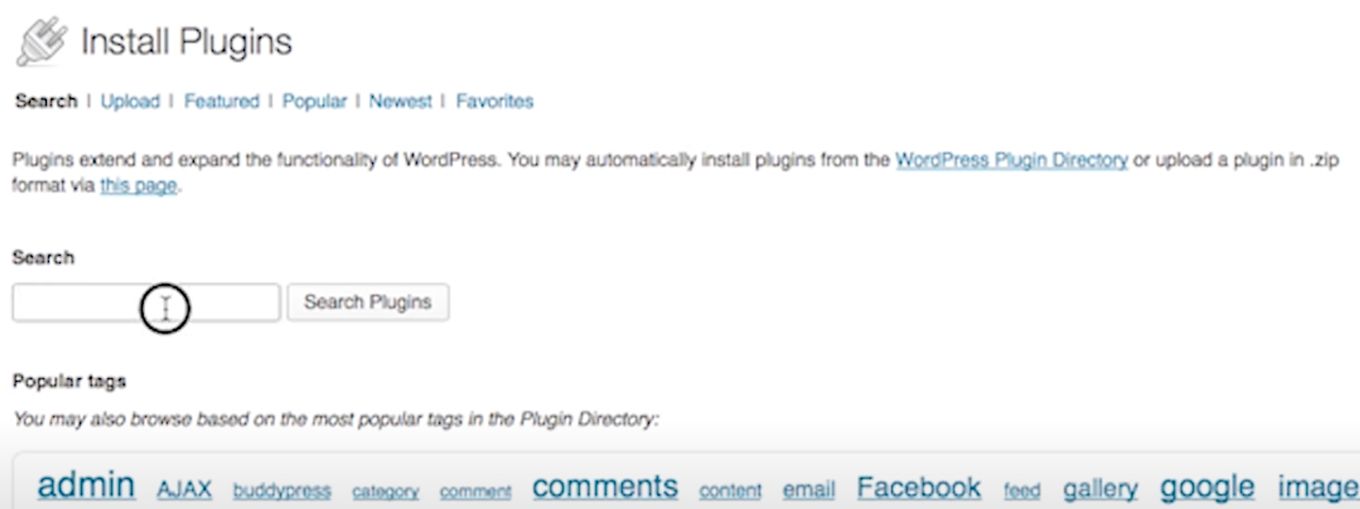
Step 4: Go To The “Search Box” On The Install Plugins Page
When you select the “Add New” option, it brings up the Install Plugins administrative page.
Step 5: Search For Post Thumbnail Editor
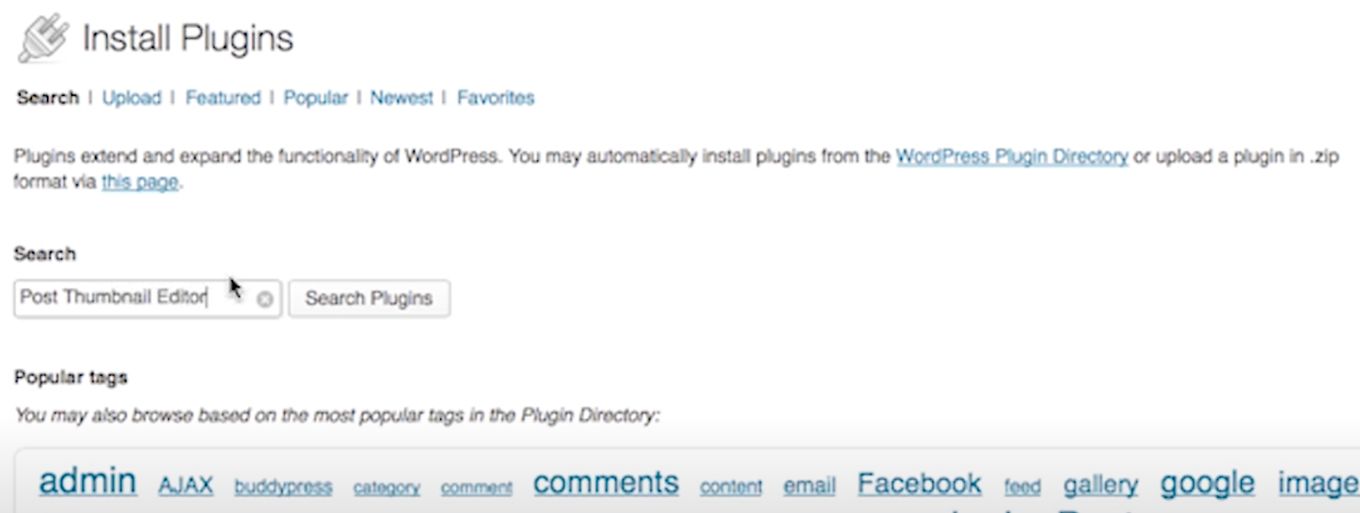
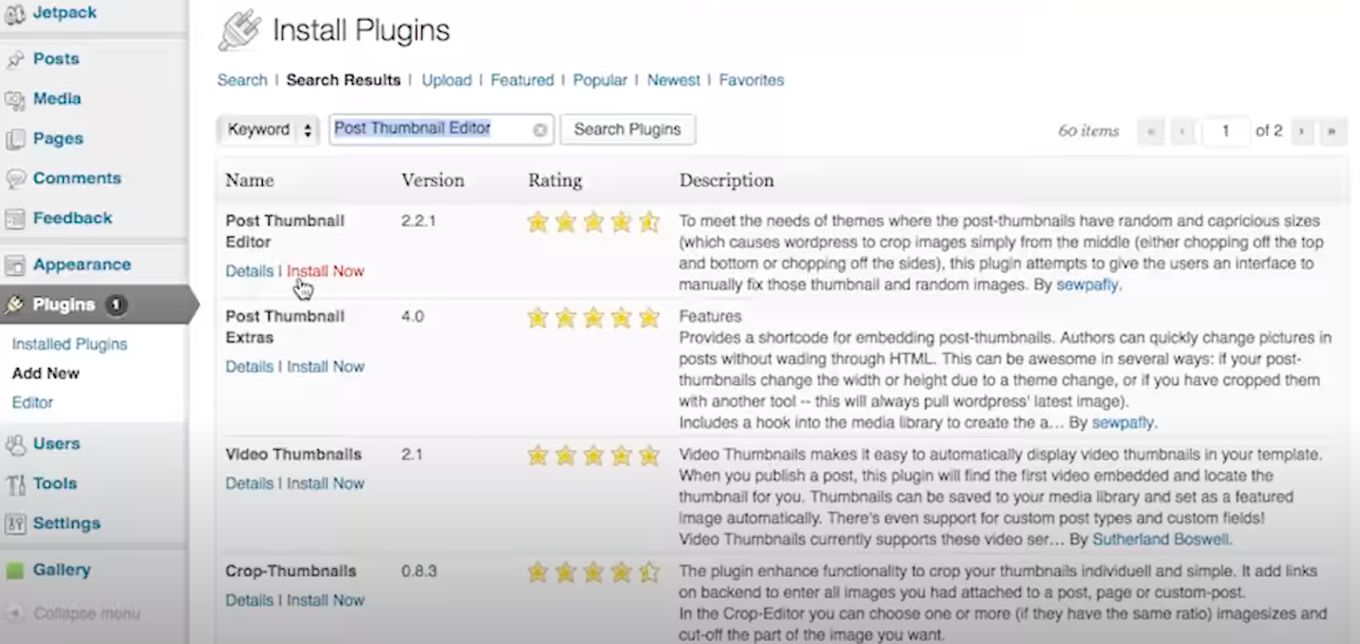
Step 5: Select “Post Thumbnail Editor” And Click “Install Now”
When you search for “Post Thumbnail Editor”, the search returns a list of plugins. Simply go to “Post Thumbnail Editor” and click “Install Now”
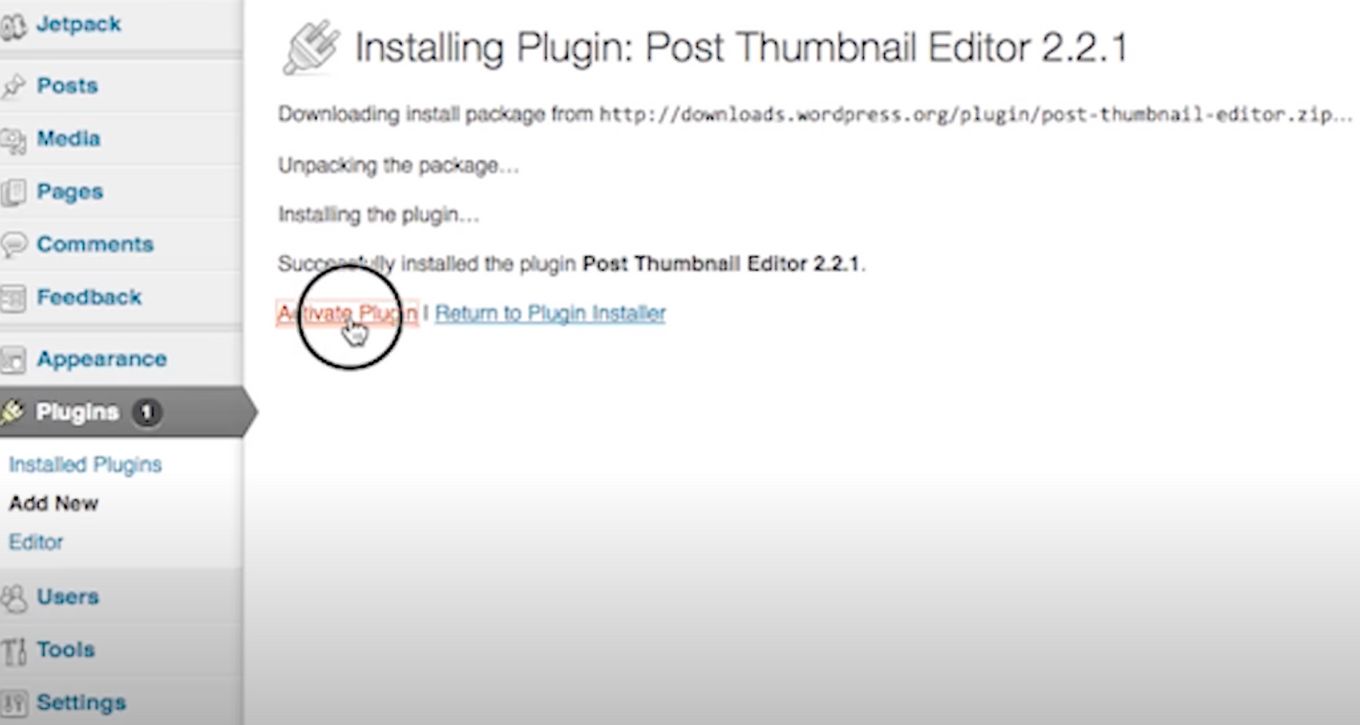
Step 6: Activate The Plugin
Activate the plugin once the installation is complete. The Post Thumbnail Editor will allow you to edit your thumbnail by cropping and setting your aspect ratio.
Step 7: Go to the Media Library
After activating the “Post Thumbnail Editor” plugin, you can go to your media library to start editing your thumbnails and resizing them.
Website Thumbnails As A Tool For Boosting Your Website
The internet is like a polygamous relationship between internet users and different websites. Websites vie for the attention of the users, using different tactics to entice and attract their attention.
Web thumbnails are one of the powerful tactics that different websites adopt in attracting and keeping the attention of internet users.
Though thumbnails are small compared to their original versions, they are a powerful and essential tool that website designers should know how to wield if they want to win this attention-seeking competition.
It is not too late if as a web designer, you have not been using the thumbnail to your advantage. Just follow the steps above on how to create a website thumbnail, and you’re good to go.


