On a Monday morning, you attempt to access Twitter on your Chromebook – but you are denied access by a new school policy forbidding the use of social media during school hours through the Chromebook enterprise enrollment scheme. Oops!
Yes, experiences like this are quite frustrating for any user, and they’re not limited to just schools. So if you’re looking to remove the enterprise enrollment on your Chromebook, you’re in the right place.

This article provides details on how to remove enterprise enrollment on Chromebooks in 2023, why you should remove it, and what it means to deprovision a Chromebook. Let’s get to it.
What Is Enterprise Enrollment on Chromebook?
Enterprise enrollment on Chromebooks is a way of adding a Chromebook to a particular enterprise device management system. Essentially, it gives the organization control over the device’s usage. This is common with large corporations and educational institutions.
The process allows these entities to mark the device as belonging to them and gives them control over it regardless of the user’s intent. For instance, schools use it to lock student access to certain features, restrict the installation of certain apps, and block access to certain websites.
All these are possible because of the centralized control from an Admin Console enabled by enterprise enrollment. Taking advantage of this presents organizations with a big advantage and makes managing these devices much easier.
However, the excitement might not be shared by the user of the device, which often is you and I. And we seek ways to remove enterprise enrollment from our Chromebooks.
Is It Secure to Remove Enterprise Enrollment?
Yes, it is secure to remove enterprise enrollment on Chromebooks but it brings important consequences. Once it is removed, you might not be able to restore the computer back to its original state. It can also put you at loggerheads with the administrator/institution that provided you with the Chromebook.
You may even be charged depending on the terms and conditions. Therefore, the decision to remove enterprise enrollment on your Chromebook is one you should make with care.
Consider all the upsides and downsides well before you embark on the journey. If your decision still stands, the following methods describe how you can get it done.
Removing enterprise enrollment allows you to delete search history on your Chromebook when your school administrators are blocking the action.
How to Remove Enterprise Enrollment on Chromebook?
Here are 2 different ways to remove enterprise enrollment on Chromebooks:
Method #1: Contacting Your Organization
Below are the steps to follow to remove the enterprise enrollment of your Chromebook.
This is the most appropriate approach way to go since the organization owns the Chromebook. If you get it done this way, you absolve yourself of any wrongdoing and are free from future repercussions.
-
Step 1. Find out who controls the domain console.
If your device was given to you by an institution, such as a school, contact the IT department in that organization.
-
Step 2. Request a removal of the enrollment of your Chromebook.
-
Step 3. Provide your Chromebook serial number.
The administrator can check the Unenroll box next to your Chromebook’s serial number on the Admin Console.
-
Step 4. Await the changes.
If nothing changes in a while, check back with the IT department.
Method #2: Remove Enterprise Enrollment on School Chromebook
This is how to remove enterprise enrollment on school Chromebooks:
Disclaimer: Once you remove the enterprise enrollment it is almost impossible to return it to its original state. Since the organization owns the Chromebook, attempting to bypass the lock without proper authorization may result in consequences.
-
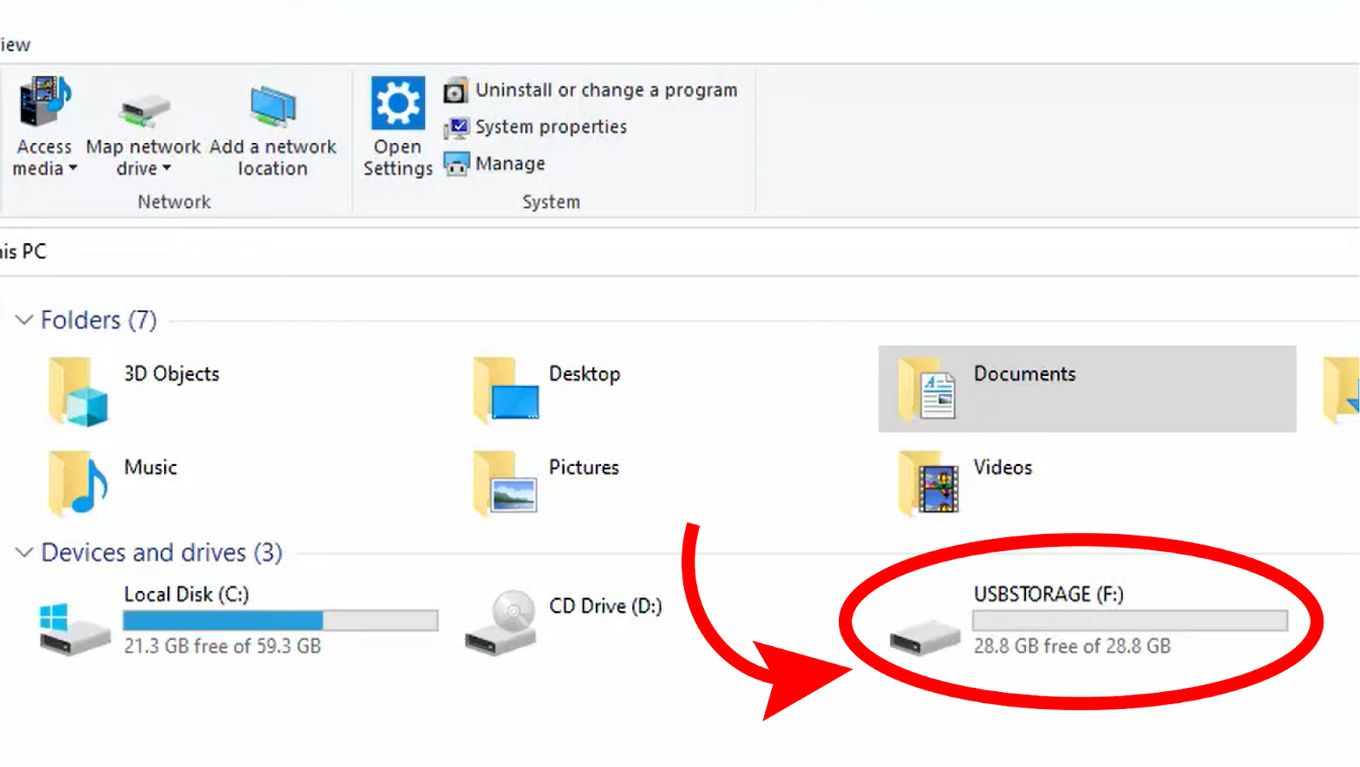
Step 1. Back up your files.
Copy all your files to external storage before you begin the process. You will lose them once you proceed with the next steps.

-
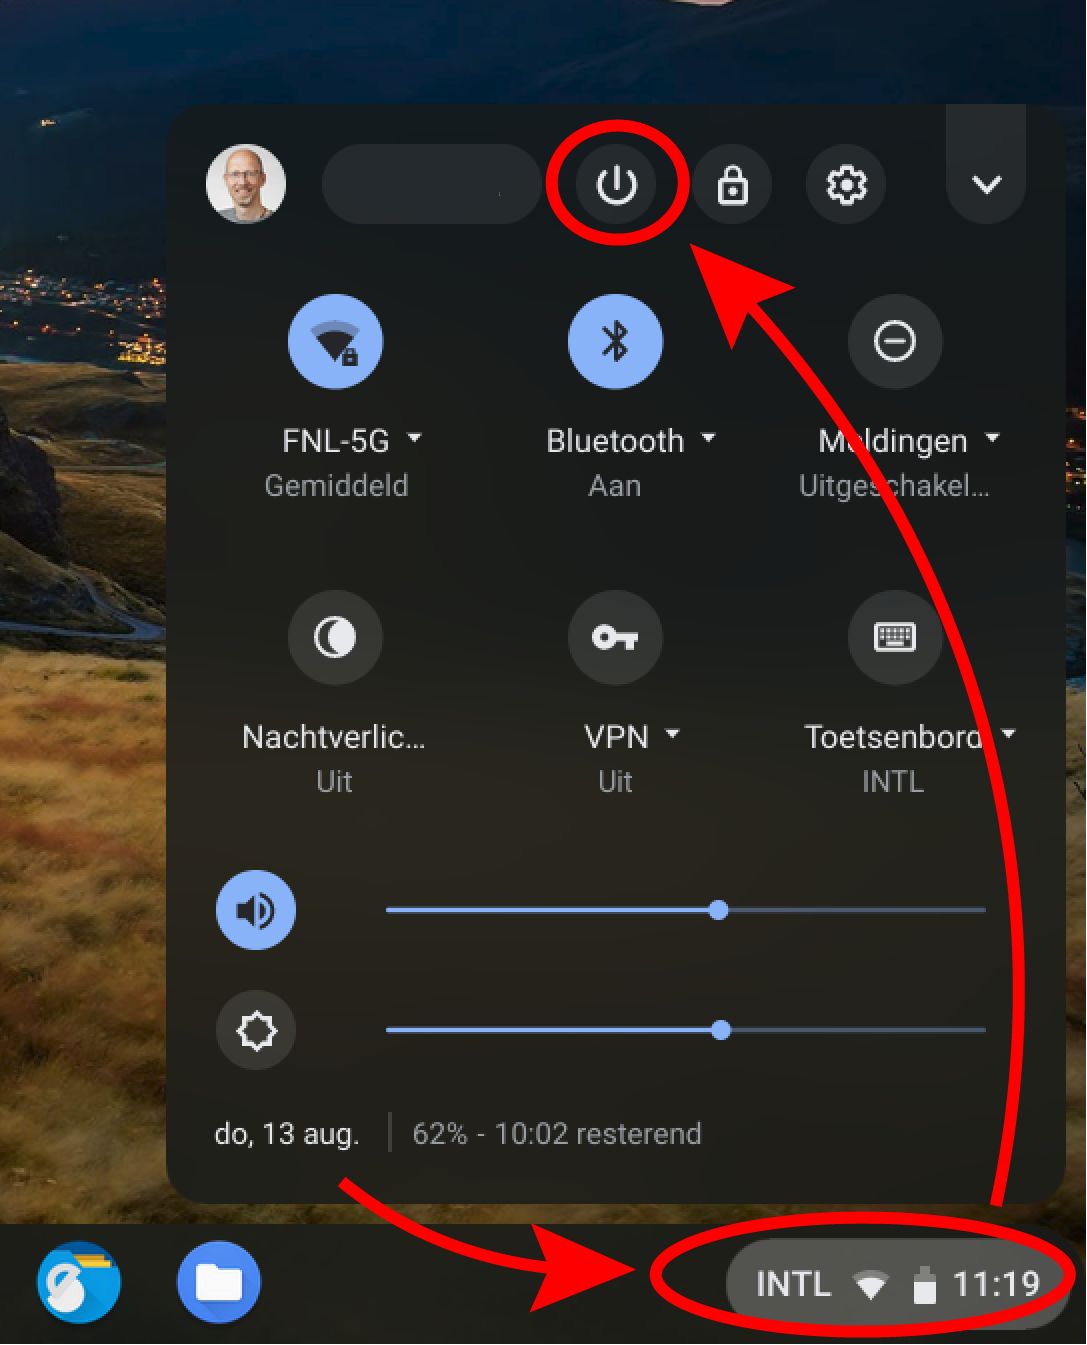
Step 2. Switch off your Chromebook.
-
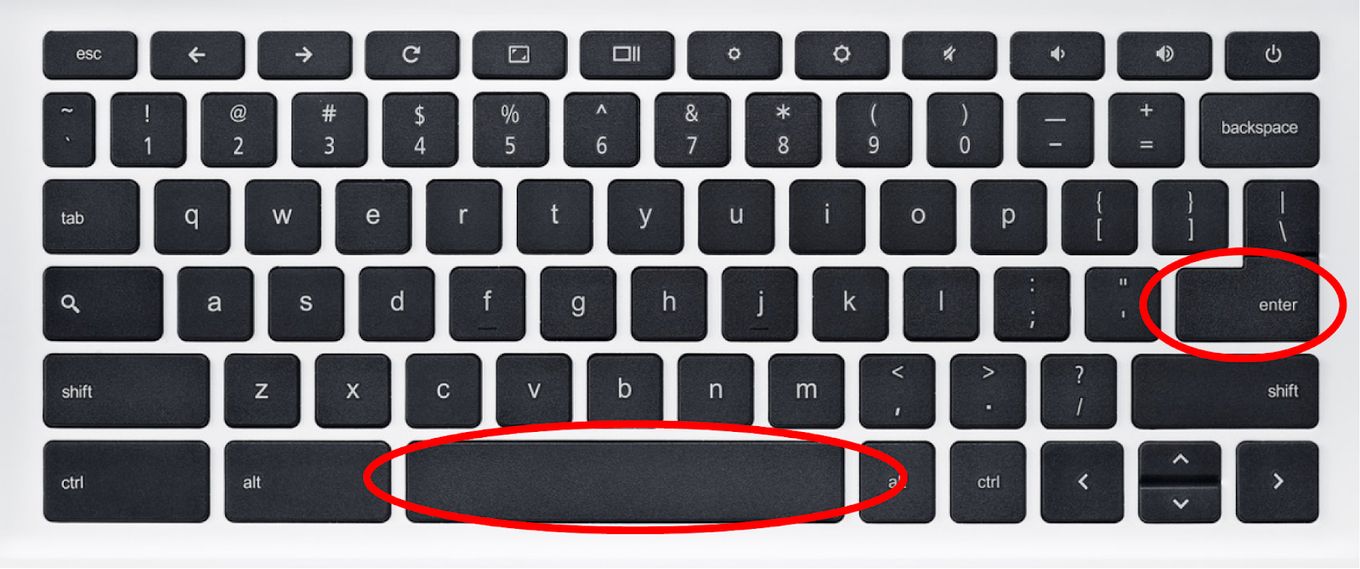
Step 3. Hold down the “Esc + Refresh” keys, then press the “Power” button.
Your Chromebook will restart and take a few minutes to boot. Then you will be prompted with a message saying ChromeOS is damaged.
-
Step 4. Press “Ctrl + d” to skip the warning message.
-
Step 5. Press “Enter” or “Space” to restart in developer mode.
This process will erase all data on the device and return it to its normal state, free from enterprise enrollment.
-
Step 6. Set up again your Chromebook with a personal account.
Do not use the G-Suite account used initially – this makes it easier to detect if the device was unenrolled.


Note: This method does not work for devices with ChromeOS 93 or later.
How to Know If Chromebook Is Enterprise Enrolled?
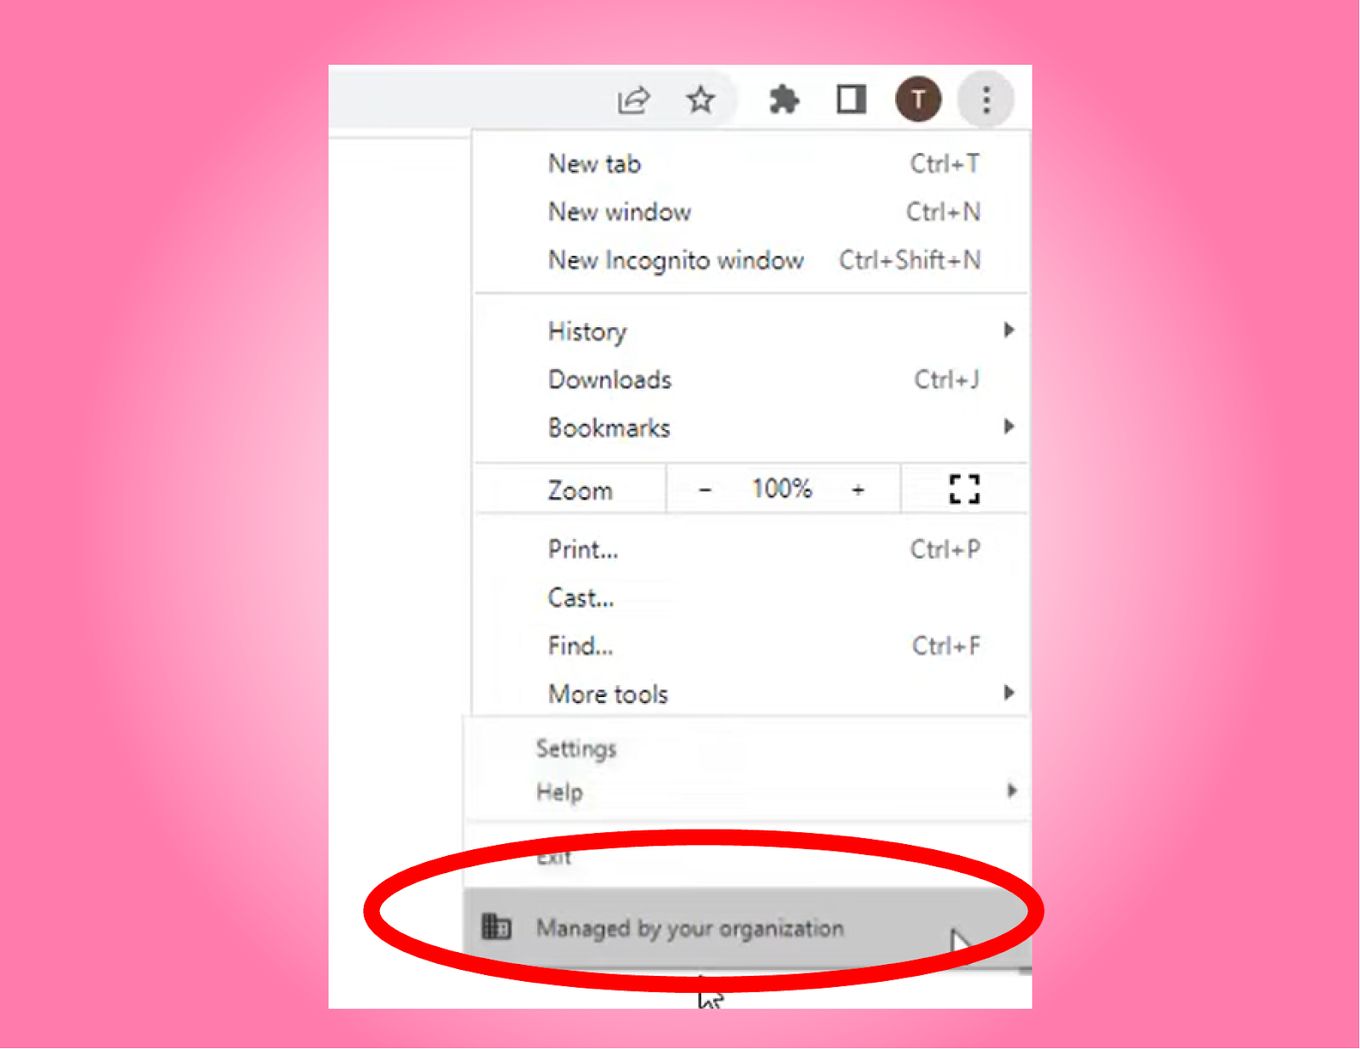
These are the steps to know if your Chromebook is enterprise enrolled:
- Step 1. Open Chrome browser.
- Step 2. Click on the “More” icon, the three vertical dots at the top right corner.
- Step 3. Scroll to the bottom of the Menu to see if the Managed By Organization message is there.
If you see “Managed By Organization”, it means your device is being managed by an organization, with specific policies enforced. Meaning – the organization can track your activity on the device and access your data. To unenroll, follow the guideline from the previous section on how to remove enterprise enrollment.
Were you able to remove Enterprise enrollment? Try these 5 fun things to do on a school Chromebook!
Why Remove Enterprise Enrollment on Your Chromebook?
When your Chromebook is part of an enterprise enrollment, it is almost as if you are using the device on the conditions set for you. The Chromebook is never truly yours.
-
Better Privacy. With the enterprise enrollment removed, you will no longer have to worry about your organization accessing your data, as the device will no longer be tied to the organization’s management policies.
-
Increased Device Functionality. The enterprise enrollment often restricts the device’s functionality, but by removing it, you will have full access to the device’s capabilities and features, including the Google Play Store.
-
Customization. By removing the enterprise enrollment, you will be able to customize your device as you see fit, including changing the background, installing new apps, and more.
-
Avoid Future Limitations. If you plan on using your Chromebook for personal use after leaving the organization, it is best to remove the enterprise enrollment in advance to avoid future limitations and restrictions.
-
Improved Performance. The enterprise enrollment can sometimes cause performance issues, especially if the device is being used for both personal and work-related activities. Removing the enrollment can help improve the performance of the device.
Check the Official Google Documentation About When Deprovisioning a Device for more details.
What Happens When You Deprovision a Chromebook?
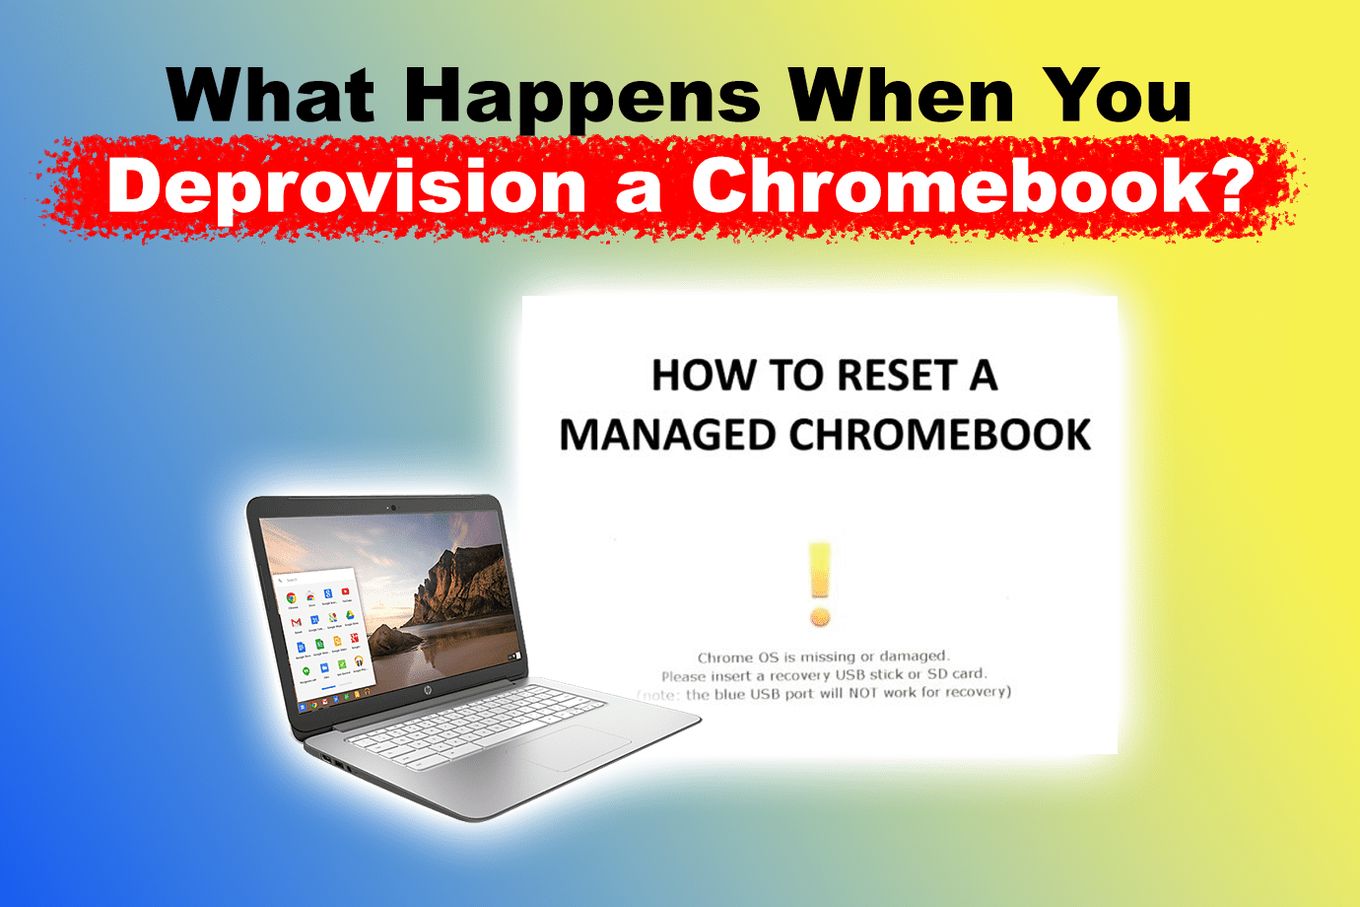
When you de-provision a Chromebook, the device is essentially wiped clean and returned to its original state, as if it was just taken out of the box for the first time. The process removes all device policies, device-level printers, user data, apps, extensions, and settings from the device. This process is also known as “powerwash.”
The de-provisioning process of a Chromebook is a useful step to take before giving away or selling a Chromebook, as it ensures that all personal information is erased and cannot be accessed by anyone else.
This is What Google Says About What Happens When You Deprovision a Chromebook.
Note, also, that when you deprovision a Chromebook, only data stored on the device’s memory will be erased. The data and personal settings associated with the Google account used on the device will be left untouched, but removed from the device.
Therefore, before deprovisioning a Chromebook, a good precautionary move is to back up all important files saved on the device to a cloud storage service or an external storage device.
Unleash Your Chromebook From Enterprise Enrollment
Removing enterprise enrollment from your Chromebook requires careful consideration as it comes with risks. You should be aware that once it is removed, you might not be able to restore it, and you may face penalties from the administrator or institution involved.
Regardless, removing enterprise enrollment from your Chromebook can offer several benefits, including increased privacy, device functionality, and control. It is recommended to back up your files and, if applicable, reach out to your organization before proceeding with the outlined steps.
And that’s it. Go ahead, unleash your Chromebook to unlock its full potential, and enjoy a more personal computer!


")
