If you’re a novice Nintendo user, you are more likely to find it a bit difficult to charge your switch controllers. Nothing to be ashamed of, we’ve all been there.
In this article, you’ll learn how to charge Nintendo Switch controllers, including all the required steps and tips. So, let’s start.
How To Charge Switch Controllers
Are you using the Joy-Con grip as the cornerstone Switch controller? If so, you may know how fast your controller’s battery life drains out.
Fortunately, you can charge the controller of the switch in a few simple ways.
The easiest and most convenient way to charge your Switch controllers comes without needing any shelf space, accessories, or additional cables.
Here are the steps on how to charge Joy-Cons:
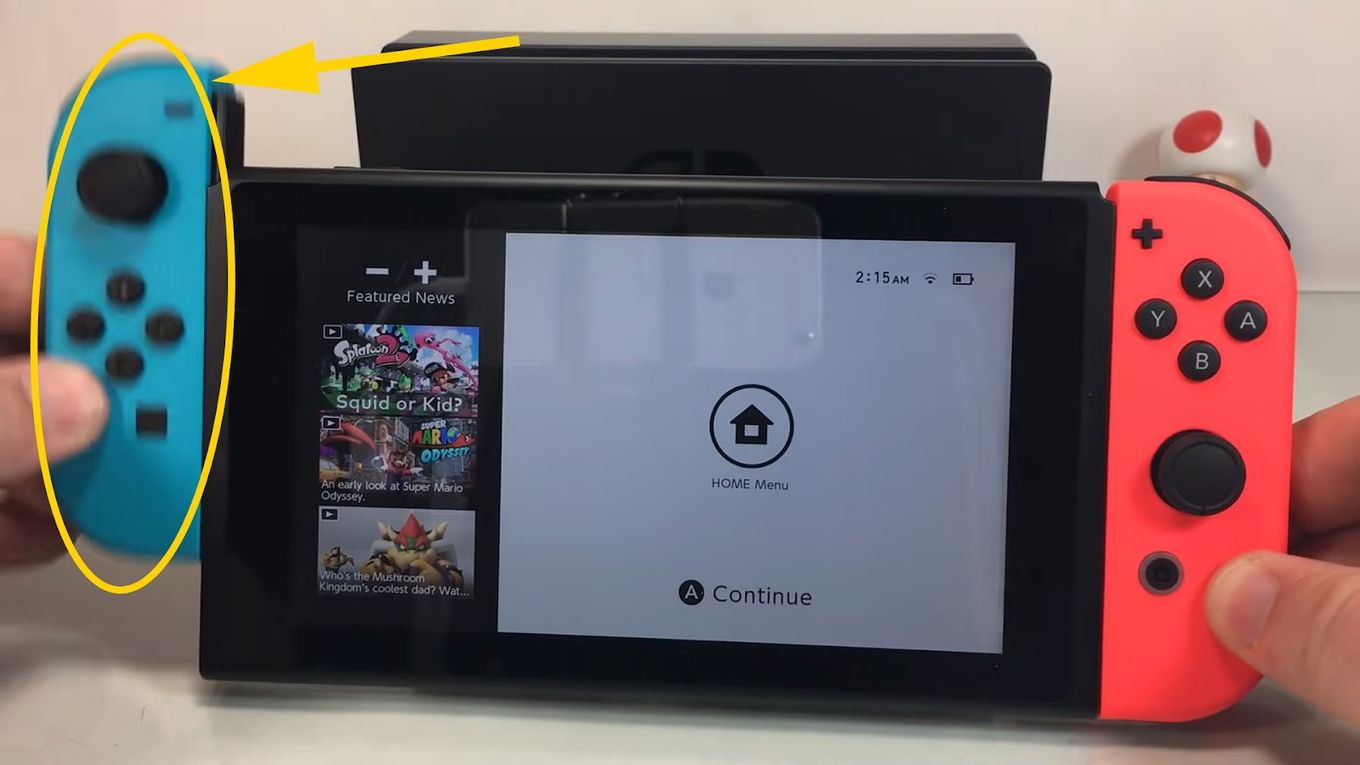
Step 1: Connect The Controllers With The Console
The first step is keeping the Switch console ON.
Then, you must connect the Joy-Con controllers to one of the console’s sides until you find them to click.
Once connected, you’ll find the screen to display a notification for it.
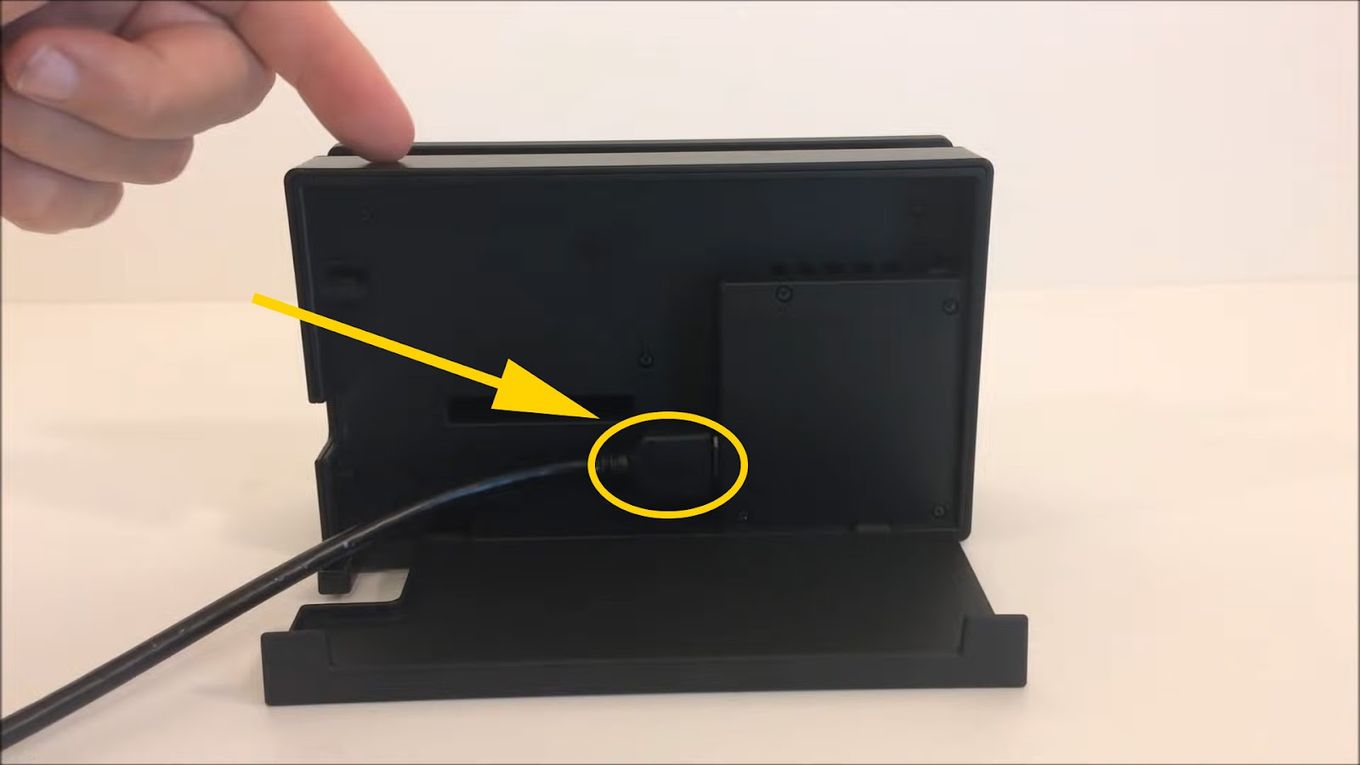
Step 2: Plug The Switch Dock Into The Power Outlet
Now, you must ensure that you plug the AC adapter or the Switch’s dock into the power outlet.
You either position the Switch in the dock or attach the adapter plug to a USB-C port at the Switch console’s bottom.
Related article: Fix Nintendo Switch Blue Screen Problem
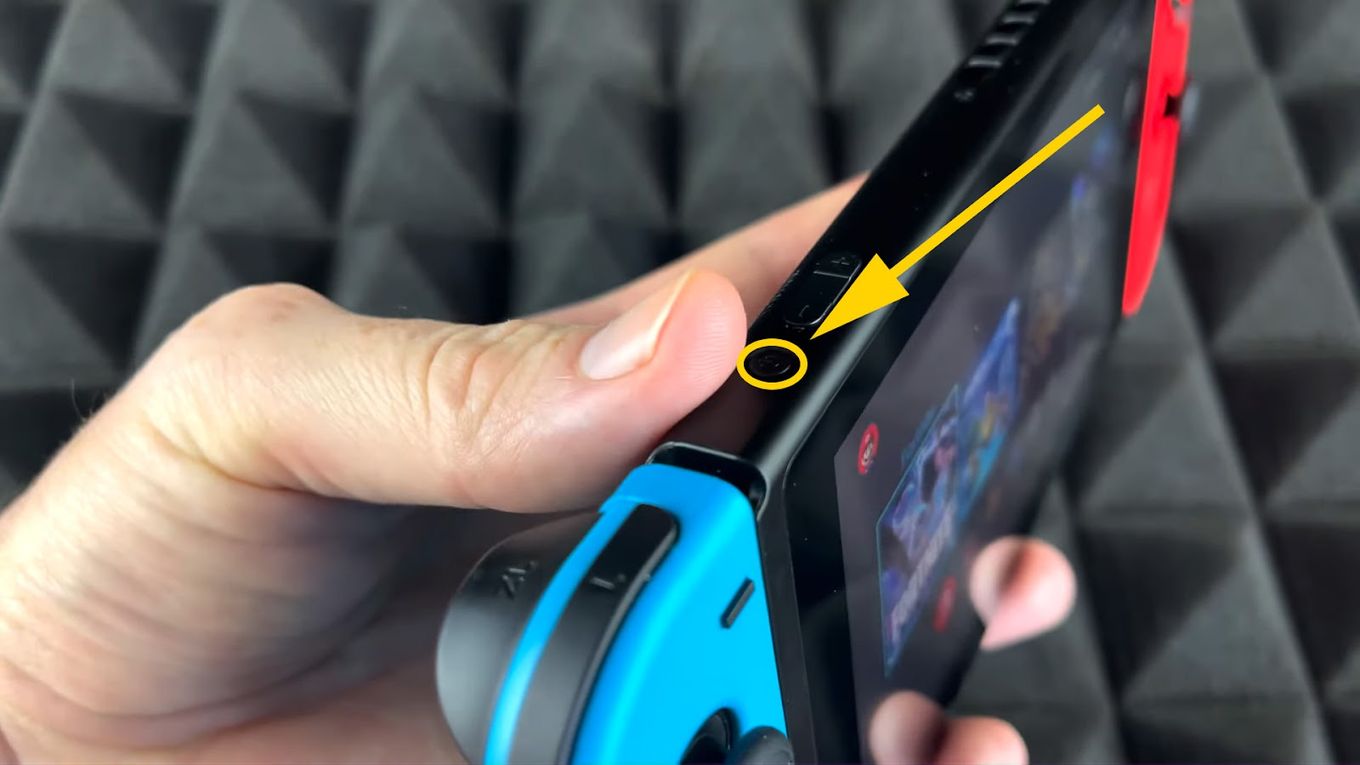
Step 3: Keep The Switch Console In “Sleep” Mode
In this step, you must keep the Switch console in “Sleep” mode.
You can do so by going to the top of the console to hit the power button.
If you power off the console completely, your Joy-Con controllers won’t get charged, and all these efforts will be wasted.
Step 4: Wait Till It Gets Fully Charged!
Finally, you’ll have to wait for the Joy-Cons to charge fully.
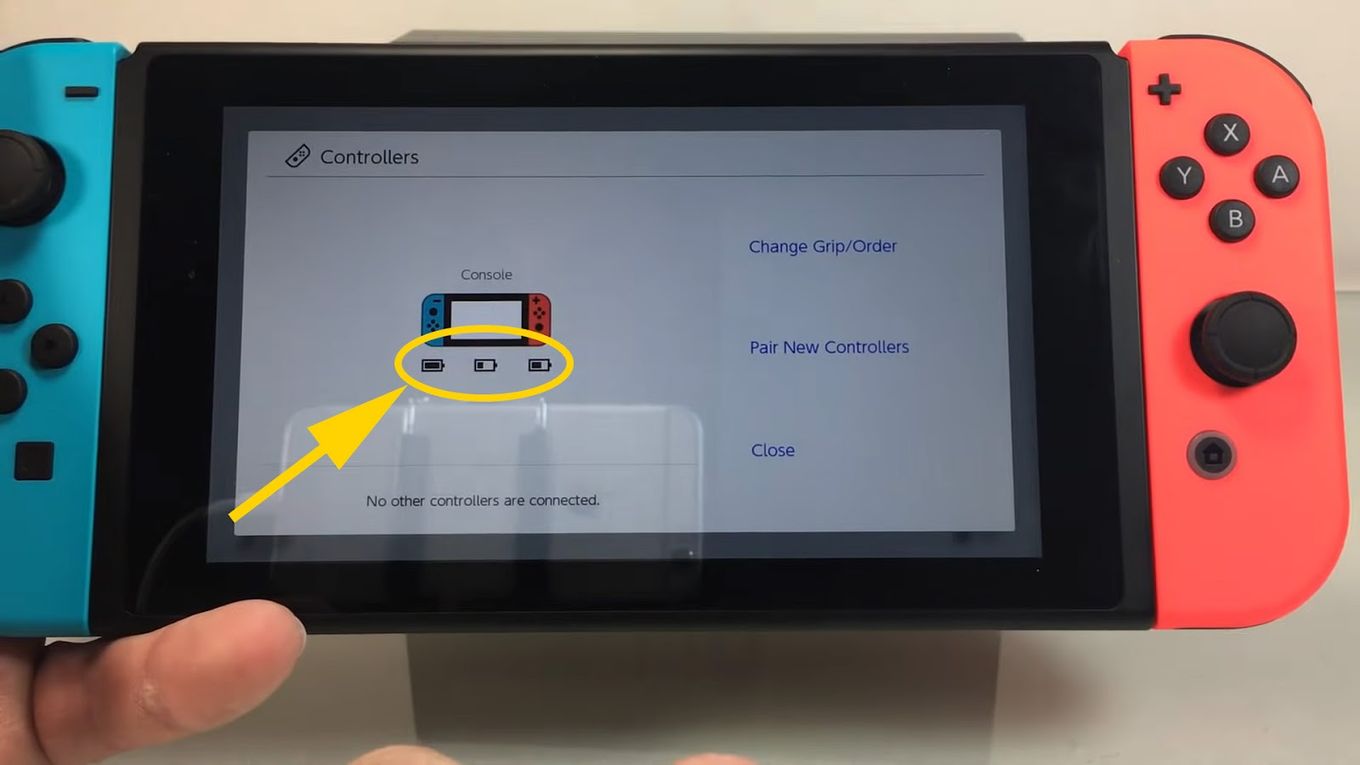
To determine how much charge is done in between this span, simply go to the Switch console’s main menu and press the Joy-Con icon.
This should display the current charge level.
How Long Does The Switch Controller Take To Charge?
According to Nintendo, It can take up to 3.5 hours for any Joy-Con controller to get 100% charged. However, this estimated charging time varies depending on how you charge the gadget.
Here, the estimate is done for charging via a Switch or Charging dock.
When it comes to the use of a battery pack, you won’t get any specific charging time.
However, if you use charging grips, it can take some time to charge them completely.
Related article: Run Roblox on Nintendo Switch
How Do You Know If Your Switch Controllers Are Charging?
To know if your Switch controllers are charging or not, you must follow these steps:
- Step 1: Connect the Joy-Con controllers with the Switch console.
- Step 2: Connect the Switch AC adapter to the console.
- Step 3: Go to the “Home” menu.
- Step 4: Select the option named “Controllers” and Click on it.
- Step 5: Check on the screen whether the Joy-Con and console are charging or not.
Also, you must know that the method you use to charge the controller determines when it will finish charging.
Another way to know when the charging is done is to use a charging device that comes with light indicators.
When using charging docks, a green light at the top signals that the charging is done.
Do you know you can play with up to 8 players on some Switch games? Discover the top 8-player games for the Switch?
How Do You Charge A Switch Controller Without A Dock?
The best alternative to charge a Switch controller without a charging dock or a Switch would be a charging station or a charging grip. You can use a battery pack, which comes with regular, replaceable batteries that can be changed anytime they run out.
The charging grip is comparatively less expensive and enables you to charge your controllers while playing.
Moreover, you can access a battery pack and use regular batteries if you want to eliminate the chargeable batteries.
Method 1: Charging Station

A charging station is a cost-effective device that charges the controllers when plugged into them.
It’s also the ideal spot to keep the controllers while doing other work. You can leave the controllers connected to the station while you’re away.
There’s one simple step to use the charging station: connect the Joy-Cons to the charging station, similar to that of a charging dock. Then, wait for some hours until it gets fully charged.
Related article: How to delete games on your Nintendo Switch.
Method 2: Charging Grip
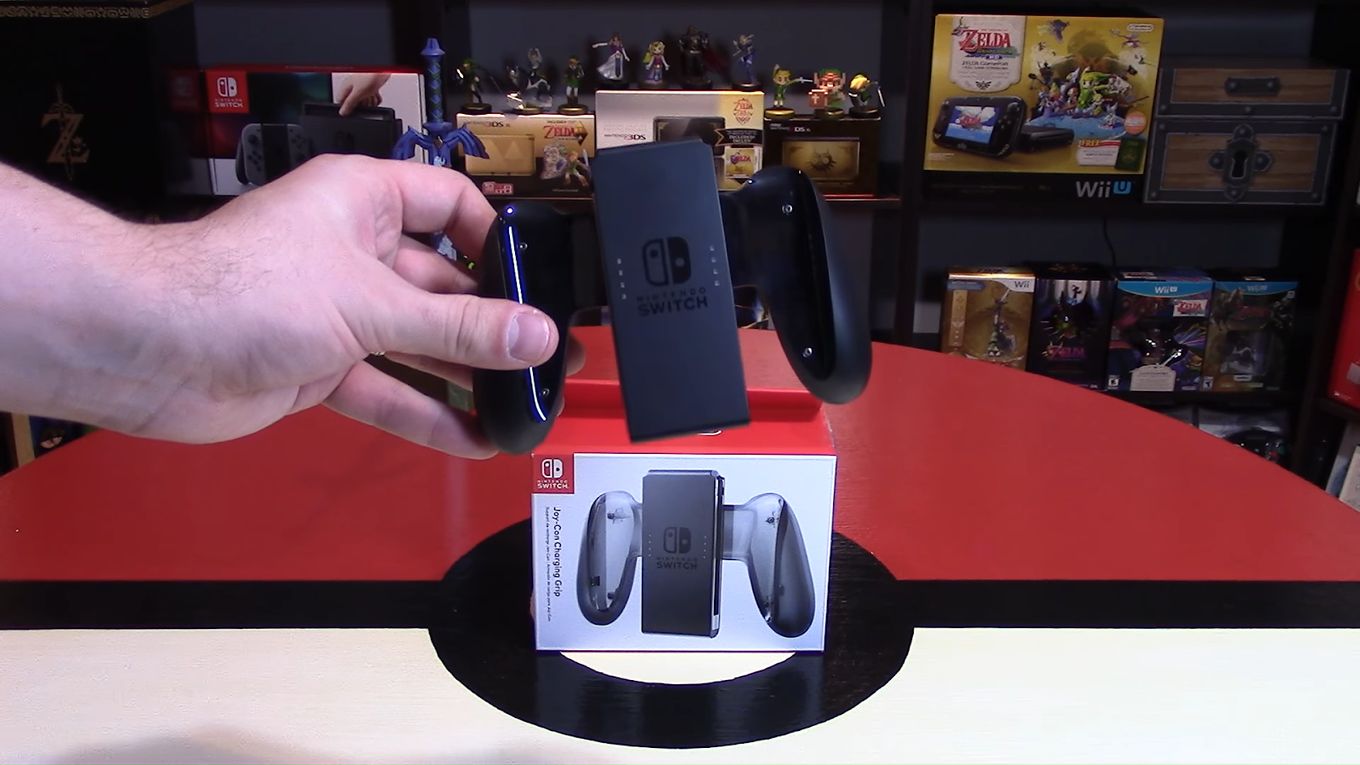
If you’re using a Nintendo Switch, you may already know that the grip that comes along with it doesn’t have a charging feature. However, you can always purchase charging grips from any third-party provider or Nintendo itself.
Just like what you do with the Switch itself, try sliding the Joy-Cons into both sides of the grip. As per the manufacturer’s instructions, you must charge the grips by using an AC adaptor or a USB cable.
It’s imperative to know that few charging grips even come with light indicators to show the charge level in the Joy-Cons.
Besides all that, you can enjoy playing and using the controllers while charging the Joy-Cons using your charging grips. Thus, it’s a smart investment after all.
Method 3: Battery Pack
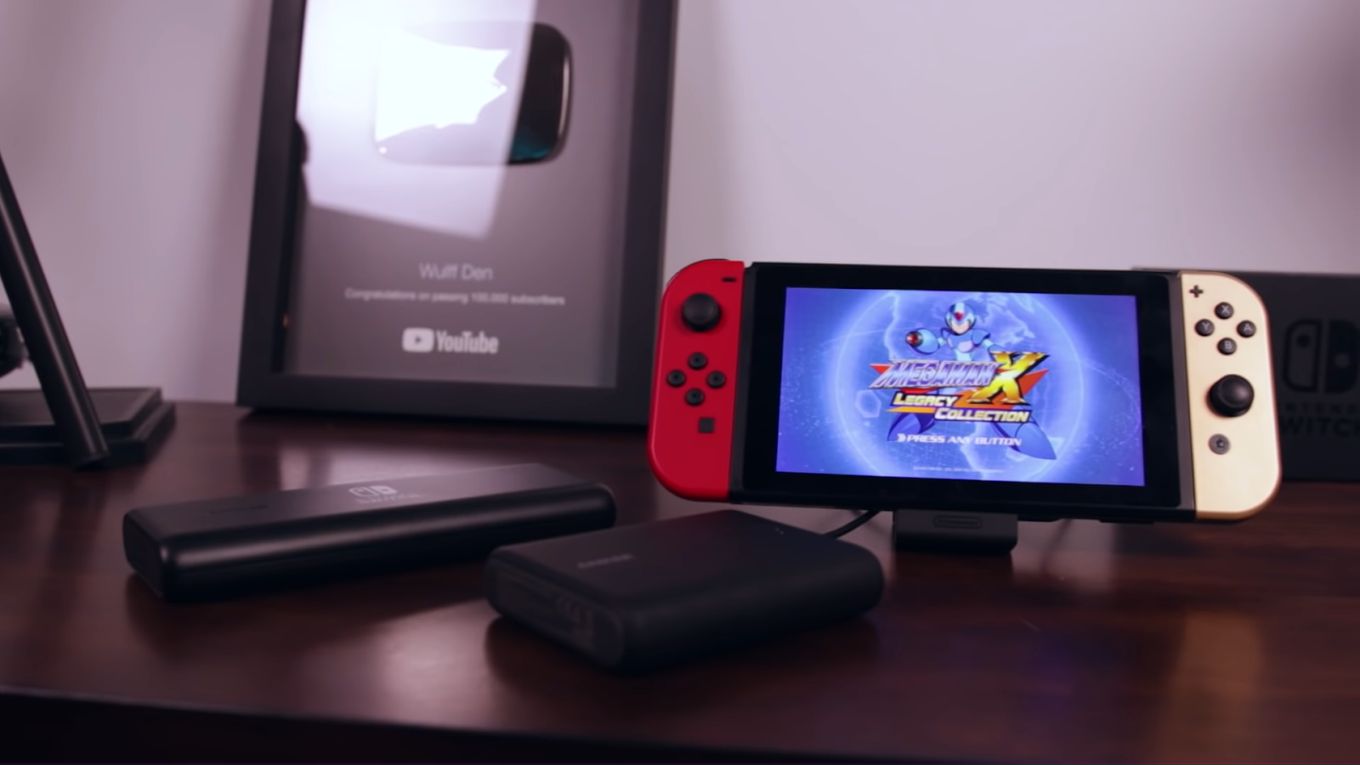
If you’re tired of charging and want to skip the hassle altogether, you must buy a battery pack accessory. It will enable you to use regular, replaceable batteries that can be changed whenever they run out of power.
Most Joy-Cons support AA batteries, which ensure up to 60 minutes of playtime.
The only drawback is that you’ll always have to keep new batteries readily accessible by your side. Plus, changing the batteries can be an interruption during crucial gameplay too.
How Long Does The Switch Controller Battery Last?
With the new Joy-Con controller’s battery life, you can expect to get up to 20 hours of seamless, non-stop playtime on a single charge, no matter if it’s a right or left Joy-Con. When connected to the Nintendo Switch, these controllers require up to 3.5 hours to fully charge.
You can always click on the Switch console’s Home button, followed by the Controller option, to see how much battery level is left in your controllers.
The screen will display how much battery life is left on both of your Joy-Con controllers.
Can You Charge Switch Controllers While Playing?
Yes, you can seamlessly charge switch controllers while playing. When the controllers’ batteries are fully charged, they ensure up to twenty hours of non-stop gaming. You can charge the controllers while playing By Connecting The Joy-Cons To A Charging Grip.
Connect the grip to the AC power unit, and you’ll be able to continue your gameplay while charging the controllers.
Conclusion: Get, Set, Charge!
The ideal solution to charge the Joy-Cons is to use charging grips and not any charging dock. That’s because it enables you to keep playing while charging the controllers.
Plus, they function just like a charging dock, only more flexible and better. However, if you’re looking for something cheap and budget-friendly, you should go for the charging station.
And that’s all the different methods and steps on how to charge a Switch controller. Consider using a power bank if you intend to boost the battery life of the Switch itself.
So, with this comprehensive guide, we hope you’ve got all the answers you need. So, let’s meet again sometime soon with similar exciting blogs.


